Holding ground in Arma Reforger’s Conflict mode depends as much on what you build as on how well you shoot. A well-fortified base keeps enemies out, slashes your team’s respawn costs, and gives AI defenders proper cover. A poorly-built one bleeds supplies and collapses under the first coordinated push. This guide walks through every layer of base construction — from loading a supply truck to placing the last sandbag wall around your forward operating base.
How the Supply System Powers Construction
Supplies are the universal currency in Conflict. You spend them to place structures, spawn vehicles, and equip soldiers. Before you can build anything, you need materials at the construction site — and that means logistics.
- Main Operating Bases (MOBs) generate supplies passively over time and are your primary source of building materials.
- Captured bases and harbors/airports add to your faction’s supply pool. Airports and harbors can hold large reserves — up to roughly 7,000 supplies — and regenerate automatically.
- Radio relay connections between friendly bases increase passive supply regeneration. The more relay links your network has, the faster each base replenishes.
- Supply depots hold up to 3,000 supplies and are indicated by green icons on the map. Build one early — it extends how much your base can store.
To move supplies to a forward position, request a heavy transport truck (the US faction uses the M923A1; the USSR faction uses the Ural-4320) from a vehicle maintenance point. Drive it to your supply depot and interact with the rear of the truck to load materials. Each of these trucks can carry up to 1,500 supplies — enough for a solid forward base. Helicopters such as the Mi-8MT can also transport supplies (up to around 1,000 units) when road routes are contested.
Opening the Build Menu
There are two ways to access construction depending on whether you are building at an established base or out in the field.
- At a base: Enter the command tent (the one with the faction flag), walk to the board mounted on the left interior wall, and interact with it. An overhead map view opens showing your base perimeter. Structure previews appear at the bottom of the screen. Click a preview, then click a position inside the perimeter to place a ghosted blueprint.
- In the field (Free Roam Building): Park a loaded supply truck at your chosen location and interact with its rear to enter build mode. Ghost outlines of available structures appear around the truck. You can place fortifications anywhere on the map — you are no longer limited to predefined base perimeters — as long as the truck carrying the required supplies is nearby.
Grayed-out structure previews mean your truck or depot does not have enough supplies for that item. Rotate a blueprint before confirming placement with Shift on PC (or L1 + R1 on console).
The Entrenching Tool: Turning Blueprints into Real Structures
Placing a blueprint only reserves the supplies and marks the ground. The structure does not exist physically until a soldier equips an entrenching tool (shovel) and builds it.
- Equip the shovel from your inventory or pick one up at an armory.
- Walk within roughly 25 metres of a placed blueprint — it appears as a white 3D silhouette.
- Use the Build interaction prompt at the center of the silhouette to begin construction.
- Once complete, the same tool can disassemble a structure (via the Disassembly prompt), returning the supply cost to the base or truck’s supply pool.
Coordinating this in a team is key. Commanders place blueprints remotely; engineers and infantry on the ground do the actual shoveling. In busy assaults, call out which structures still need building so supply costs are not wasted on ghost blueprints that nobody finishes.
Building Priority Order for a New Base
Every supply counts early. Build in this order to get the most out of limited resources before enemy pressure arrives:
| Priority | Structure | Why It Matters |
|---|---|---|
| 1 | Radio Relay | Enables team respawns at this base, extends radio coverage ~2,000 m, contributes to passive supply regeneration |
| 2 | Supply Depot | Increases base storage to ~3,000 supplies; unlocks higher-tier structures |
| 3 | Living Quarters | Cuts all respawn supply costs by 50% faction-wide; houses AI defenders |
| 4 | Heavy Vehicle Depot | Spawns construction and logistics trucks (~3,400 supply pool) |
| 5 | Ammunition Supply Point | Lets infantry rearm without draining the base supply pool |
| 6 | Light Vehicle Depot / Gas Station | Fast transport, guaranteed fuel on spawned vehicles |
| 7 | Armory / Hospital | Full loadouts and medical respawn bonus; build when supply reserves are healthy |
| 8 | Defensive Positions | Sandbag walls, bunkers, MG emplacements, spotlights — last mile hardening |
Resist the temptation to drop an armory on an empty base first. Players will drain it immediately, leaving nothing for the Radio Relay or Living Quarters that actually keep the base alive.
Defensive Positions: Sandbags, Bunkers, and Emplacements
Once your base services are in place, defensive structures turn a soft logistics node into a position that resists infantry assaults.
- Sandbag walls and positions are the cheapest and most flexible fortification. Use them to create covered firing lanes at likely approach routes — especially around the command tent, supply depot, and vehicle spawns.
- Bunkers and pillboxes offer heavier protection for a higher supply cost. Position them at the outer perimeter facing the most likely enemy axis of advance, not scattered randomly inside the base.
- MG emplacements provide overlapping fire across open ground. Place them to cover the gaps between sandbag lines, not behind them.
- Barbed wire and checkpoint structures funnel enemy infantry into kill zones. Run wire along flanks to force attackers toward your prepared positions.
- Spotlights are underrated in night sessions — pointing outward around the perimeter, they silhouette enemies approaching in the dark while making it hard for them to see into the base.
Building a Forward Operating Base (FOB) in the Field
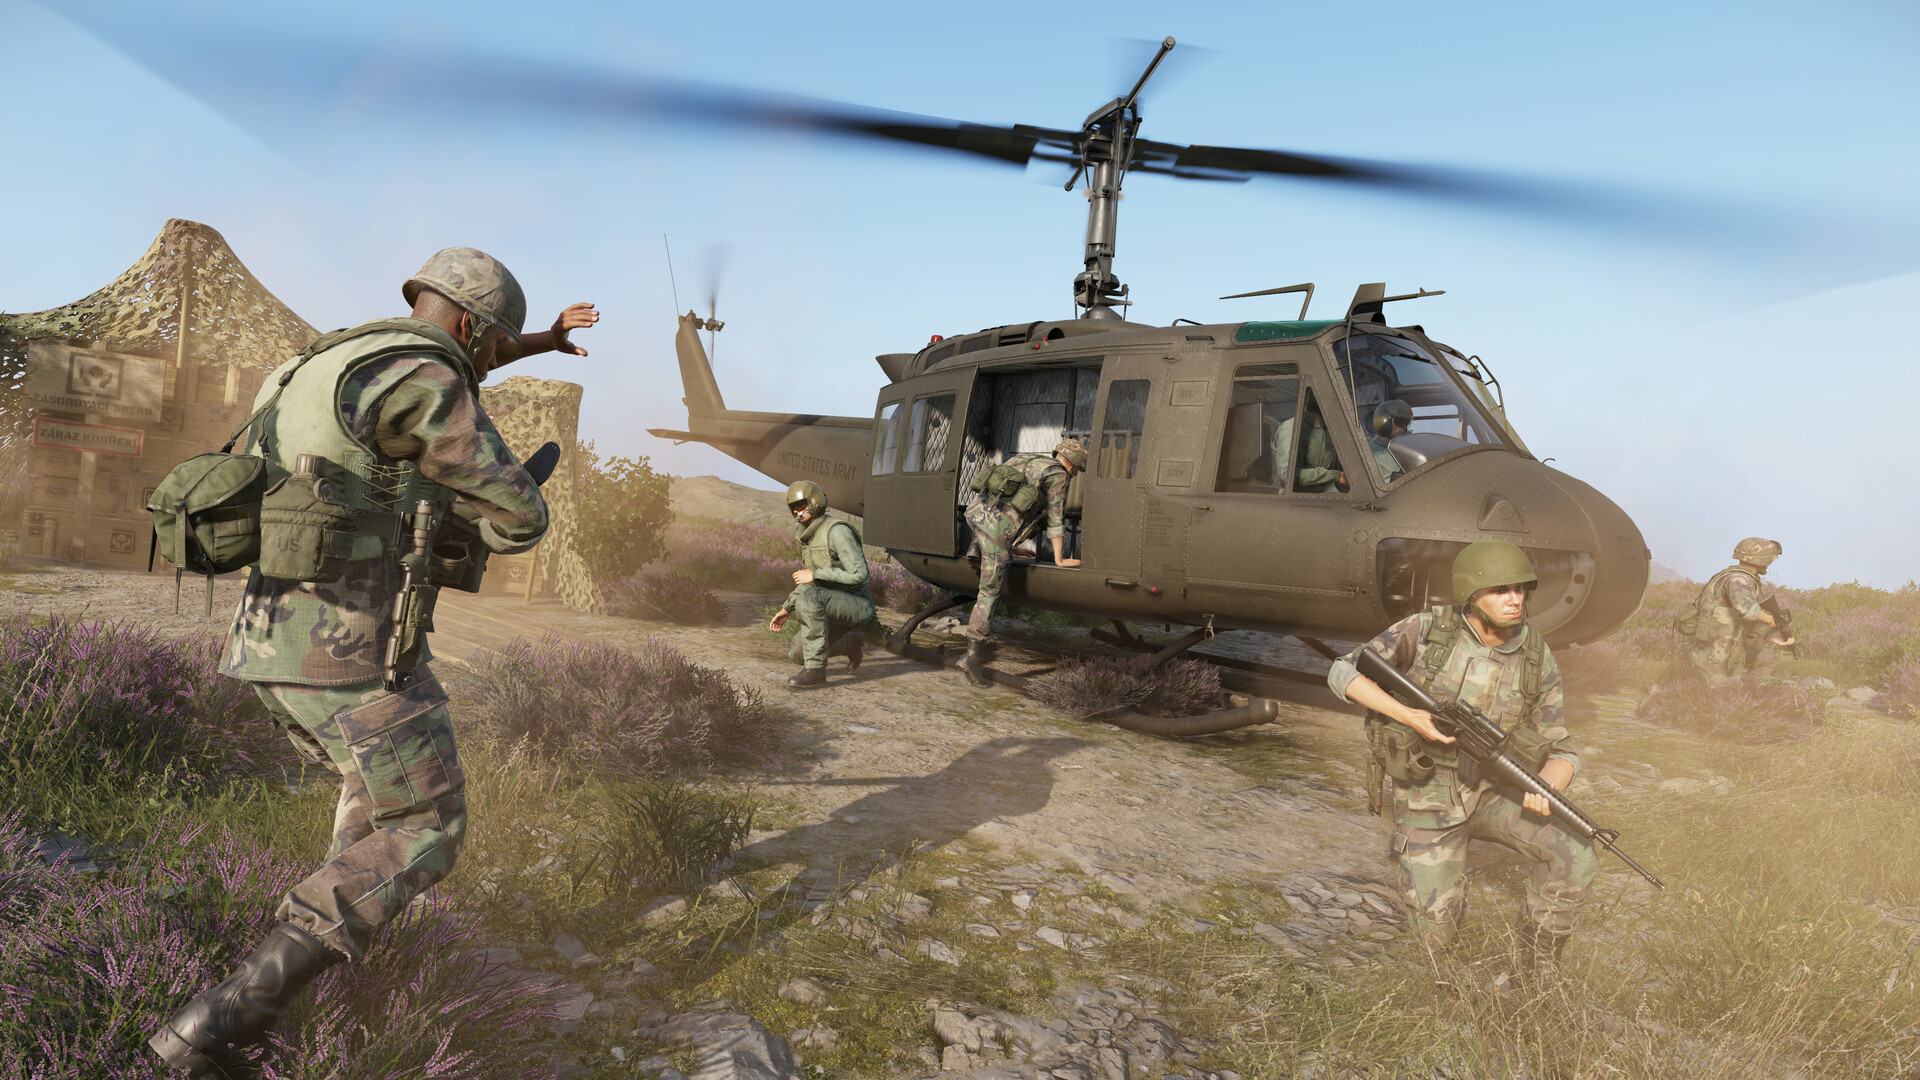
FOBs extend your faction’s spawn network toward the front line without relying on a captured base. The process uses the Free Roam Building system introduced in a major update, and the Mobile HQ (MHQ) command truck.
- Request a construction truck and an MHQ truck from your nearest vehicle maintenance point.
- Load construction supplies onto the truck at a supply depot (interact with the rear of the truck).
- Drive both vehicles to the desired FOB location — ideally in cover, off a main road, within radio range of at least one friendly relay.
- Interact with the rear of the MHQ truck to deploy it. Once deployed, it functions as a faction spawn point and extends radio coverage.
- Interact with the rear of the construction truck to enter build mode. Place your highest-priority structures first (Radio Relay, then defensive positions).
- Assign engineers to build each blueprint with their shovels.
Keep the MHQ truck hidden if possible — enemy players actively hunt it because destroying it collapses the forward spawn. Park it in a tree line or behind a building rather than in the open center of the FOB.
For more on how supplies flow between bases and how to keep your logistics chain running under fire, see our dedicated Arma Reforger Supply System Guide. If you want to understand how to extend radio coverage and link your FOB into the main network, the Arma Reforger Radio Communications Guide covers relay chains and frequency management in full.
Base Layout Principles
- Defense in depth over a single perimeter wall. Layer sandbag positions at the outer edge and again around the command tent. If the first line is breached, defenders fall back to a second prepared position.
- Centralize the command tent and supply depot. These are your two highest-value targets. Keep them away from the outer wall and surrounded by their own sandbag ring.
- Separate vehicle areas from infantry areas. Burning vehicles generate smoke that kills sightlines. Park the heavy vehicle depot on one flank so a destroyed truck does not blind your entire defence.
- Rotate buildings to use terrain. A bunker placed on a hillside with a natural slope forward already has elevation advantage. Use the rotation key before confirming placement.
- Leave movement corridors. Dense fortifications with no internal lanes create friendly-fire traffic jams under pressure. Design an internal route from the spawn point to the outer wall that keeps defenders moving without crossing each other’s fire.
Running your own server lets your team configure match settings, player slots, and base parameters to your preferred playstyle. Check out our Arma Reforger server hosting options if you want a persistent private Conflict server where your squad can practice these builds without public interference. For step-by-step setup help once you have a server, the Arma Reforger server documentation covers everything from initial configuration to mod installation.
Frequently Asked Questions
Do I need a shovel to build everything, or can some structures self-construct?
Every structure placed via the build menu or construction truck requires a player to equip an entrenching tool and manually complete it at the blueprint location. The supplies are deducted when you place the blueprint, but the physical structure does not appear until someone shovels it in. If a blueprint sits unbuilt when enemies attack, the supplies are already spent with nothing to show for them — so always assign someone to finish construction immediately after blueprints are placed.
Can I build fortifications away from any base in Conflict mode?
Yes, using the Free Roam Building system. Load a construction truck with supplies from a depot, drive it to your desired position, and interact with the rear to enter build mode. Structures can be placed anywhere on the map as long as the loaded truck is nearby. This is how forward bunker lines and improvised checkpoints are constructed between bases. Note that server performance can degrade if very large numbers of field structures are placed simultaneously, so coordinate with your team rather than placing everything at once.
Why should I build the Radio Relay before anything else?
The Radio Relay does three things that nothing else replicates: it enables your team to respawn at that base, it extends your faction’s radio coverage by roughly 2,000 metres, and it contributes to your base’s passive supply regeneration rate. Without it, the base is effectively a ghost installation — no one can spawn there, and your radio network has a gap that cuts off further expansion in that direction. All other structures are secondary until the relay is built and confirmed active.
Ready to play?
Run your own Arma Reforger server with XGamingServer
Spin up an always-on Arma Reforger server your friends can join in minutes — no port-forwarding, no tech headaches.