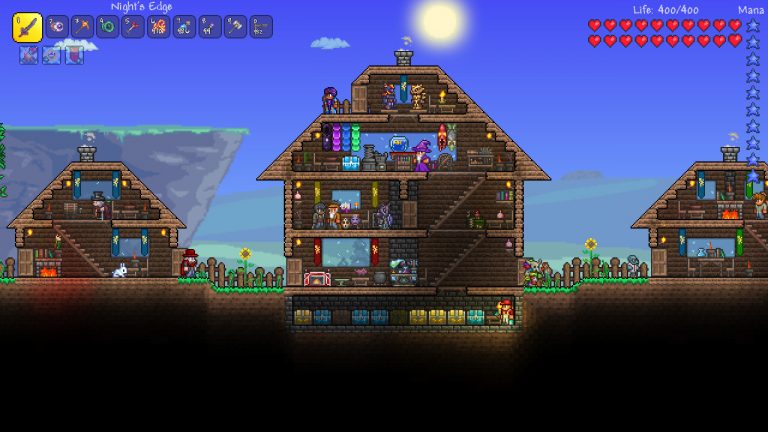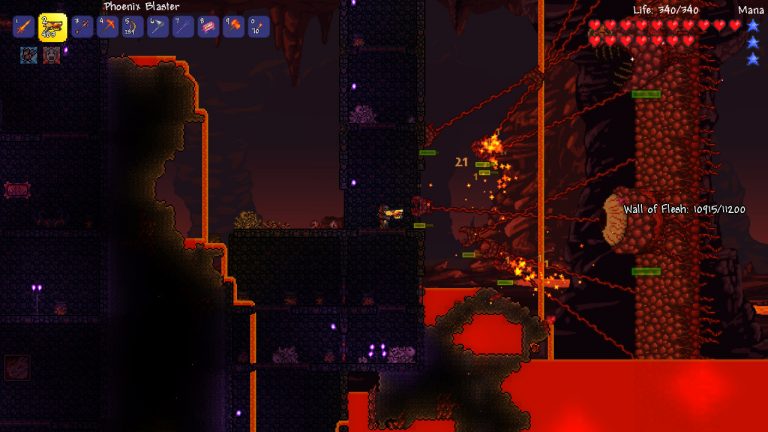
Defeating the Wall of Flesh is one of the biggest turning points in Terraria. The moment it dies, the status message “The ancient spirits of light and dark have been released” appears, and your world is permanently converted to Hardmode. New ores appear, two diagonal biome stripes carve through your map, enemies hit far harder, and a whole second half of the game opens up. This guide walks you through exactly what to do first, in the right order, so you can gear up safely instead of getting flattened by the new monsters.
What actually changes when Hardmode begins
When the Wall of Flesh falls, several things happen at once. Two diagonal stripes generate in a “V” pattern from the surface down through the Underworld: one converts tiles into the Hallow, the other spreads your world’s evil biome (Corruption or Crimson, depending on which your world has). From this point on, the Corruption, Crimson, and Hallow all spread much faster and more aggressively than they did pre-Hardmode, so containing them becomes a real concern later.
The Wall of Flesh always drops the Pwnhammer (100% drop rate), plus one of four class Emblems (Warrior, Ranger, Sorcerer, or Summoner, each at 25%) and one of four weapons (Breaker Blade, Clockwork Assault Rifle, Laser Rifle, or Firecracker, each at 25%). In Expert and Master Mode, it also drops the Demon Heart, which you can consume to permanently unlock a sixth accessory slot. Use it before you start grinding gear.
Step 1: Smash altars with the Pwnhammer
The Pwnhammer exists for one critical job: breaking Demon Altars (or Crimson Altars). Each altar you smash in Hardmode seeds a batch of the new ores throughout your world and shows the message “Your world has been blessed with [ore name]!” The ore type follows a fixed cycle for the first three altars:
- First altar: Cobalt Ore or Palladium Ore (chosen randomly)
- Second altar: Mythril Ore or Orichalcum Ore (chosen randomly)
- Third altar: Adamantite Ore or Titanium Ore (chosen randomly)
Which variant you get is locked in the first time each tier is rolled, and it is permanent for that world. After the first three, the cycle repeats: altars 4 to 6 spawn half as much ore as the first three, altars 7 to 9 spawn a third as much, and so on (the nth cycle generates 1/n the ore of the first). Each smash also spawns one or two Wraiths regardless of the time of day, so be ready to fight as you swing.
Smash at least the first three to guarantee one full set of every ore tier. Don’t smash every altar in your world immediately, because each one also has a chance to corrupt a random block somewhere, accelerating biome spread.
Step 2: Mine the new ore tiers in order
The three new ore tiers must be mined in sequence because each requires the pickaxe from the previous tier. Your pre-Hardmode Molten Pickaxe (100% pickaxe power) is exactly strong enough to start the chain by mining Cobalt or Palladium.
| Ore tier | Pickaxe power needed to mine | Pickaxe used to reach it | Pickaxe power of that tool |
|---|---|---|---|
| Cobalt / Palladium | 200% | Molten Pickaxe (pre-Hardmode) | 200% |
| Mythril / Orichalcum | 300% | Cobalt / Palladium Pickaxe | 110% |
| Adamantite / Titanium | 400% | Mythril / Orichalcum Pickaxe | 150% |
The workflow is: mine Cobalt/Palladium, craft a pickaxe (or drill) from it, use that to mine Mythril/Orichalcum, then craft the Mythril/Orichalcum Anvil. That anvil is essential because nearly every Hardmode recipe, including the new metal pickaxes and the Mechanical Boss summons, requires it. Then craft a Mythril/Orichalcum pickaxe to reach Adamantite/Titanium, the top pre-mech-boss ore.
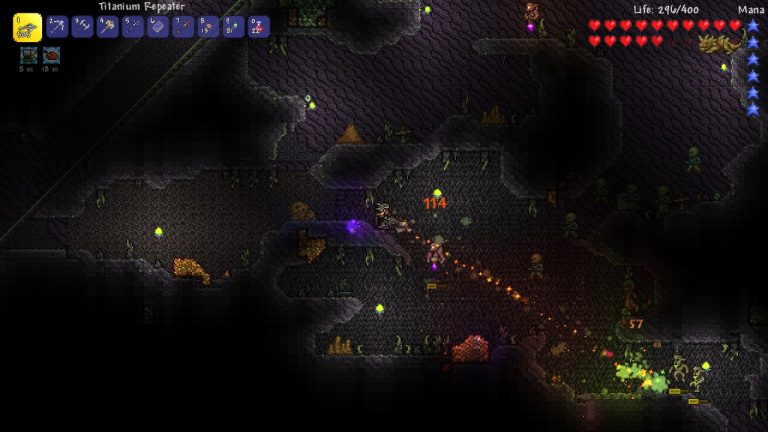
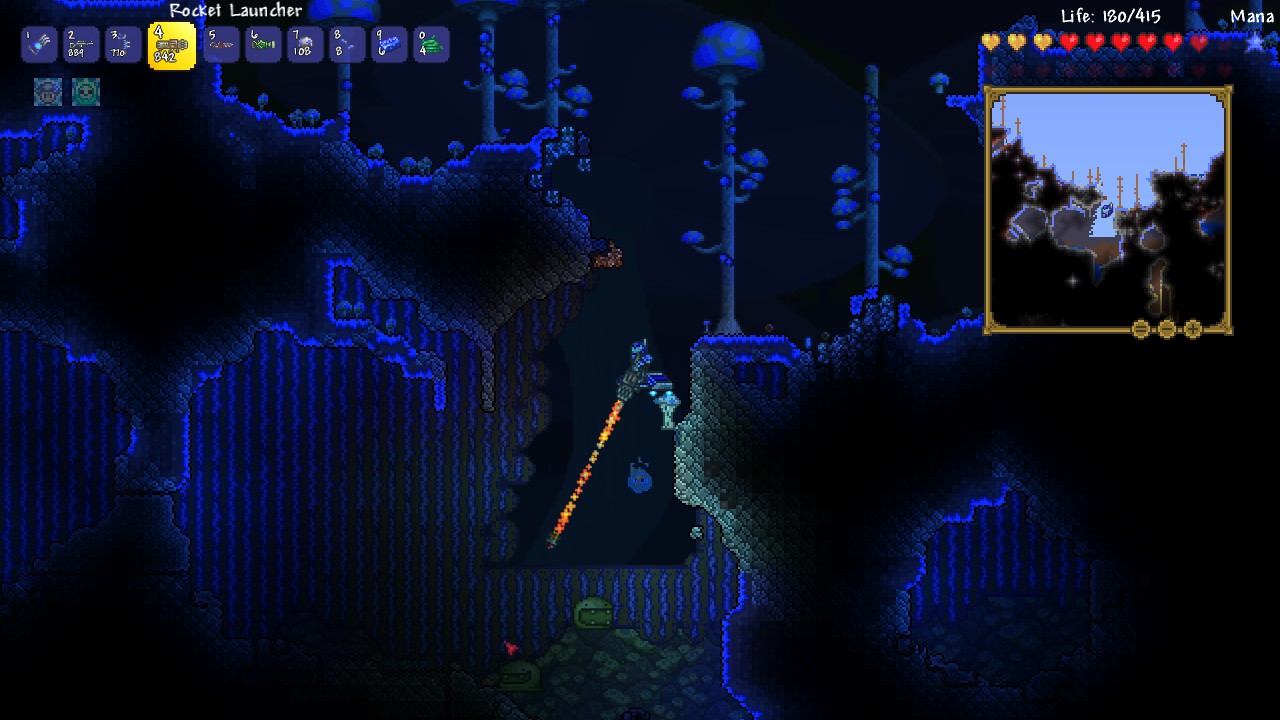
Step 3: Build armor and farm souls
Use your new ore to craft a full armor set. Adamantite or Titanium armor is the strongest available before the Mechanical Bosses and gives you set bonuses tuned to melee, ranged, magic, or summoner play. While you mine, collect the two Hardmode crafting souls:
- Soul of Light drops at a 1/5 (20%) chance from most enemies in the underground Hallow, at the Cavern layer and below.
- Soul of Night drops at the same 20% rate from most enemies in the underground Corruption or Crimson, at the Cavern layer and below.
The biome determines which soul drops, not the enemy. Both float in midair rather than falling, which makes them easy to grab in deep caverns. You need these souls (plus bars and other materials) to craft the items that summon the Mechanical Bosses.
Step 4: Beat the Mechanical Bosses
The three Mechanical Bosses are the next major progression gate. Each is summoned with an item crafted at a Mythril or Orichalcum Anvil:
- The Destroyer — Mechanical Worm (6 Rotten Chunk or 6 Vertebra, 5 Iron/Lead Bar, 6 Soul of Night)
- The Twins — Mechanical Eye (3 Lens, 5 Iron/Lead Bar, 6 Soul of Light)
- Skeletron Prime — Mechanical Skull (30 Bone, 5 Iron/Lead Bar, 3 Soul of Light, 3 Soul of Night)
The Destroyer is widely considered the easiest of the three, making it the logical first target. All three drop Hallowed Bars (15 to 30 per boss in Classic and Expert Mode, 20 to 35 in Master Mode via Treasure Bags), plus their unique soul: Soul of Might (Destroyer), Soul of Sight (The Twins), and Soul of Fright (Skeletron Prime). Hallowed Bars are unusual in that they have no corresponding ore and no smelting recipe; they come only from these bosses. Use them to craft the Hallowed armor set and powerful weapons at a Mythril or Orichalcum Anvil, which sets you up for Plantera and the rest of late-game progression.
Frequently asked questions
Do I have to smash every altar in my world?
No. Smashing the first three altars guarantees one batch of each ore tier. Beyond that, every cycle yields steeply diminishing ore (half, then a third, and so on), and each smash can corrupt a random block elsewhere, speeding up biome spread. Smash only as many as you need.
Why can’t I mine the new ore I see?
Each ore tier requires a stronger pickaxe than your current one. Cobalt/Palladium needs 200% pickaxe power (your Molten Pickaxe works), Mythril/Orichalcum needs 300%, and Adamantite/Titanium needs 400%. You must craft each tier’s pickaxe to reach the next ore.
Which Mechanical Boss should I fight first?
The Destroyer is generally the easiest, especially for ranged and piercing builds, so it’s a solid first kill. All three drop Hallowed Bars, but each also drops a unique soul (Might, Sight, Fright) that you’ll eventually want for crafting, so you’ll defeat all three before moving on.
Hardmode is far more punishing solo, and altar-smashing and boss fights are a lot more manageable with a few friends splitting the mining and combat. If you want a persistent world that stays online for your group, you can set up a dedicated Terraria server to play with friends and pick up your Hardmode run anytime. For setup walkthroughs and config tips, check the Terraria server documentation.
Want to go deeper on Hardmode systems? See our Terraria NPC Happiness Guide to unlock cheaper goods and Pylons, our Terraria Events Guide for the new Hardmode events, and the Terraria Money Guide for funding all that new gear.
Ready to play?
Run your own Terraria server with XGamingServer
Spin up an always-on Terraria server your friends can join in minutes — no port-forwarding, no tech headaches.