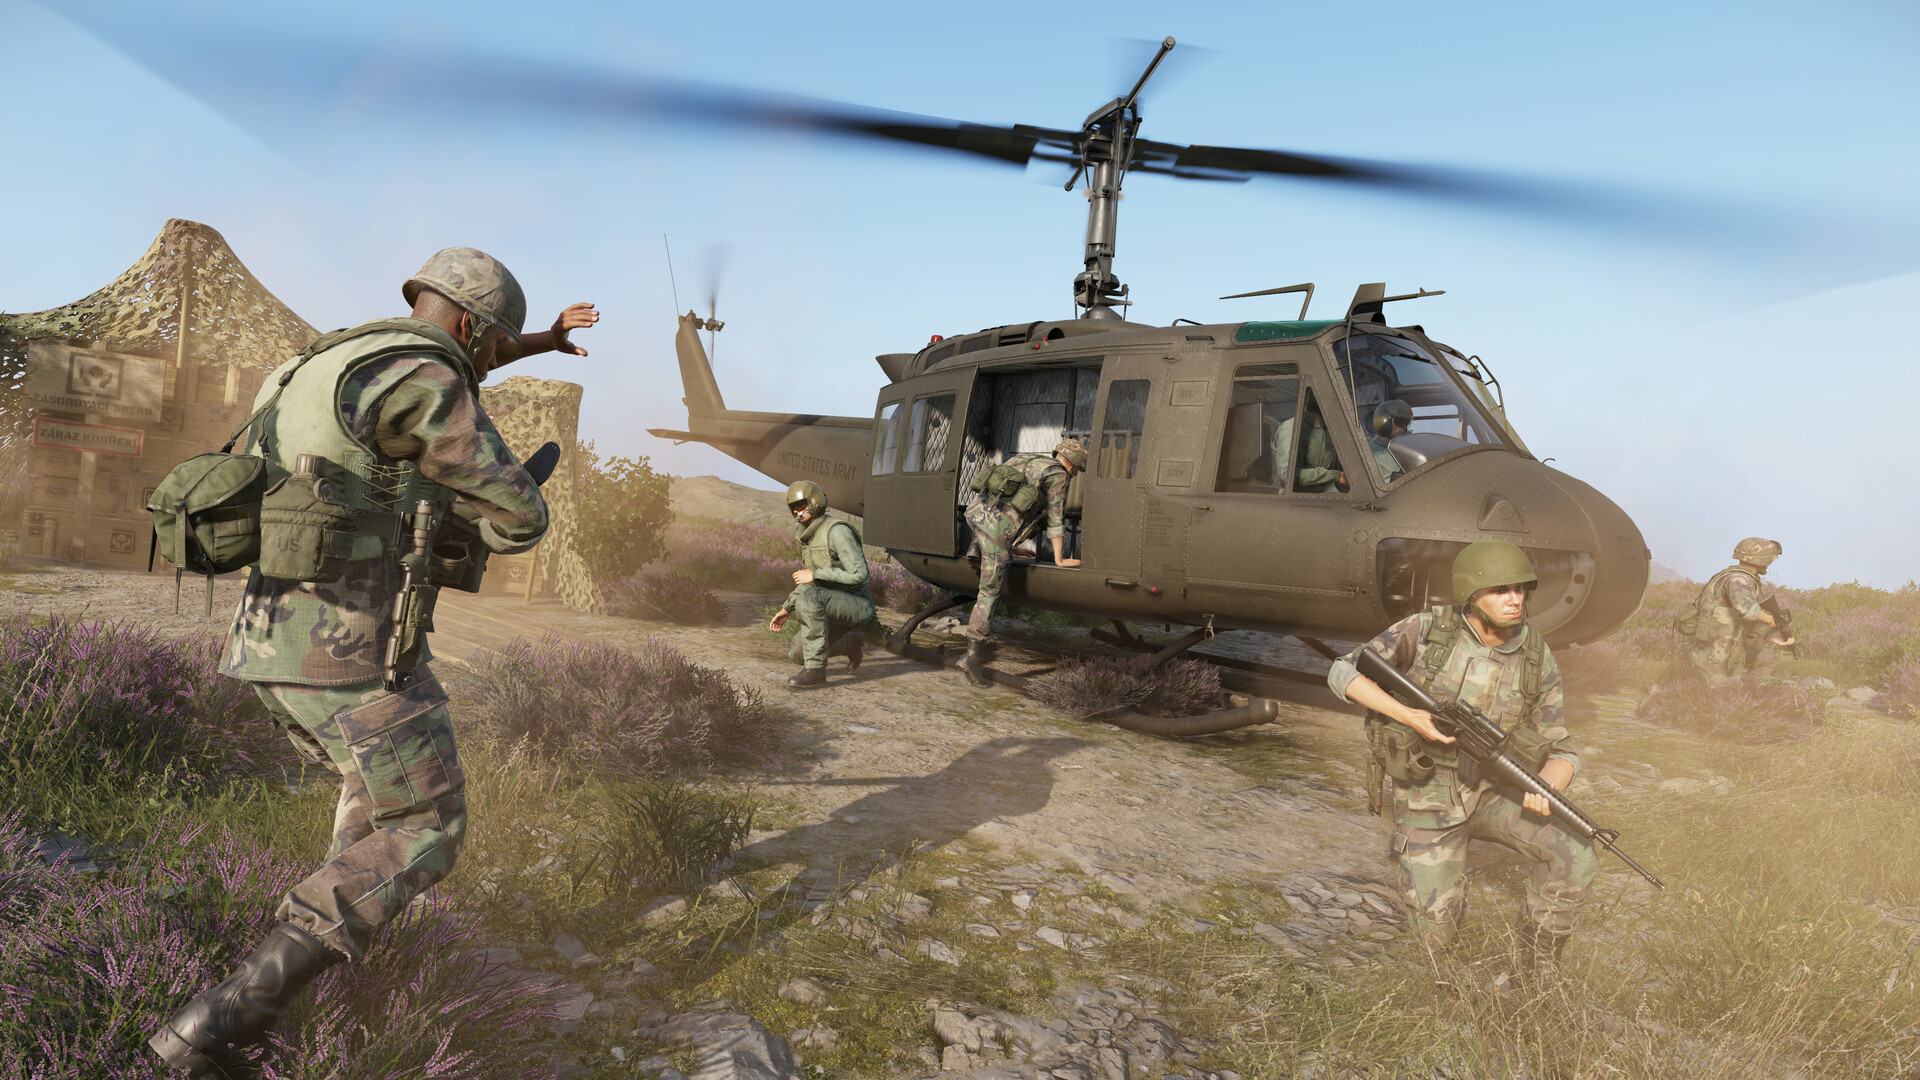
Indirect fire is one of the most decisive tools in Arma Reforger’s Conflict mode. A well-coordinated mortar team can suppress enemy advances, deny resupply routes, clear forests to open new sightlines, and collapse fortified positions that would take an infantry squad ten minutes to assault head-on. This guide covers everything from deploying the M252 and 2B14 Podnos to calling in a complete fire mission, adjusting rounds onto target, and integrating fire support with your wider team effort.
The Two Mortars: M252 vs 2B14 Podnos
Both mortars were introduced in the 1.3 update (March 2025) and represent the primary indirect-fire systems available without mods. They mirror each faction’s real-world equipment and are not interchangeable — ammunition is calibre-specific.
| Stat | M252 (US) | 2B14 Podnos (Soviet / FIA) |
|---|---|---|
| Calibre | 81 mm | 82 mm |
| Max range | ~2,900 m | ~2,300 m |
| Fire rate | ~1 round / 4 sec (~15 RPM) | ~1 round / 4 sec (~15 RPM) |
| Default HE stockpile | 8 rounds | 8 rounds |
| HE round | M821 | O-832DU |
| Smoke round | M819 | D-832DU |
| Illumination round | M853A1 | S-832S |
| Practice/training round | M879 | — |
| Mil system | NATO 6400 mil | Soviet 6000 mil |
| Man-portable (break-down) | No | Yes (tube + bipod) |
| Mortar pit cost (Conflict) | 400 supplies | 400 supplies |
The M252’s longer maximum range is a meaningful advantage in open terrain — you can engage targets the 2B14 cannot reach without repositioning. The 2B14 compensates with man-portability: it breaks down into a tube and bipod that two players can carry as backpacks, making it far easier to set up deep in enemy territory or on steep hillsides. Both components are required to reassemble the mortar, so always bring a second carrier or a vehicle.
Building and Positioning Your Mortar Pit
In Conflict mode, mortar pits are constructed from a command tent or construction truck for 400 supplies. Reaching Sergeant rank unlocks the ability to deploy AI crew, which lets a single player operate the mortar without requiring a dedicated human loader. In Game Master sessions, mortars can be placed directly from the editor without supply costs.
Positioning is critical for indirect fire. Follow these principles:
- Defilade — position behind a hill or inside a tree line so enemy infantry and vehicles cannot take direct shots at the pit.
- Elevation awareness — the in-game map now overlays elevation rounded to 5-metre increments. Note your mortar’s altitude and your target’s altitude; height difference affects the required elevation setting and must be compensated manually or via a mortar calculator.
- Safe distance — keep teammates at least 10–15 metres from the muzzle. Reforger models muzzle blast damage; standing too close or firing rapidly in succession can injure or kill crew.
- Resupply access — place the pit within reasonable distance of a supply crate or vehicle. Running low on HE mid-mission is a common mission-killer.
Crew Roles: Who Does What
A three-person mortar team is the recommended minimum: an aimer, a loader, and a forward observer (FO). Each role has distinct responsibilities.
- Aimer — mounts the mortar, sets azimuth and elevation via the sight dials, and recalibrates after each shot. Recoil physically shifts the mortar’s aim after firing; the aimer must check and correct alignment before the next round goes down the tube.
- Loader — carries shells in a backpack or dedicated hand slot, sets the number of charge rings on each shell (F key + scroll wheel on PC), and drops the round into the barrel. Charge rings directly control range: more rings = longer range.
- Forward Observer — positions with line of sight to the target area, calls the fire mission, observes each impact, and relays corrections back to the aimer. This is the role that most affects accuracy. A spotter using a rangefinder and the right optics and gadgets can cut correction rounds from four to one.
Calculating the Firing Solution
Unlike direct-fire weapons, mortars require a firing solution before the first round leaves the tube. You need three values: azimuth (horizontal bearing from mortar to target), elevation (vertical angle of the tube), and charge (number of propellant rings on the shell).
Step 1 — Plot positions. Use the in-game map to mark your mortar pit’s exact grid coordinate. The map uses a standard grid system; adding a fourth digit to each axis identifies a 10×10 m sub-square for precision work.
Step 2 — Measure azimuth and distance. Each faction receives a faction-matched map protractor: the US kit uses the NATO 6400-mil scale, the Soviet kit uses the 6000-mil scale. Lay the protractor over the map to read the bearing from your mortar to the target, then use the ruler edge to measure range in metres. Important: do not mix protractors between factions — the mil scales are incompatible.
Step 3 — Account for height difference. Read the elevation of both grid squares from the map overlay. Height correction applies to mortars only (it is not relevant if your community server runs howitzer or MLRS mods). Reference the in-game Ballistic Table gadget — added in 1.3 — which lists the required elevation for each range and charge combination.
Step 4 — Apply the solution. In the mortar sight UI, dial in the MIL azimuth on the horizontal axis and the corrected elevation on the vertical axis. The loader sets the matching number of charge rings. You are now ready to fire for effect — or, better, to fire a ranging round first.
Community-built calculators such as armamortars.org automate steps 2 and 3. Enter your mortar grid, target grid, and respective altitudes; the calculator outputs azimuth, elevation, and charge. These tools are legal on virtually every public server and dramatically reduce ranging time — especially useful when the FO has limited observation time before the target moves.
Fire Mission Procedure and Adjusting Fire
A complete fire mission follows a structured sequence that prevents friendly-fire incidents and maximises first-round accuracy. The four main adjustment techniques are successive bracketing, hasty bracketing, one-round adjustment, and creeping fire.
Successive bracketing is the recommended method for less experienced observers. The FO fires one round, assesses whether the impact is over or short, then calls a correction that places the next round on the opposite side of the target. The team progressively narrows the bracket — using range adjustments of 400 m, then 200 m, then 100 m — until rounds are landing within approximately 50 metres of the target. At that point the FO calls “Fire for Effect” and the team sends a rapid volley.
Hasty bracketing skips some splitting steps for speed — useful when the target is time-sensitive (a vehicle column, an enemy building fortifications). It requires a more experienced FO who can accurately estimate distance to impact.
Creeping fire is reserved for danger-close missions where friendly troops are near the target. The FO walks rounds toward the enemy in small increments, accepting a slower rate of fire to avoid blue-on-blue casualties.
When reporting corrections, the FO uses two axes: deviation (left or right of target, in metres) and range (short or long, in metres). Example transmission: “Left 50, add 100, fire.” Clear, brief radio calls matter here — see our radio communications guide for the correct format and net discipline when running a Fire Direction Centre.
Advanced Indirect Fire Tactics
- Pre-planned target reference points (TRPs) — before an assault, calculate and write down firing solutions for likely enemy positions: the flag zone, the resupply depot, the most obvious vehicle approach. When the attack stalls, you can immediately drop rounds on a pre-plotted grid without a slow adjustment sequence.
- Time-on-target (TOT) salvos — fire a high-charge (long time-of-flight) round first, then switch to a lower charge. Both rounds arrive near-simultaneously, reducing the enemy’s reaction window. The overlap ranges for the M252 sit between approximately 700–2,000 m for medium and far charges.
- Sweeping barrages — establish a start and end grid, then incrementally shift the azimuth between rounds to walk fire across a defensive line or road. Effective for disrupting enemy reinforcements moving along a predictable route.
- Smoke and illumination support — smoke rounds (10 supplies each) screen friendly movement across open ground; illumination rounds (5 supplies each) expose night attacks. Both have a shorter maximum range than HE, so adjust your firing solution accordingly.
- Ammo economy — HE shells cost 50 supplies each in Conflict mode. A twelve-round fire-for-effect salvo costs 600 supplies — more than the mortar pit itself. Reserve HE for confirmed, high-value targets and use practice rounds during team training sessions (1 supply each).
Running a Mortar Team on Your Own Server
Mortar tactics shine brightest on dedicated community servers where squads can use structured comms, assign permanent FO roles, and run pre-planned operations. If you want to host a server with the full Conflict experience — indirect fire, building destruction, attack helicopter support — a low-latency Arma Reforger dedicated server keeps tick-rate stable even during sustained mortar bombardments when shell physics and destruction are running simultaneously. For setup guides, mod management, and server config reference, the Arma Reforger server documentation covers everything from initial deployment to workshop mod loading.
Frequently Asked Questions
Why does my mortar keep missing even after I dial in the correct azimuth and elevation?
The most common culprit is recoil drift. Every time the mortar fires, recoil physically shifts the tube off its set bearing and elevation. The aimer must check and correct both dials after every shot — not just at the start of a fire mission. The second most common cause is an uncorrected height difference between the mortar and target. If you ignored the elevation field in your calculator, a target sitting 40 metres higher or lower than your pit will see rounds consistently long or short.
Can the 2B14 Podnos use M252 shells, or vice versa?
No. The M252 fires 81 mm NATO-specification rounds (M821, M819, M853A1, M879) and the 2B14 fires 82 mm Soviet-specification rounds (O-832DU, D-832DU, S-832S). The game enforces this — you cannot load the wrong calibre into either mortar. If you are playing as FIA and have captured a US mortar position, you will need US ammo crates to supply it.
Do I need a mod to use howitzers or MLRS in Arma Reforger?
Yes. As of the current version, the M252 and 2B14 are the only indirect-fire systems in the base game. Howitzers (such as the M119 or D-30) and rocket artillery (such as BM-21 Grad variants) require server-side workshop mods. These systems also behave differently from mortars: height correction does not apply to them, and they typically need a larger crew and more complex logistics. Check with your server operator before planning fire missions around mod-dependent assets.
Ready to play?
Run your own Arma Reforger server with XGamingServer
Spin up an always-on Arma Reforger server your friends can join in minutes — no port-forwarding, no tech headaches.


