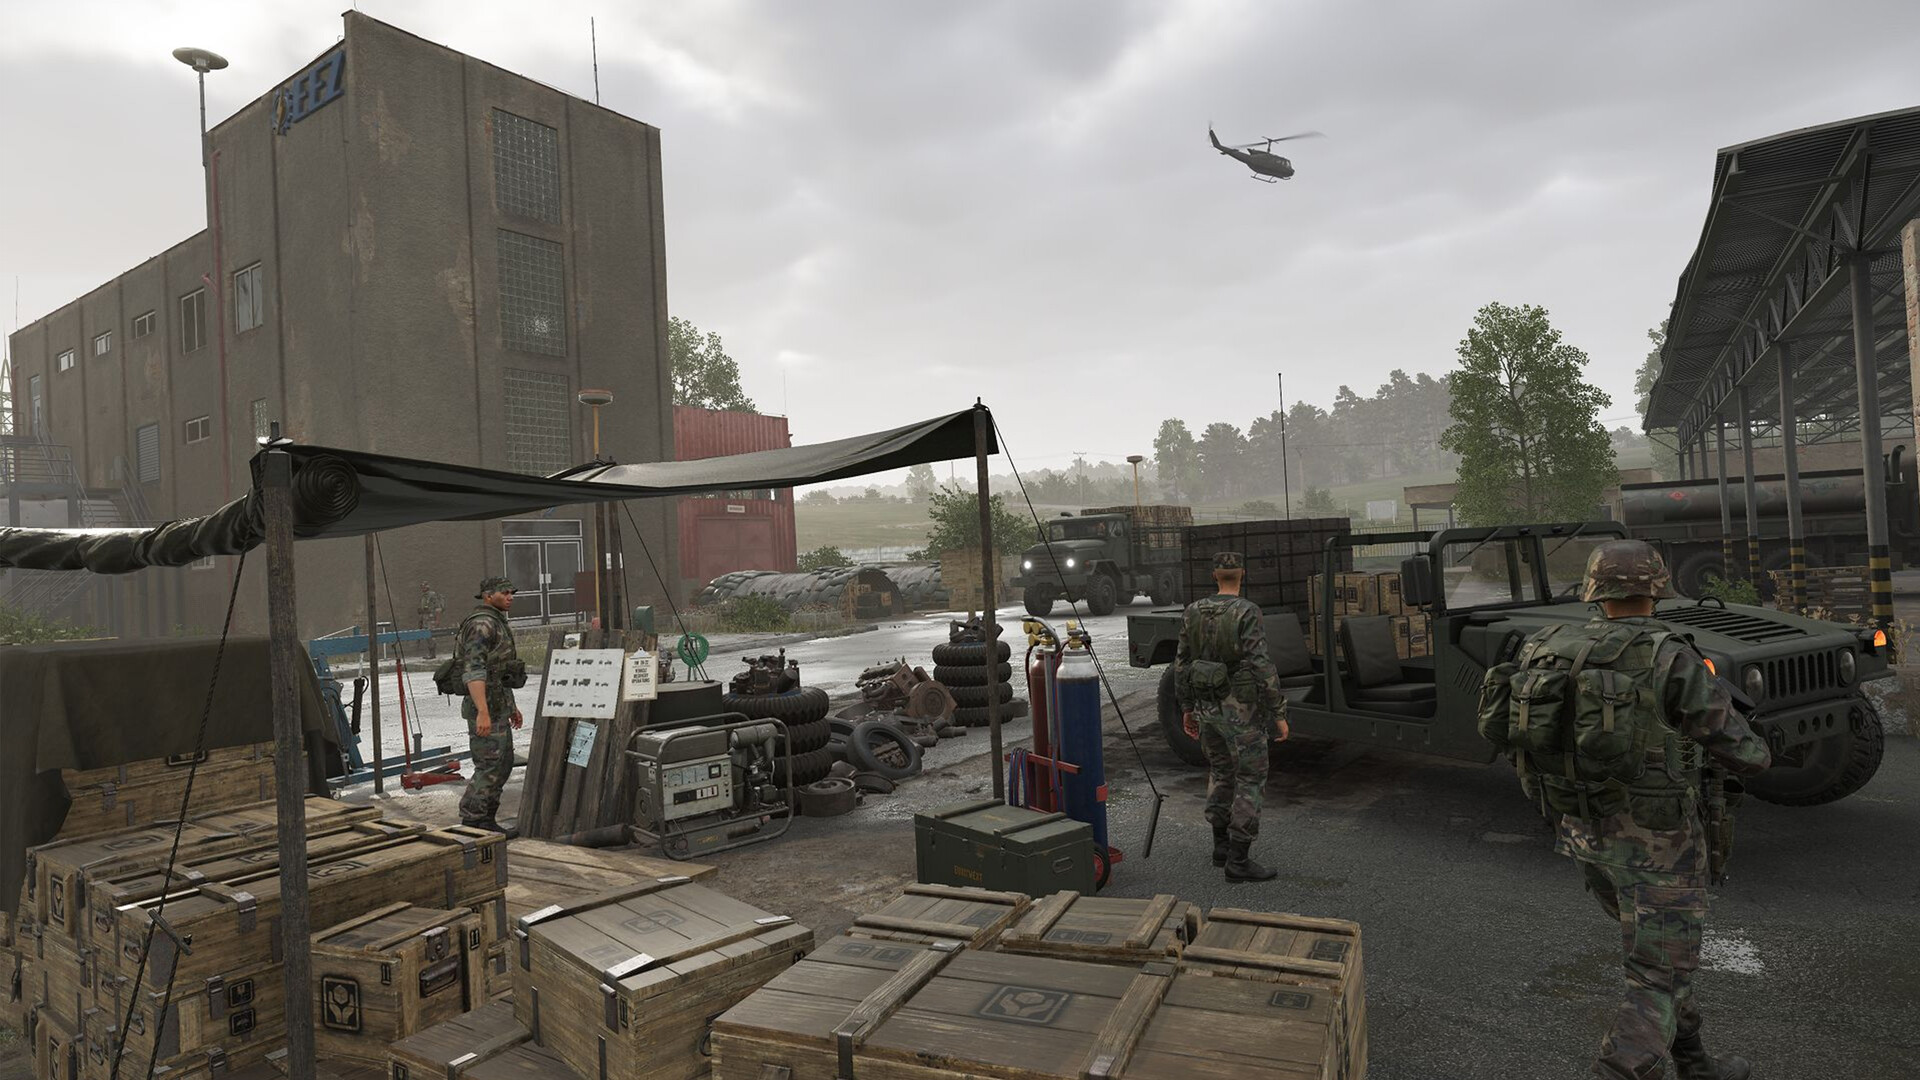
Helicopters are among the most powerful assets in Arma Reforger — and among the most humbling to learn. A skilled pilot can insert a full squad behind enemy lines, resupply a contested base in seconds, or keep infantry pinned with rocket fire from a gunship variant. An unskilled one turns an expensive machine into a smoking crater. This guide covers everything you need to get airborne confidently: the core flight controls, how collective and cyclic actually behave in Reforger, the autohover system, and the practical differences between the US faction’s UH-1H Huey and the Soviet faction’s Mi-8MT Hip.
Understanding the Core Controls
Arma Reforger uses a simplified flight model compared to Arma 3’s optional Advanced Flight Model, but it still demands real coordination. There are three primary control axes every pilot must internalize before leaving the ground:
- Collective — Controls how much lift the main rotor generates. Hold Shift to increase collective (climb) and Ctrl to decrease it (descend). Unlike a true HOTAS system, Reforger’s collective returns toward neutral when you release the key, so you must hold it continuously to maintain a steady climb or descent rate.
- Cyclic — Controls the helicopter’s pitch and roll. W pitches the nose down (forward acceleration), S pitches the nose up (deceleration/flare), A rolls left, and D rolls right. Mouse aircraft control can be enabled in Settings → Gameplay for a more natural feel — many players bind cyclic entirely to mouse and keep rudder on A/D.
- Anti-torque (Yaw / Pedals) — The tail rotor counters the spin produced by the main rotor. Q yaws left, E yaws right. In a hover, constant small pedal corrections are what keep you pointing straight. Neglecting them is the number-one cause of uncontrolled spins for new pilots.
The autohover function (X by default) is your best friend while learning. It engages a stabilisation system that holds the helicopter’s current altitude and arrests drift, leaving you free to orient with the camera or manage passengers. Note that autohover overrides collective input while active — disengage it before you attempt any deliberate climb or descent, or the aircraft will fight your inputs.
Takeoff: Step-by-Step
- Board and start the engine. Enter the pilot seat and use the interaction scroll wheel to start the engine. Wait for the rotor to spin up to full RPM before pulling collective — attempting to lift before full power risks a low-energy departure that clips terrain.
- Slowly hold Shift. Ease collective up gradually. The helicopter will rock slightly as ground effect pushes back against the skids — hold steady and use small pedal corrections to maintain your heading.
- Establish a stable low hover. Once 2–5 metres clear of the ground, pause. This is the hardest moment for beginners: the helicopter wants to drift. Use tiny cyclic inputs to arrest drift before it builds, not after.
- Apply forward cyclic. Gently push W to tilt the nose down and transition from hover to forward flight. As translational lift kicks in around 30–40 km/h, the helicopter becomes much more stable and easier to fly.
- Climb at a shallow angle. Maintain collective and a slight nose-down attitude for efficient climb. Steep nose-up climbs bleed airspeed rapidly and can settle the aircraft back toward the ground.
Landing: Standard and Combat Approaches
The standard approach is the safest for transport: reduce speed well before the landing zone, bleed altitude gradually with gentle collective reduction, and aim for a slow final approach with the nose slightly raised. As you near the ground, flare fully with S to scrub remaining forward speed, then lower collective to settle onto the pad. Touch down on all skids simultaneously and fully reduce collective before disembarking passengers.
For combat situations, experienced pilots use the J-Hook technique: approach the LZ at speed, then execute a sharp banking turn that bleeds energy rapidly while orienting the nose toward the direction you want to face on landing. The manoeuvre requires practice to judge entry speed and bank angle, but it minimises your exposure time over the landing zone. Learn it in a Game Master session before attempting it in a live Conflict match.
UH-1H Huey vs Mi-8MT Hip: Which Should You Fly?
The two helicopters serve the same broad roles — troop transport and, since the 1.3 Fire Support update in early 2025, light fire support via gunship variants — but they handle very differently in the air. The UH-1H is the US faction’s workhorse: a two-blade, lighter airframe that responds quickly and is forgiving to fly at low speed. The Mi-8MT is the Soviet faction’s equivalent: a five-blade heavy transport that carries significantly more and absorbs considerably more punishment, but is slower to respond and requires more planning for tight landing zones.
| Attribute | UH-1H Huey (US) | Mi-8MT Hip (Soviet) |
|---|---|---|
| Faction | US Forces | Soviet Forces |
| Rotor blades | 2-blade | 5-blade |
| Weight class | Light (~4,100 kg gross) | Heavy (~11,100 kg) |
| Agility | High — tight turns, responsive | Moderate — more planning required |
| Supply transport capacity | Lower (approx. half of Mi-8) | Higher — roughly double the UH-1H |
| Durability (small arms) | Moderate | Higher — absorbs more hits |
| Gunship variant (since 1.3) | Yes — HE and HEDP rocket pods | Yes — HE and HEDP rocket pods |
| Best use | Fast insertions, light resupply, QRF | Heavy logistics, mass troop transport |
Autohover and Autopilot Modes
Vanilla autohover (X) received an improved altitude control algorithm in a September 2024 update, making it much more stable and reducing the tendency to flare unpredictably. It is best used for brief pauses — inserting troops, sling-loading cargo, or re-orienting — not as a crutch for hands-off flight at speed.
If your server runs the popular Advanced Helicopter Controls workshop mod, three additional autopilot modes become available (rebindable under Settings → Controls → Helicopter): Altitude Hold (captures current altitude and maintains it using collective, with both radar and barometric submodes), Heading Hold (maintains established heading via yaw or roll while you control pitch and collective), and Inertial Airspeed Hold (maintains set airspeed via pitch inputs). These modes can run concurrently, making instrument approaches and long ferry flights far less fatiguing.
Transport Tactics for Server Pilots
Flying a full squad in Conflict is a team responsibility. A few habits separate pilots who complete missions from those who bin their squads into a hillside:
- Communicate before lifting. Call out your destination, route, and estimated flight time on radio before you depart. Passengers cannot bail out mid-flight without dying.
- Scout the LZ first. Make one high fast pass to check for enemy presence before committing to a landing. A second pass at low slow speed burns your stealth for no gain — commit or abort.
- Land, don’t hover-drop. Hovering over a hot LZ at 5 metres is not a drop-off — it is a target. Touch down fully, let passengers dismount at ground level, then depart low and fast.
- Return to a supply pad to rearm gunship variants. Rocket pods on both the UH-1H and Mi-8 gunship variants can be rearmed at helicopter landing pads. Do not expend all ordnance and then attempt a troop run — swap to a transport variant or return for rearm first.
- Rank up before expecting a helicopter. In Conflict mode, ranks are session-based and reset each match. Helicopters unlock at higher ranks — earn them by capturing objectives, resupplying bases, and eliminating enemies.
Practise Without the Stakes
The fastest way to learn is on a private Arma Reforger server running Game Master mode, where you can spawn helicopters on demand and practice takeoffs, J-Hooks, and confined-area landings with no consequences. Trying to learn on a public Conflict server means your teammates wait while you crash three machines in a row — not a great first impression. Once you can reliably hover, transition to forward flight, and execute a smooth approach, you are ready for live operations. A good benchmark: if you can land consistently on a flat pad within 5 metres of the target marker in under 30 seconds, you are ready to carry troops.
For a deeper look at how pilots fit into the broader tactical picture, the Arma Reforger server setup documentation covers everything from server-side vehicle settings to spawn configuration.
Frequently Asked Questions
Why does my helicopter keep spinning when I try to hover?
This is almost always insufficient anti-torque correction. As you increase collective to hover, the main rotor torque increases — your tail rotor (Q/E) must increase to match it. Hold a small amount of pedal input in the opposite direction to the spin and make micro-adjustments as collective changes. The instinct to over-correct with large pedal kicks makes it worse. Small, continuous corrections are the answer.
What is the difference between radar altitude and barometric altitude in autohover?
This distinction applies when using the Advanced Helicopter Controls workshop mod. Radar altitude (green indicator) measures your height above the terrain directly beneath you — it keeps you at a consistent height above ground even over hills and valleys. Barometric altitude (blue indicator) measures absolute altitude above sea level and holds a fixed number regardless of terrain below. Use radar mode for nap-of-the-earth flying and terrain following; use barometric mode for overland cruise at a fixed altitude where terrain is known to be flat.
Can I fly the Mi-8 if I am playing on the US side?
In vanilla Conflict mode on official scenarios, the Mi-8MT is a Soviet faction asset and the UH-1H is assigned to the US side. You cannot legitimately access the opposing faction’s helicopter during normal play. However, in Game Master mode, the scenario host can spawn any vehicle for any player, making it an excellent environment for learning both aircraft before you encounter (or need to destroy) them in Conflict.
Ready to play?
Run your own Arma Reforger server with XGamingServer
Spin up an always-on Arma Reforger server your friends can join in minutes — no port-forwarding, no tech headaches.


