In The Isle Evrima, survival starts with two bars you can never ignore: hunger and hydration. Let either run dry and your dinosaur begins taking damage and dies — no predator required. But Evrima goes deeper than a simple food-and-water timer. Layered on top of hunger is a nutrient system (proteins, lipids, and carbohydrates) that decides how fast you grow from a vulnerable juvenile into a fully-grown adult. This guide covers how hunger, thirst, and nutrients actually work in the current Evrima build, plus practical advice for finding food and water before the bars turn red.
The hunger bar: how your stomach works
Your dinosaur spawns with a stomach at full capacity, and that capacity grows as your dinosaur ages — an adult holds far more food than a hatchling but also needs more to stay topped up. The drain rate depends heavily on species size. Small dinosaurs like Hypsilophodon empty their stomach noticeably faster than a bulky Stegosaurus, so tiny survivors have to eat more often. When hunger gets critically low, the HUD hunger indicator flashes a blazing red color (roughly a minute or two before you start taking starvation damage) and won’t clear until you eat or die.
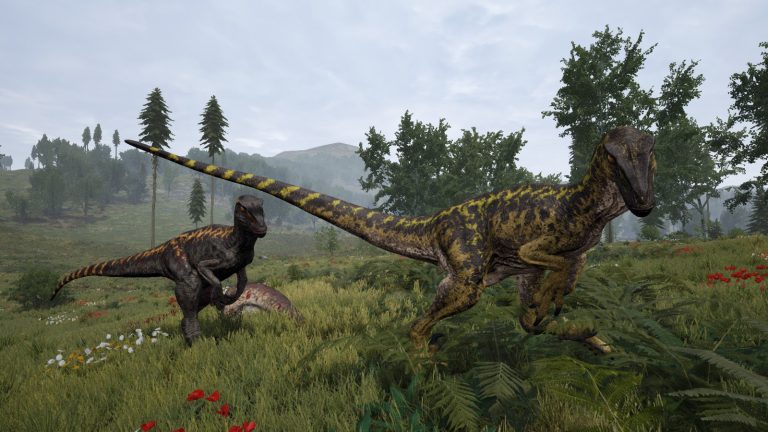
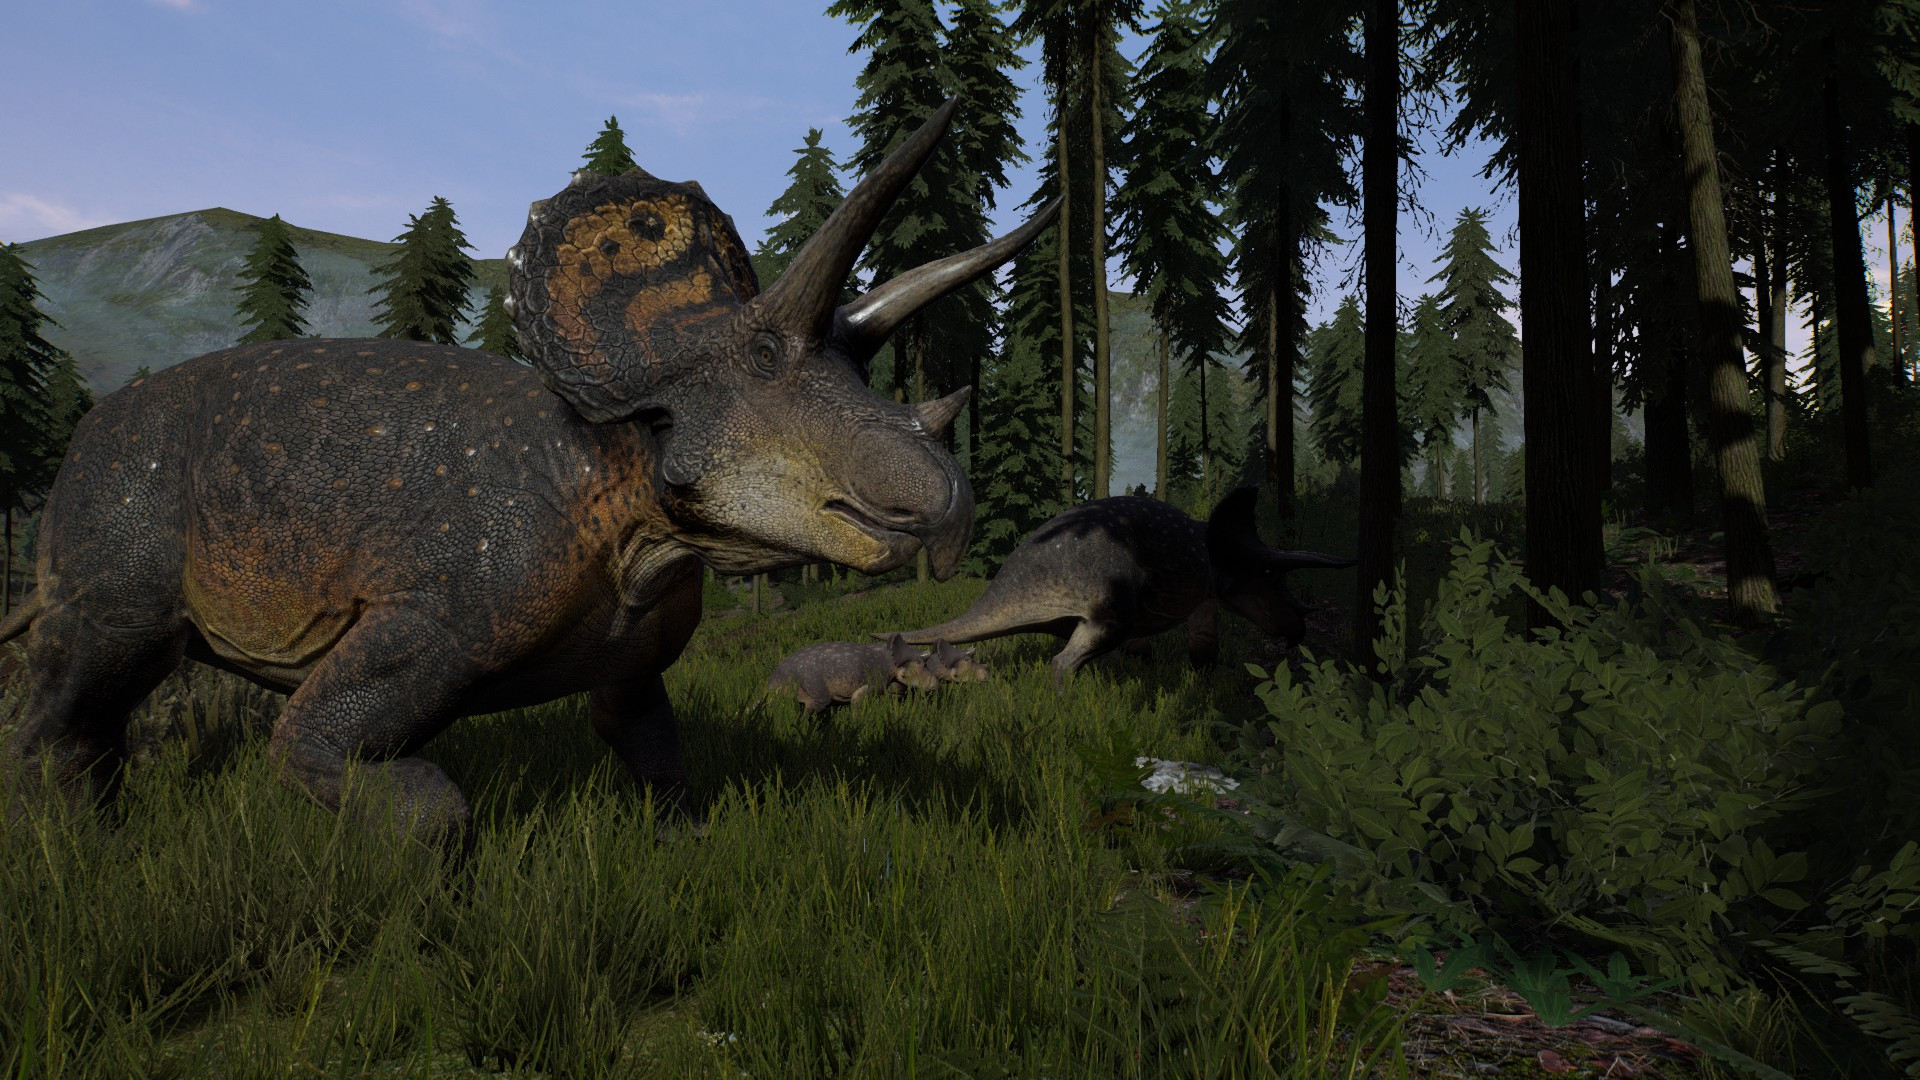
What you eat depends on your diet type. Carnivores hunt live prey, scavenge corpses, and harvest specific organs and meat chunks. Herbivores graze on grass and forage plants and fruit found around the map. New players should read our first-life survival walkthrough before committing to a long grow, since dying at 100% growth is a brutal lesson.
The three nutrients: proteins, lipids and carbohydrates
Above your hunger bar sit three smaller indicators representing your nutrient values. In the current build these are labeled with Greek symbols — β (Beta) for proteins, γ (Gamma) for lipids, and α (Alpha) for carbohydrates. (Older builds and some guides still show them as S, //, and ∴, so don’t be thrown if the notation looks different in screenshots.) Each nutrient fills independently, and keeping all three stocked is what unlocks Evrima’s fastest growth.
For carnivores, different organs supply different nutrients. This is why experienced players butcher a carcass selectively rather than gorging on the nearest body part:
| Nutrient | Symbol | Carnivore source | Herbivore source |
|---|---|---|---|
| Protein | β (Beta) | Heart | Varied forage / fruit |
| Lipids | γ (Gamma) | Intestines | Varied forage / fruit |
| Carbohydrates | α (Alpha) | Lungs | Plants, grass, grazing |
The stomach organ is a wildcard — what it provides depends on what the prey animal recently ate. Herbivores generally pull a mix of nutrients from varied plants and fruit, so eating from several different food sources tends to balance their bars better than camping a single bush.
Why a balanced diet matters: growth bonuses
Each nutrient can contribute up to 100% growth rate on its own, and the system stacks: one nutrient gives 100%, two give 200%, and all three filled gives the 300% maximum. Eating a varied, three-part meal of protein, lipids, and carbohydrates also grants a substantial growth-rate buff — commonly cited as around +50% — which is the strongest growth bonus currently available. In practical terms, a balanced diet can roughly halve the real time it takes a juvenile to reach adulthood compared to eating only one food type.
Beyond raw growth speed, hitting nutrient combinations is tied to passive regeneration perks (such as health, bleed, and fracture regen as you fill specific nutrients). Exact percentages and combo effects are patch-dependent, so check current patch notes or the in-game tooltips for the build you’re on. If you want to compare full stats across the roster, our Evrima dinosaur database lists growth and combat numbers for every playable species.
Hydration, thirst and dehydration
The water-droplet icon tracks your thirst, and like hunger it scales up as your dinosaur ages. When the bar is full it’s greyed out; as it depletes it fills with a soft blue and the icon wiggles. Push it further and the indicator visually shatters as you approach dehydration damage, and — just like hunger — both indicators glow red roughly a minute or two before you start losing health.
Letting thirst drop too low applies a “Fluid Deficient” debuff. A critical mistake new players make is drinking saltwater from the ocean: it doesn’t quench you and instead makes your thirst decay faster than normal. Stick to fresh water — rivers, lakes, and puddles. For deeper coverage of swimming, currents, and the drowning risks that come with deep water, see our water, diving and drowning guide.
Finding food and water on the map
- Use scent. Evrima’s scent system can surface nearby water and food on your compass — invaluable when you spawn in unfamiliar terrain.
- Follow terrain down. Fresh water collects in low ground — valleys, river channels, and lake basins. Heading downhill is a reliable way to find a drink.
- Drink and eat before you travel. Top both bars off before a long migration so you’re not caught red-barred mid-journey.
- Hunt or forage en route. Carnivores should harvest organs selectively for nutrient balance; herbivores should graze from several plant types rather than one.
- Watch your size. Small species drain faster — plan shorter trips between food and water sources.
Players sometimes use gastroliths (stones foraged from gravelly ground near rocky shorelines and mountains) to help manage stomach fullness and diversify nutrients, though they can increase hunger drain — treat them as a situational tool, not a free meal.
Running your own server
Server admins can tune growth and survival pacing through config, which is why many groups run private servers for a less punishing or more hardcore experience. If you’re setting one up, our The Isle server setup docs walk through configuration, and you can spin up an instance on our dedicated Isle Evrima hosting in minutes.
FAQ
Can I drink saltwater in The Isle Evrima?
You can interact with it, but it won’t hydrate you properly — drinking saltwater causes your thirst to decay faster. Always seek out fresh water from rivers, lakes, and puddles instead.
What’s the fastest way to grow up in Evrima?
Keep all three nutrients (protein, lipid, carb) filled. A varied three-part meal grants the strongest growth buff available and stacking all three nutrients reaches the 300% growth-rate cap, dramatically cutting your time to adulthood.
What happens if my hunger or thirst hits zero?
The HUD indicator flashes red about a minute or two before you start taking damage. If you don’t eat or drink in time, you’ll take continuous health damage and eventually die from starvation or dehydration.
Ready to play?
Run your own The Isle Evrima server with XGamingServer
Spin up an always-on The Isle Evrima server your friends can join in minutes — no port-forwarding, no tech headaches.