
Enabling a whitelist is an important step in maintaining a safe and secure environment in various online communities a whitelist is a list of approved users who are allowed access to a particular service or platform and by enabling a whitelist you can ensure that only authorized users can access your service preventing unwanted guests or malicious actors from disrupting the community and in this article we’ll provide you with a step by step guide on how to enable a whitelist!
How to enable the whitelist on your server:
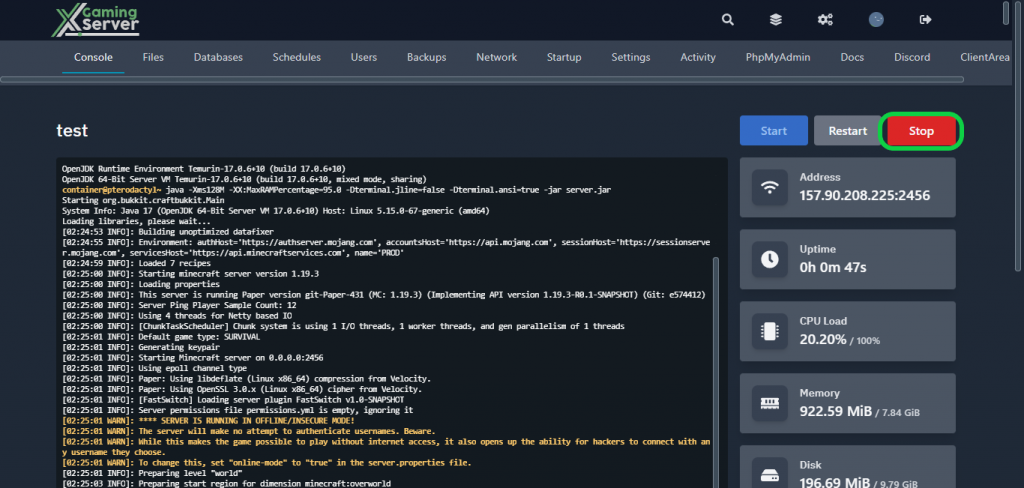
1- Go to your server’s control panel, then hit “Stop” to stop your server
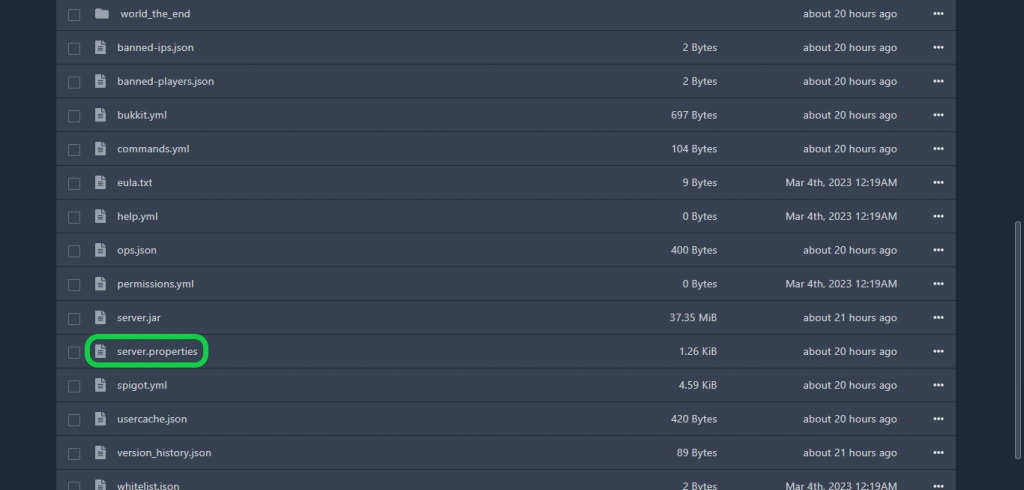
2- Go to the “Files” tab, then open “server.properties“
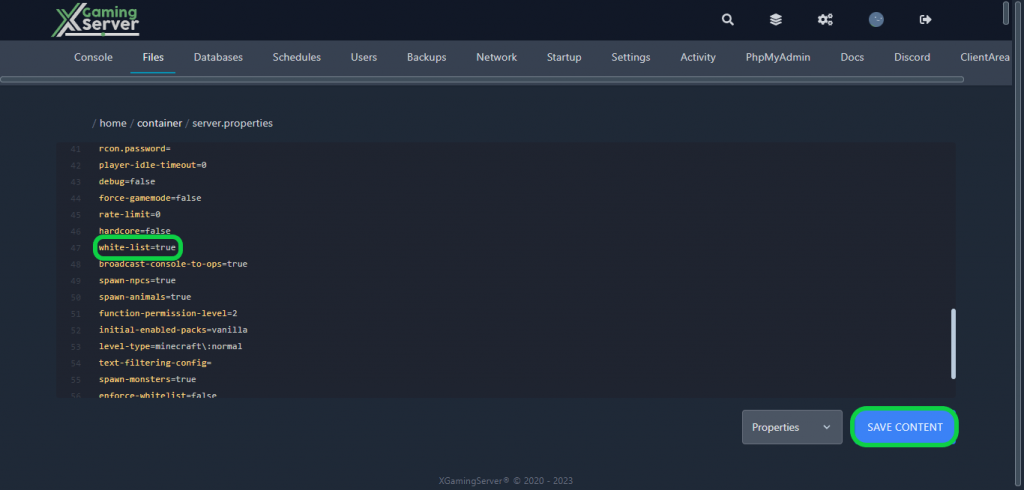
3- Go to “white-list” and change it from “false” to “true“, then hit “Save Content“
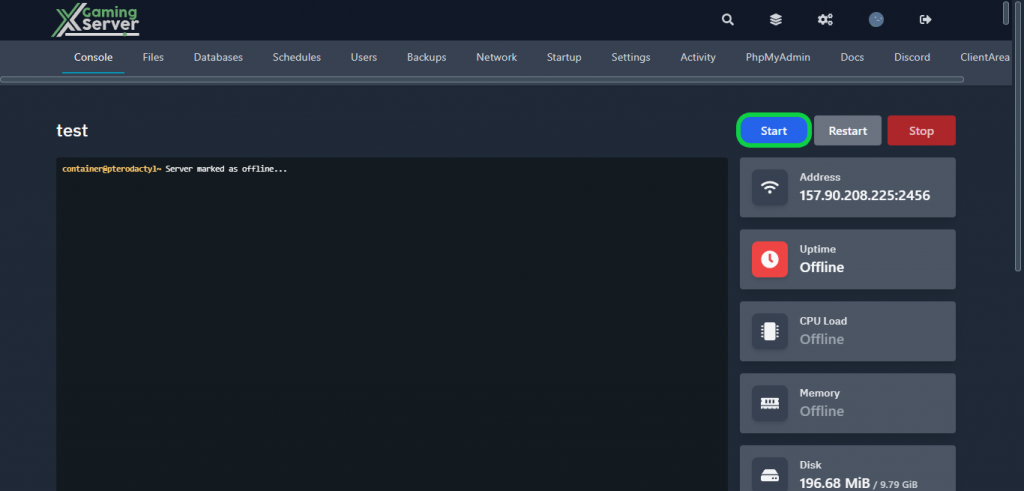
4- Go back to your server’s control panel then click “Start” to start your server
Adding players to the whitelist:
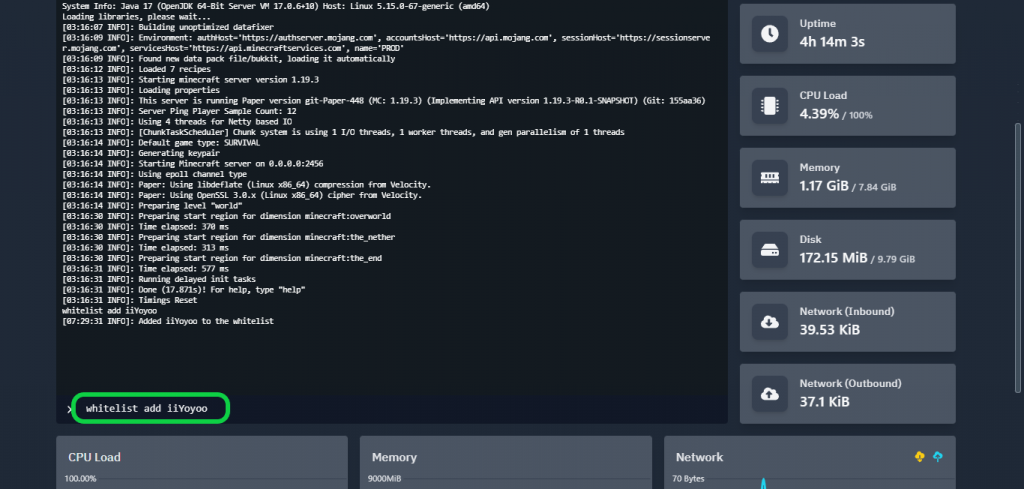
1- Go to your server’s console then run this command to add a player to the whitelist whitelist add <player_name>
If you need any help with your service don’t hesitate to contact us through our support tickets at https://billing.xgamingserver.com/submitticket.php
