Introduction
Welcome to the Factorio Train guide series! This guide aims to help you understand the fundamentals of trains, rails, and signals in Factorio. This complex topic will be broken down into manageable sections, including train configurations, signaling, and scheduling. By the end, you should be able to set up and manage an efficient train network in your base.
Train Configuration
Single-headed vs. Double-headed Trains
- Single-headed Trains:
- Pros: Faster, shorter, easier to signal, simpler station management.
- Cons: Requires loops or turnarounds.
- Best For: Larger train networks with multiple stations.
- Double-headed Trains:
- Pros: Can reverse direction without loops, simpler for point-to-point routes.
- Cons: Slower, longer, more complex station management.
- Best For: Single point-to-point routes.
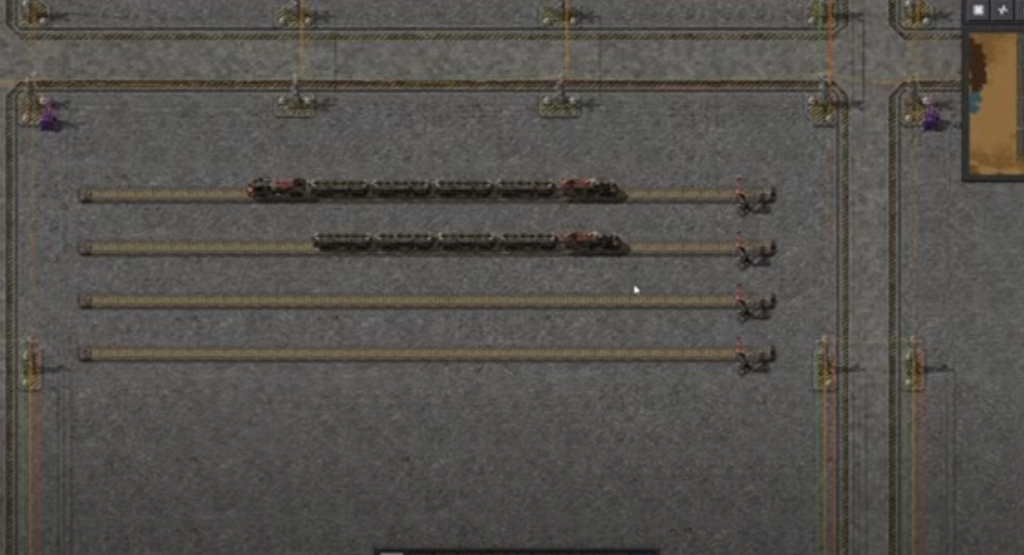
Train Sizes
- 1-1 (Locomotive-Wagon): Fast but low capacity.
- 1-2, 1-3, 1-4: Increasing capacity, balances speed and load.
- 2-8: High capacity, suitable for long-distance and large-scale resource transport.
Tip: Use powers of two (e.g., 1-4, 2-8) for easy balancing and optimal station setups.
Train Signaling

Basic Concepts
- Blocks: Sections of track separated by signals. Only one train can occupy a block at a time.
- Rail Signals: Control entry into blocks. Place at block entrances.
- Chain Signals: Used before intersections to prevent deadlocks by ensuring the next block is clear.
Steps to Signal Intersections
- Identify Blocks: Place rail signals to divide tracks into manageable blocks.
- Use Chain Signals: Place chain signals before intersections to ensure trains don’t enter if they can’t exit.
- Normal Signals After Intersections: Place rail signals after intersections to finalize block separation.
Simple Rules:
- After a normal signal, ensure there’s room for a full train.
- Use chain signals at intersections to prevent deadlocks.
- Avoid overcomplicating; more signals can lead to inefficiency if placed incorrectly.
Scheduling Trains
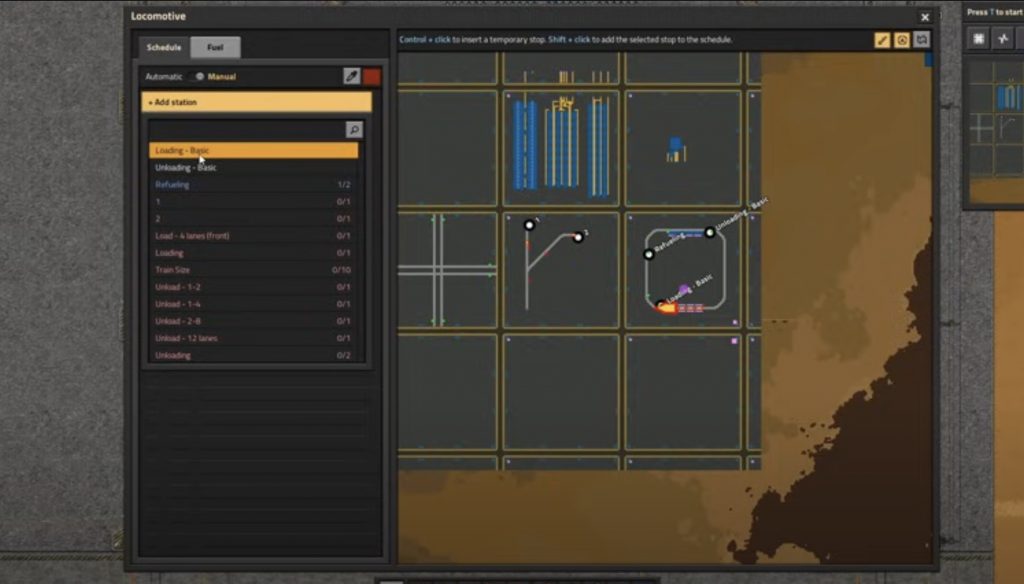
Setting Up Schedules
- Basic Schedule:
- Loading Station: Condition – “Wait until full.”
- Unloading Station: Condition – “Wait until empty.”
- Toggle train to “Automatic” to start the schedule.
- Advanced Conditions:
- Time Passed: Useful for adding buffer time.
- Inactivity: Train waits until no loading/unloading activity for a set period.
- AND/OR Conditions: Combine conditions for more precise control.
Managing Multiple Trains
- Copy/Paste Schedules: Use Shift + Right-click to copy and Shift + Left-click to paste schedules between trains.
- Temporary Stops: Hold Ctrl and click on the track to add a temporary stop, which helps in resolving deadlocks or manual routing.
Tips:
- Use consistent station naming for easier management.
- Monitor and adjust schedules based on train performance and base needs.
Conclusion
Mastering trains in Factorio involves understanding train configurations, effective signaling, and precise scheduling. With these basics covered, you are ready to implement and expand your train network. Stay tuned for advanced tutorials that will dive deeper into optimizing large-scale train systems.
Stay tuned for more guides and grab one of our dedicated servers below. Happy building!