Looting canned beans only gets you so far. Sooner or later the supermarkets empty out, the perishables rot, and the only reliable source of calories in Knox County is the dirt under your feet. Farming is Project Zomboid’s path to genuine self-sufficiency, but it is also a slow, fussy system with seasons, disease and watering schedules that punish neglect. This guide covers the Farming skill, the staple crops, and how to keep a garden alive long enough to feed you through winter.
One note before we dig in: Project Zomboid has a stable branch (Build 41) and an in-development Unstable beta (Build 42). Build 42 reworked agriculture significantly and added systems like animal husbandry and composting. Where a mechanic is specific to one branch, it is flagged below. Beta numbers can still change, so treat anything tagged Build 42 as provisional.
The Farming skill and getting started
Farming (called Agriculture in the wiki and in-game info window) is the skill that governs crop yields, your ability to identify problems early, and how efficiently you sow. You raise it by reading the Farming skill books, watching the relevant TV/VHS broadcasts, and simply by planting, tending and harvesting. The Farmer occupation and the Gardener trait both give you a head start and, crucially, unlock the ability to craft disease cures.
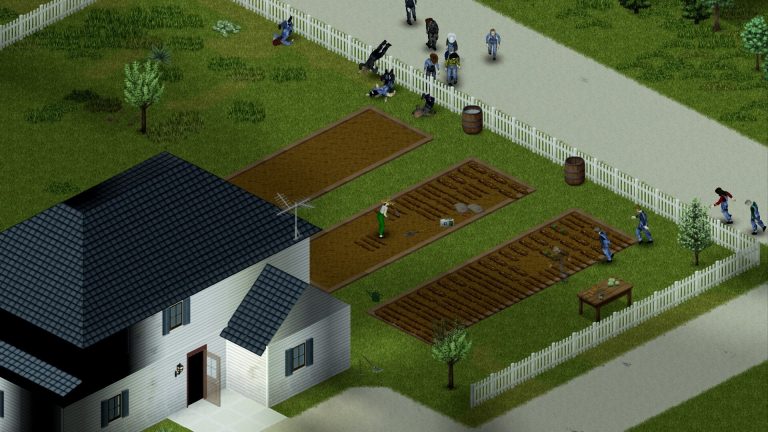
To start a plot you need a tool to till the soil (a trowel, hand shovel or shovel), then seeds. You till a tile to create a dirt furrow, sow seeds into it, and the plant begins growing. Each crop has its own data card you can read in-game: open the Character Info window, then Info, then “Discovered Recipes and Media,” and look at the Agriculture entry once it has been learned. This tells you that crop’s planting season, growing time and bad months.
A useful early breakpoint: at Farming level 3 you get a tooltip when hovering over a crop that shows its water level directly, so you no longer have to open each plant’s info window one at a time. (See our skills and leveling guide for the fastest way to grind Farming and the books that boost it.)
Watering: the chore that kills most gardens
A freshly sown plot starts at a water level of 0, so your first job is to water it. The community consensus reflected on the wiki is to bring a plant up to roughly 50 units of water after planting. From there the water level steadily drains. On default settings water drops about 1 point every 5 hours, but this is a sandbox-tunable value: it can range from roughly 1 point per 12 hours on the most resilient setting to 1 point every 2 hours on the harshest. The practical takeaway is to top crops up every day or two rather than trusting a fixed schedule.
You can water with a watering can or by hand-carrying water in bottles, kettles and other containers. Rain refills outdoor plots for free, which is why many players site their gardens outdoors and only intervene during dry spells. Be aware that over-watering and cold weather both lower a plant’s health stat. That said, the wiki notes potatoes, cabbages and tomatoes have no maximum water level, so for those three staples over-watering is not a concern.
Seasons: plant the right crop at the right time
Every crop has a planting season broken into best months, poor months and bad months. Sowing during a crop’s best month increases the chance of a bonus yield; sowing in a bad month risks a sickly, low-output plant. As a rough seasonal frame the wiki and community guides describe: spring (around March–April) suits potatoes and carrots; summer (June–July) suits heat-loving tomatoes; and fall (September–October) suits cooler-weather crops like cabbage and broccoli. Several cool-season crops also have an early-year window (January–March). Always confirm the exact months on the in-game Agriculture card, since they are defined per crop.
Crop data table
Growth times below are the wiki’s day figures for a plant to reach harvest. Exact hours-per-phase vary slightly with sandbox time settings, so treat days as the practical planning number.
| Crop | Approx. time to harvest | Best planting window | Notes |
|---|---|---|---|
| Cabbage | ~14 days | Cool season (fall; early year) | Fastest staple; no max water level |
| Carrot | ~15 days | Spring; also fall | Quick, reliable filler crop |
| Strawberry | ~22 days | Warm season | Low calorie; sweet, perishable |
| Potato | ~26 days | Spring (early year) | High calories, long shelf life; survives in-ground longer |
| Tomato | ~26 days | Summer (warm) | Heat-loving; no max water level |
| Broccoli | ~30 days | Cool season (fall; early year) | Slowest of the common staples |
If you only farm one thing, make it potatoes. They carry high calories, store well, and tolerate sitting in the ground after maturing, so a missed harvest day is rarely fatal. Cabbages and carrots are the speed picks when you need food fast.
Plant disease and how to treat it
Crops can be struck by four problems: mildew, pest flies, slugs and aphids. Each lowers plant health over time, which directly shrinks your eventual harvest, so catch them early by inspecting plants regularly. Weeds and nearby bushes make things worse, doubling water drain and the chance of catching disease, so keep your beds clear.
Three of the four are curable with crafted sprays. Mildew Spray is made from an empty gardening spray can plus milk; pest flies are handled with an Insecticide Spray; and aphids have their own craftable cure. Crafting any of these cures requires the Farmer occupation, the Gardener trait, or having read the Kentucky Farmer – June 1993 magazine. Sprays often need more than one application to fully clear a problem. Slugs are the exception: there is no craftable cure, and the only fix is Slug Repellent, which you scavenge from the world rather than make.
Harvesting, replanting and seeds
Yield scales with plant health. The wiki states that for every 10 points of health above 50 at harvest time, the crop produces one extra vegetable, so healthy plants are worth far more than sickly ones. You can harvest once a plant reaches its “Ready to harvest” or “Blooming” stage, but seeds only come from harvesting during the seed-bearing/blooming phase. To keep your farm self-renewing, let some plants run to that stage so you bank seeds for the next cycle instead of relying on loot. Potatoes are especially forgiving here, since one potato can be cut to seed multiple new plots.
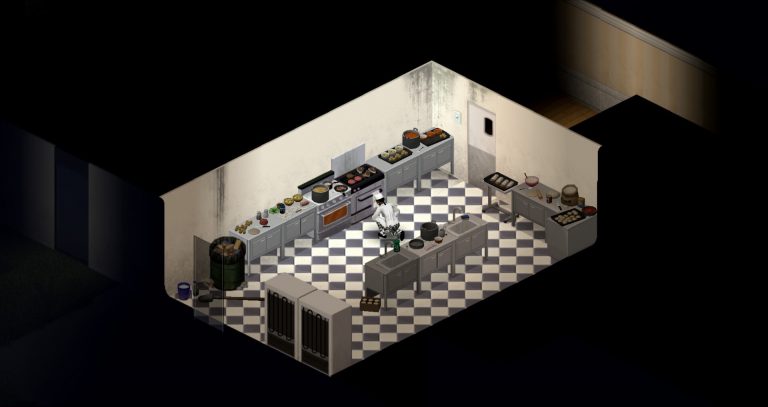
Preserving the harvest
Fresh vegetables rot, so a glut of cabbages is useless if it spoils before you eat it. The reliable preservation routes are refrigeration (a powered fridge slows rot dramatically while the grid or your generator holds out) and cooking produce into longer-lasting meals like stews and soups. Pick storage-friendly staples — potatoes are the standout for shelf life — and process the rest. Build 42 adds further food-preservation depth, but for a stable Build 41 base the dependable plan is fridge plus cooked meals. Our companion cooking and food guide covers recipes, nutrition and rot in detail.
Frequently asked questions
How often do I need to water my crops?
Plant at around 50 water and top up every day or two. On default settings water drains roughly 1 point every 5 hours, but that rate is adjustable in sandbox and rain waters outdoor plots for you, so check levels rather than following a rigid timer. At Farming level 3 you can see a plant’s water level just by hovering over it.
What is the best beginner crop in Project Zomboid?
Potatoes. They are high in calories, store for a long time, tolerate sitting in the ground after maturing, and one potato can replant several plots. Cabbages and carrots are good fast-growing alternatives at roughly 14–15 days when you need calories quickly.
How do I cure diseased plants?
Mildew, pest flies and aphids are treated with crafted sprays (for example, mildew uses a gardening spray can plus milk), but crafting them requires the Farmer occupation, the Gardener trait, or the Kentucky Farmer – June 1993 magazine. Slugs cannot be sprayed and are removed only with scavenged Slug Repellent. Most sprays need repeat applications.
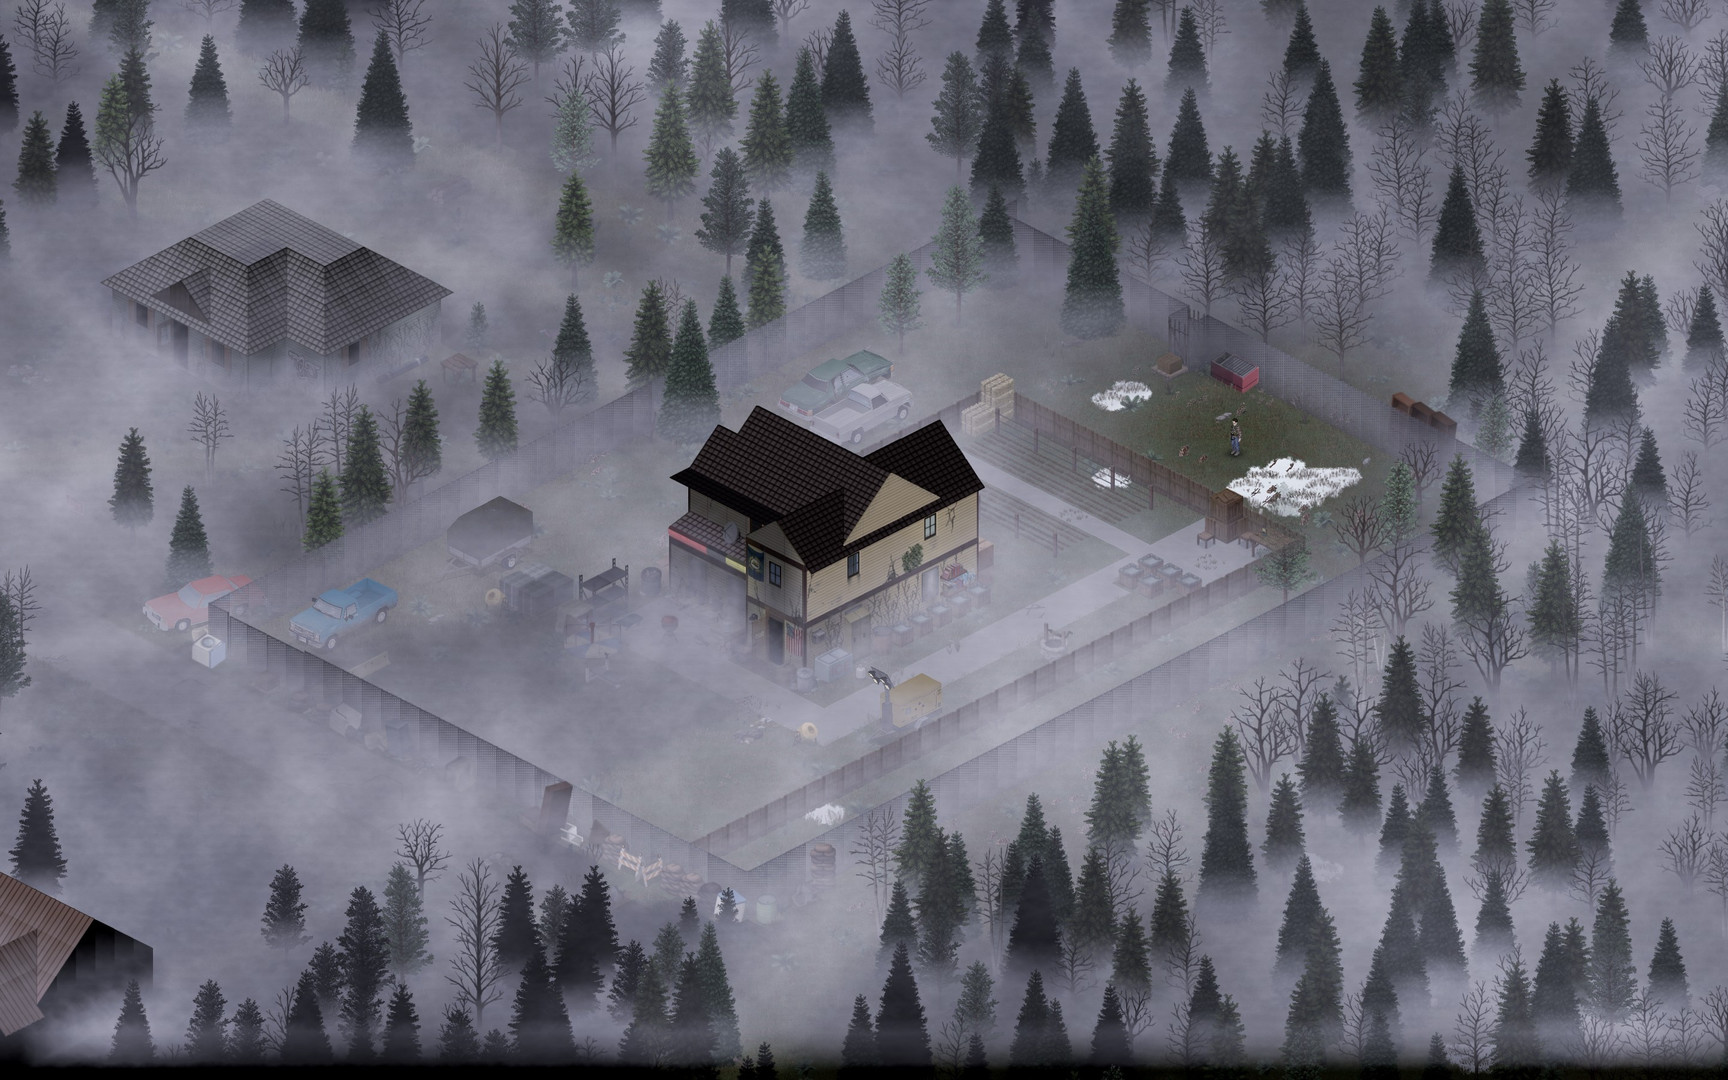
Farming pairs well with the right starting build and a defensible plot. See our traits and occupations guide for picking Farmer or Gardener, and our best base locations guide for spots with room to till. If you want to run a long-term homestead with friends, a persistent world keeps your crops growing even when you log off — you can spin one up with Project Zomboid server hosting, and our Project Zomboid setup docs walk through configuration step by step.
Related: see the calories and nutrition of everything you grow in the Food & Nutrition Database.
Ready to play?
Run your own Project Zomboid server with XGamingServer
Spin up an always-on Project Zomboid server your friends can join in minutes — no port-forwarding, no tech headaches.