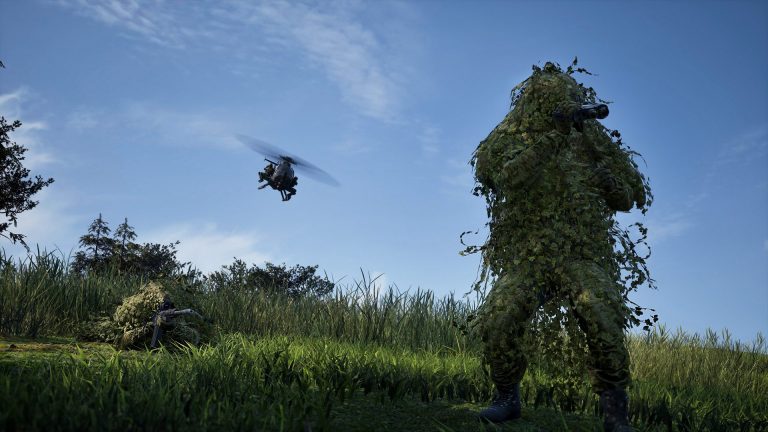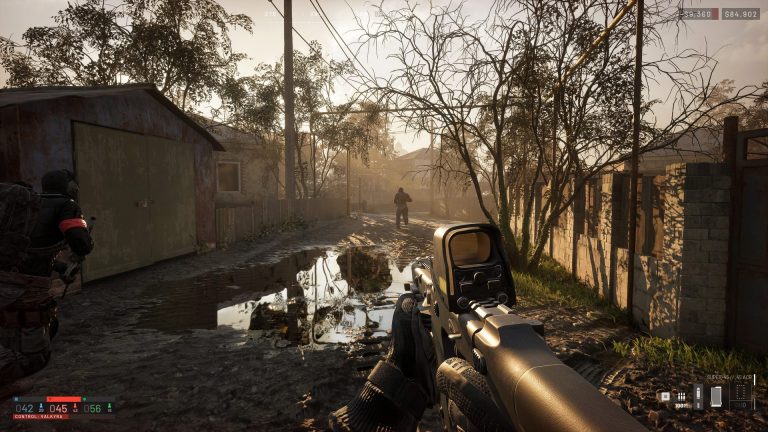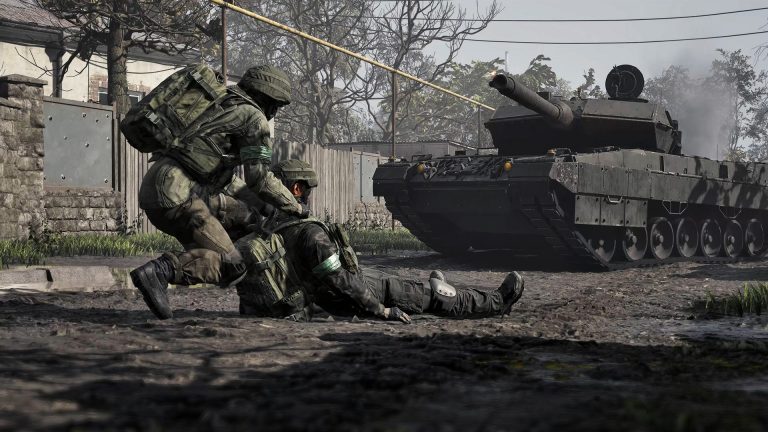
WARDOGS ships with three large-scale battlegrounds — Bakurani, Ozeti and Zestafona — and every match is a fight over their named control zones. Knowing the map, where the sectors sit and which callouts your squad is pushing is the difference between holding a point and getting flanked out of it. We pulled all 171 control zones straight from the WARDOGS game files and rendered every map from the game’s own textures, so this guide is built on the real layout — not guesswork.
Want to explore it live? Our free WARDOGS Interactive Map has all three worlds with every control zone drawn in, a distance-measure tool wired to the artillery calculator, and private markers you can drop and save for your squad.
How WARDOGS maps and control zones work
Each WARDOGS map is divided into dozens of named control zones — the towns, farms, forests, factories and towers that structure the objective. These aren’t cosmetic labels: they’re defined regions in the game data, each with its own footprint on the map, and they’re what your team pushes, holds and rotates between. Learning the zone names is how callouts work: “on Bridge Hill”, “rotating to Sunflowers Center”, “they’re holding Tower 3” only mean something once you know where those sectors are.
The three maps are not the same size. Bakurani is the tightest of the three; Ozeti and Zestafona are roughly four times the play area, which changes everything about rotations, sightlines and how much distance your artillery and marksman rifles need to cover. New to the mode? Start with our WARDOGS Beginner’s Guide for how cash, control zones and combat fit together.
Bakurani — the mountain valley (Kavkazi)
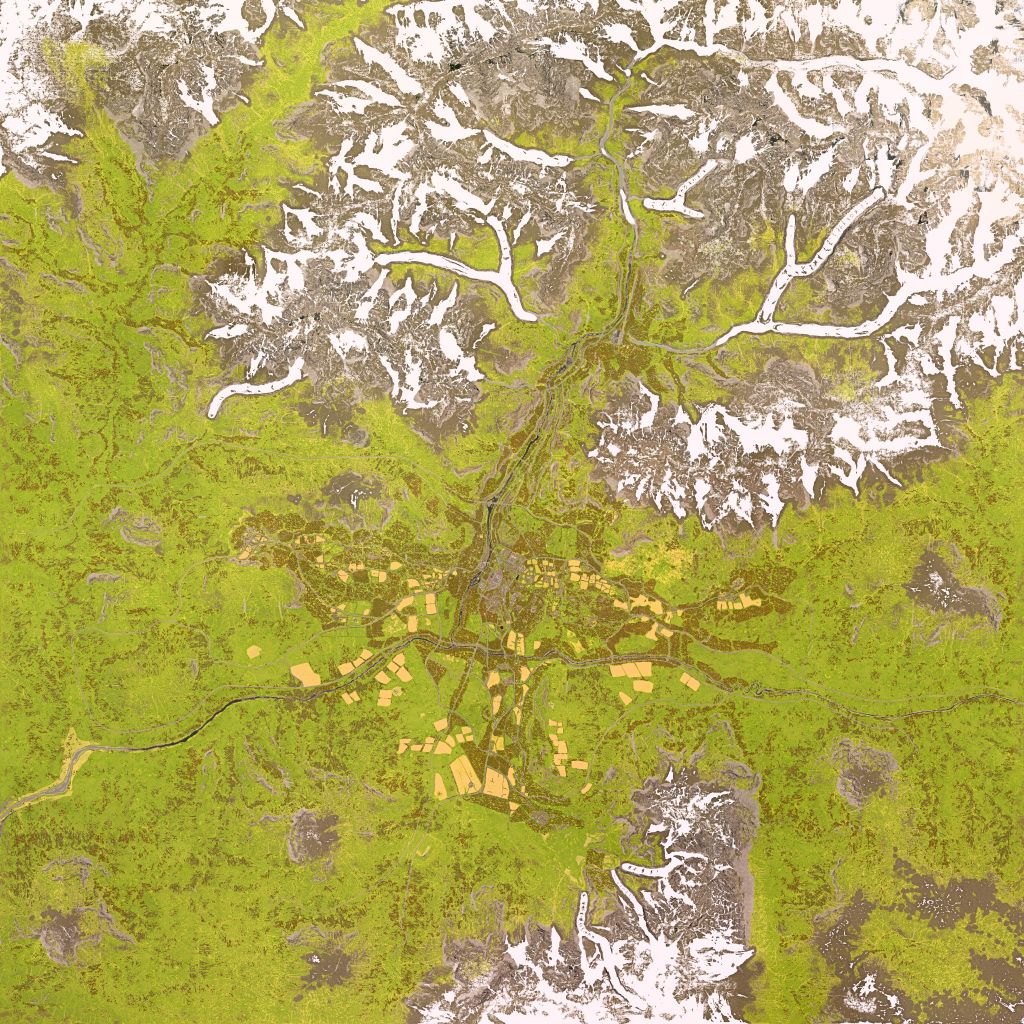
Bakurani is the most callout-rich map in WARDOGS and the best one to learn first. A ridge of snow-capped mountains dominates the north, feeding a river valley that runs down through the map’s populated center and out into open farmland in the south. Because it’s the smallest of the three maps, fights are closer and rotations are shorter — you’re rarely far from a contested zone.
The center of the map is the prize. Hill Town, Apartments, Residential and the Market Swamp cluster together around the valley floor, with Bridge Hill and the North River controlling movement between the north and south halves. To the east and west, the iconic Sunflower fields — Sunflower Church, Sunflowers Center, Sunflowers Tower, Sunflowers North/South — give you wide, exposed sightlines that reward marksmen and punish anyone caught sprinting across the open.
Key Bakurani zones to know:
- Central objective belt: Hill Town, Apartments, Residential, Market Swamp, Bridge Hill
- Sunflower complex (open, long-range): Sunflower Church, Sunflowers Center, Sunflowers Tower, Sunflowers House, Sunflowers North & South
- Lumberyard district (north-west, cover-heavy): Lumberyard North, Lumberyard South, Lumberyard House, Lumber Farmlands, Lumber Hills
- Elevated holds: Green Mountain, Hillside Top, Hillside Houses, Apartment Hillside, West Hill Woods
- Sniper towers: Tower 1 through Tower 7, plus the four Abandoned Towers
- Landmarks: Containers and Factory, Water Silos, Water Storage Outcrop, Forest Quarry, Red Sunflower Fields
Strategy: hold the high ground. The mountains and hillside zones let you watch the valley below, but the Sunflower fields are a trap if you cross them without smoke — bring a mid-to-long range loadout and check our weapon tier list before you drop.
Ozeti — the European suburb (Europe)
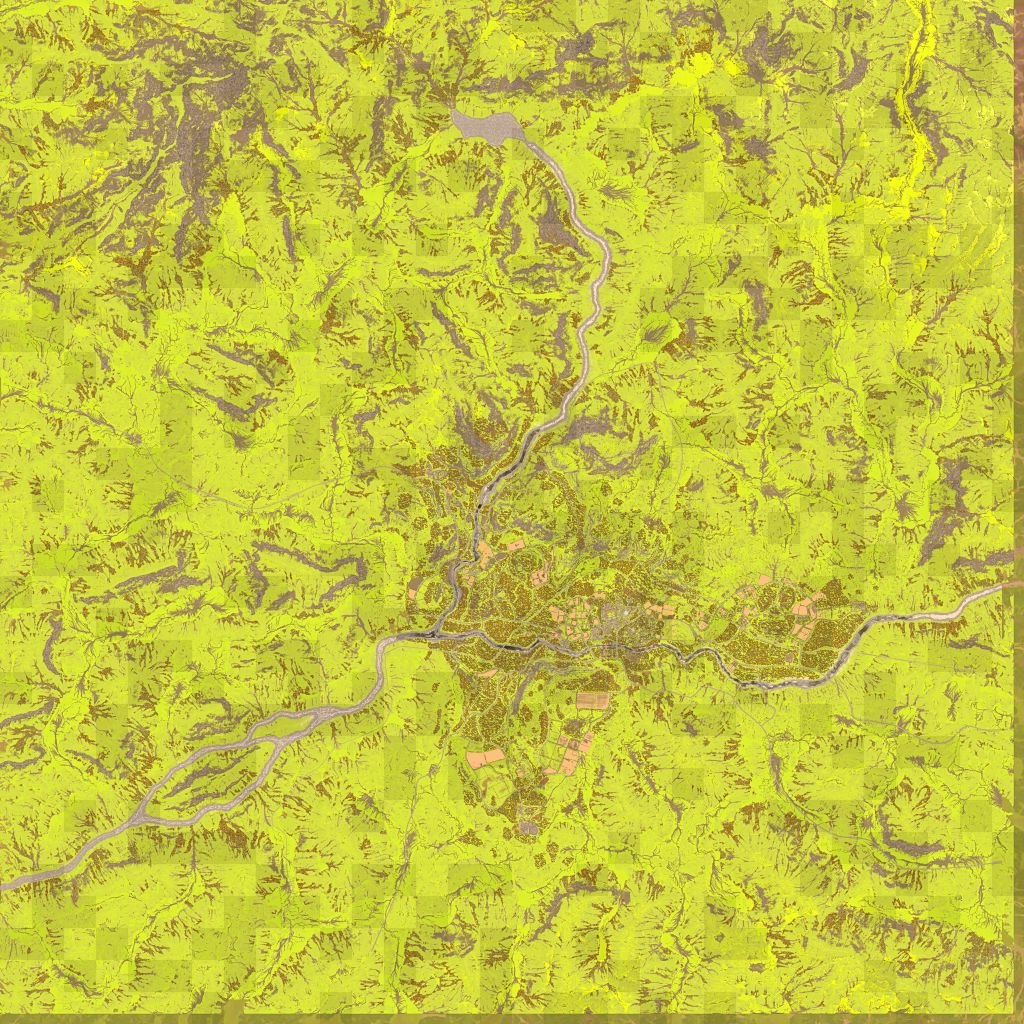
Ozeti is one of the two large maps — roughly four times the footprint of Bakurani — built around a European countryside of rolling farmland (Farm 1–9) and thick forest (Forest 1–13) surrounding a dense built-up core. With this much ground to cover, vehicles and rotation timing matter far more here, and long-range engagements across the fields are common.
The signature landmark is the Stadium complex — Stadium, Stadium Front, Stadium Parking and the Stadium Garages form a large, enclosed CQB arena that’s a natural fight magnet. The other urban anchor is the multi-tier Hillside Church (six connected zones) which gives commanding elevation over the surrounding sectors, and the Residential district (Residential 1–9) which is the map’s grind of house-to-house fighting.
Key Ozeti zones to know:
- Stadium arena (CQB magnet): Stadium, Stadium Front, Stadium Parking, Stadium Garages
- Hillside Church (elevated, 6 tiers): Hillside Church 1–6, Church Top
- Urban core: Apartments, Apartment Garages, Shops 1 & 2, Pool, Industrial, Lumberyard
- Residential grind: Residential 1 through Residential 9
- Open ground (long-range): Farm 1–9, Grassland, Deforested
- Sniper towers: Tower 1 through Tower 4
Strategy: control the Stadium and Hillside Church early — they anchor the map’s center of gravity. Out in the farms, distance is your enemy: use the interactive map’s measure tool to range a rotation before you commit to it on foot.
Zestafona — the industrial rail hub (North America)
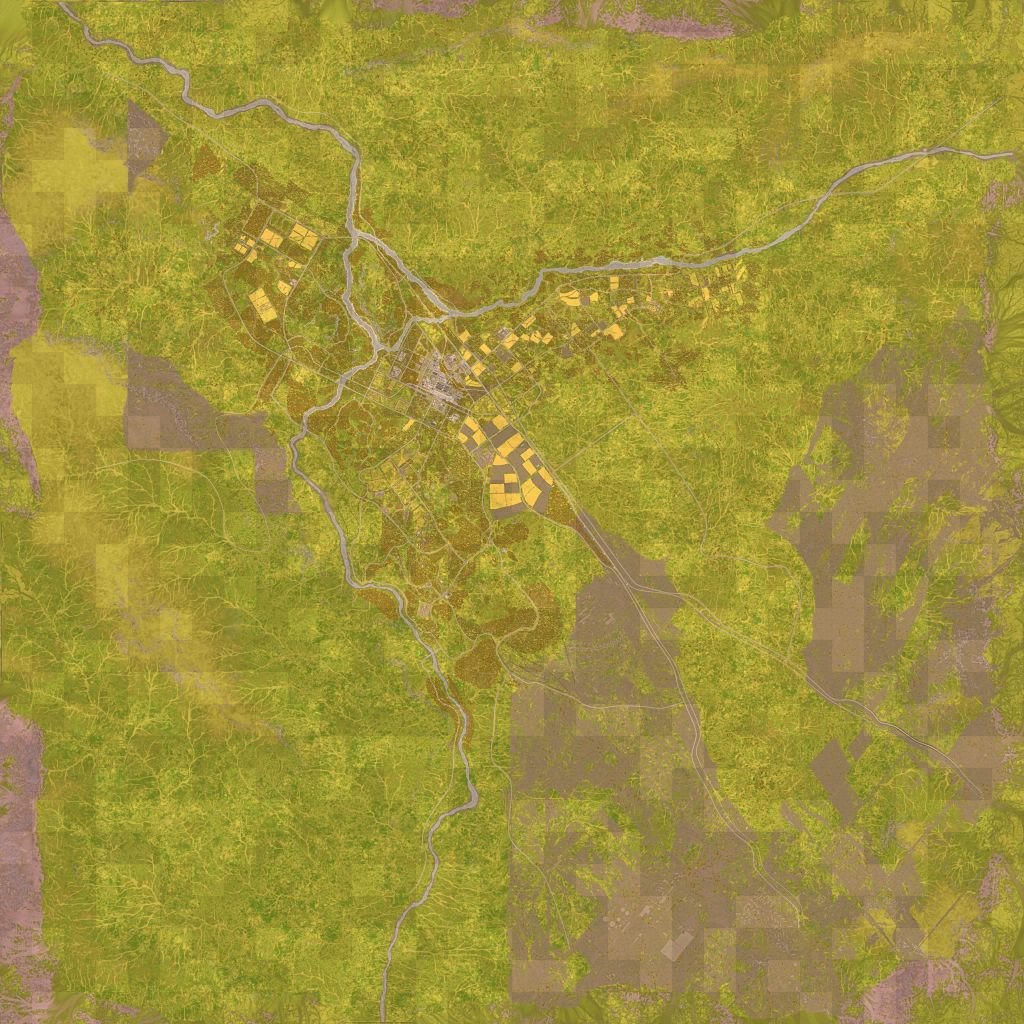
Zestafona is the second large map and the most urban and industrial of the three. Where Bakurani is mountains and Ozeti is countryside, Zestafona is warehouses, rail yards and shipping docks — a maze of hard cover and tight lanes that rewards close-quarters loadouts and methodical clearing. Farmland and forest ring the outside, but the fight lives in the concrete.
The industrial core is enormous: Warehouses 1–8, Brick Warehouses, the two Large Factories, and the Shipping Exports yards (Large and Long) form block after block of interlocking buildings. Movement between them runs along the Train Tracks and through the Train Sheds and Bus Depot — natural choke points that make brilliant ambush spots. The Offices and Apartments give you the verticality the warehouse floor lacks.
Key Zestafona zones to know:
- Warehouse maze (CQB core): Warehouses 1–8, Brick Warehouses 1–3, Warehouse Small
- Heavy industry: Factory Large 1 & 2, Import Scrap, Shipping Exports (Large & Long)
- Rail network (choke points): Train Tracks, Train Shed 1 & 2, Bus Depot
- Verticality: Offices 1–3, Apartments, Water Tower 1 & 2, Tower 1–3
- Outer ring (long-range): Farmland 1–7, Forest 1–13, Bridge
Strategy: bring a CQB-focused loadout for the warehouse core, but hold an angle down the Train Tracks — they’re the fastest way across the industrial zone and the easiest place to catch a rotating squad in the open. Build a cheap, effective close-range kit in our loadout builder.
Get the most out of the interactive map
Reading a static image only gets you so far. Our WARDOGS Interactive Map is built from the same extracted data as this guide, and it does three things a screenshot can’t:
- Every control zone, drawn to shape: all 171 zones are rendered as coloured overlays using the game’s own zone colours, with toggleable labels — so you can actually see where “Sunflowers Tower” or “Warehouse 4” sits.
- Measure distance → fire artillery: click two points and the map gives you the exact range in metres, then hands it straight to the artillery calculator so your first shell lands on target.
- Private squad markers: drop and label your own pins — Loot, Vehicle, Sniper, Camp, Danger, Note — and they save in your browser per map, ready for next match.
WARDOGS map tips
- Learn Bakurani first. It’s the smallest map with the clearest landmarks, so callouts click faster.
- Match your loadout to the map. Bakurani and Ozeti’s open zones reward range; Zestafona’s warehouse core is a shotgun-and-SMG map. Compare options in the weapon database.
- Respect the towers. Every map has numbered sniper towers — they hold sightlines over multiple zones, so clear or avoid them, don’t wander under them.
- Use elevation. Hillside Church (Ozeti), Green Mountain (Bakurani) and the Offices/Water Towers (Zestafona) all give you the high angle.
- Range your rotations. On the two big maps, a rotation that looks short on the minimap can be a 400m+ sprint across open ground. Measure it first.
WARDOGS maps FAQ
How many maps are in WARDOGS?
Three at Early Access launch: Bakurani (Kavkazi), Ozeti (Europe) and Zestafona (North America), with a combined 171 named control zones.
What is the biggest WARDOGS map?
Ozeti and Zestafona are the largest — each is roughly four times the play area of Bakurani. Bakurani is the most compact and the best map to learn the mode on.
What are control zones in WARDOGS?
Control zones are the map’s named sectors — towns, farms, forests, factories and towers — that structure every match. They’re defined in the game data and they’re what teams fight to hold and rotate between. See the beginner’s guide for how they tie into cash and scoring.
Where can I see all the WARDOGS zones?
Our interactive map has all 171 control zones across the three maps, extracted directly from the game files, with labels, distance measuring and private markers.
Planning to run a server when hosting opens? WARDOGS is approved-partners-only for now, but you can see our plans and get on the list on the WARDOGS server hosting page — and use every one of our free WARDOGS tools in the meantime.
Ready to play?
Run your own game server with XGamingServer
Spin up your own game server in minutes — 130+ games, instant setup, mods and DDoS protection included.