Choosing where to plant your base in 7 Days to Die is one of the most consequential decisions you make in a playthrough. A good location keeps a trader within easy reach, puts water and resources at your doorstep, and sits in a biome whose risk matches your gear. This guide walks through how to read the map in the current 1.0 release, the biome trade-offs that matter, and which Points of Interest (POIs) are worth clearing.
What makes a good base location
Three things drive a strong spot: proximity to a trader, access to water, and nearby resources and POIs. Every randomly generated map (and Navezgane) places five traders, one associated with each major biome. In 1.0, quest-tier progression is no longer tied to a single trader; according to the official wiki, “quest tier progression is no longer Trader-specific, so progress with one Trader will carry over to the others.” That means you can fast-travel between traders and still climb the same tier ladder, but living near at least one cuts a lot of travel time off the quest loop.
Trader compounds are walled, indestructible safe zones — you cannot place or destroy blocks inside, and the trader kicks you out at closing time (roughly 04:05 to 21:50). So you can’t live in the compound, but building a base a short sprint away gives you a panic-room fallback during a blood moon and a fast quest turn-in.
Water and resources at your doorstep
Water is the quietly decisive factor. Sitting near a lake or river means you can place a Dew Collector array nearby and never sweat dehydration, which matters far more in the hot biomes. The Pine Forest also offers the widest spread of early resources: tall grass yields Plant Fibers and small stones, while boulders and trees supply stone and wood with minimal danger. If you want a low-friction starter base, a forested shoreline near Trader Rekt is hard to beat.
Building materials skew the other way. The Wasteland is littered with scrap metal piles, cinder blocks, and brick piles — the richest harvest of construction materials in the game — but it is also the deadliest biome to gather in. Many players keep a forest home base and run resource expeditions into harsher biomes rather than living there full-time.
Biome trade-offs: forest vs wasteland
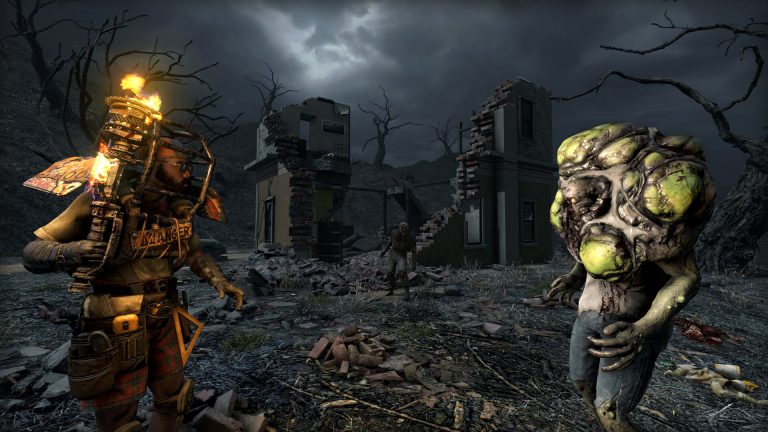
7 Days to Die has five biomes, and they differ dramatically in temperature, environmental hazards, and reward. Tougher biomes generally carry a higher loot-stage bonus, so the loot quality rises as the danger does. Note that loot-stage handling has shifted between updates — 2.0 replaced biome loot-stage bonuses with caps, and 2.2 removed those caps and restored the bonuses — so the broad rule “harder biome, better loot” holds, but exact percentages aren’t published on the wiki.
| Biome | Ambient temp | Main hazard | Reward / notes |
|---|---|---|---|
| Pine Forest | 76–80°F | None (thunderstorms are harmless) | Safest start, widest early resources |
| Burnt Forest | 75–85°F | Smoke; ember storms | Burnt Victims can set you on fire |
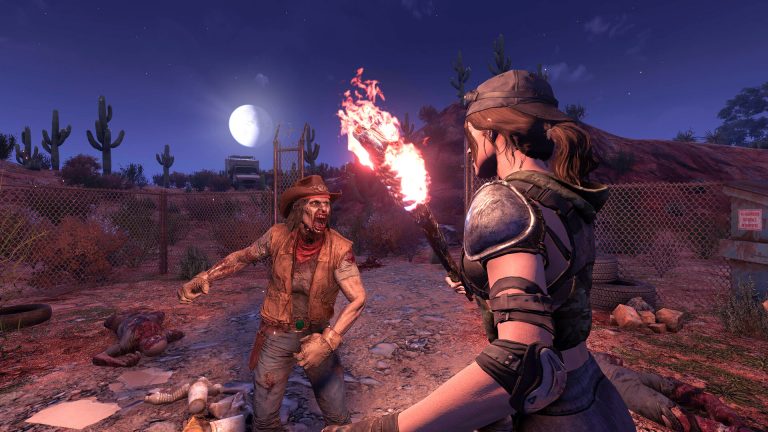
| Desert | 95–105°F | Blowing sands; sand storms | Heat drains water fast; oil/sand resources |
| Snow | 28–32°F | Freezing air; snow storms | Cold raises food use; needs warm clothing |
| Wasteland | 60–90°F (cold spells & heat waves) | Radiation / blowing fallout; landmines | Best loot & richest building materials, deadliest |
The practical takeaway: start in the Pine Forest, then push your activity toward Desert, Snow, and finally Wasteland as your gear and game stage climb. Cold and heat are real threats — the Snow biome can apply Shivering that escalates to Freezing without insulation, and the Desert can stack Overheating into Sunstroke. Dress for the biome before you commit to living in it.
POIs: tiers, clearing, and quests
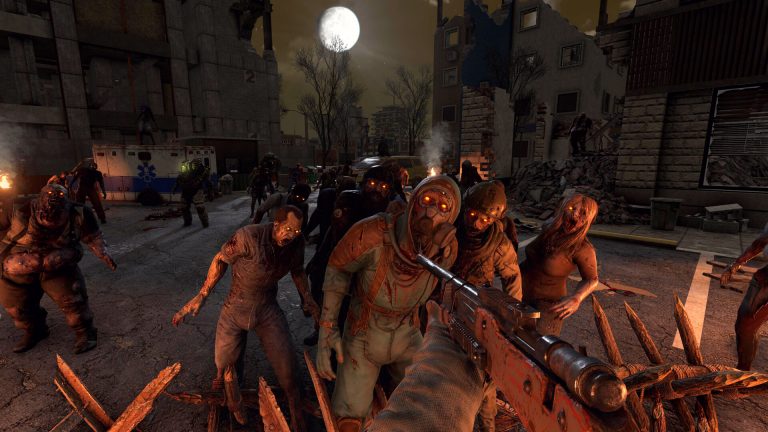
POIs are rated in tiers from 0 to 5, shown as skulls. The quest tier can be one higher than the POI itself — running a Tier 5 POI as an infested clear, for example, counts as a Tier 6 job. The higher the tier, the more dangerous the zombie layout and the better the loot. Trader quests — Restore Power, Fetch, Clear the Area — always take place inside a POI, and clearing higher-tier POIs is the core gameplay loop that pushes your loot and quests upward.
Notable POIs worth clearing include the gun store Shotgun Messiah, the pharmacy Pop-N-Pills, the bookstore chain Crack-A-Book (great for reading magazines), and the towering Dishong Tower — a 15-floor Tier 5 building with office, construction, and penthouse sections. Higashi Pharmaceutical is a Tier 5 (and can scale higher in the Wasteland). These large dungeons reward patience and a good escape plan.
Staying near quests — and a key warning
Because traders hand out quests at nearby POIs, living a short drive from a trader keeps your quest turnaround tight. But here’s the trap many new players fall into: never make a base out of a POI you might later get a quest for. Accepting a quest at a POI re-draws the entire building to its original state, wiping anything you stored there. Build your home in an empty, self-made structure instead, and treat POIs as places you raid, not nest in.
One more planning note: by default, looted containers and cleared sleeper zombies respawn after 30 days, and that timer is configurable when you set up the game. If you want a POI you’ve cleared to stay quiet, lengthen or disable loot respawn in the world settings.
Frequently asked questions
Which biome is best for a first base?
The Pine Forest. It has no environmental hazard, comfortable temperatures (76–80°F), and the widest access to early resources like wood, stone, and plant fibers. Move into harsher biomes for better loot once you’re geared.
Can I build my base inside a trader compound?
No. Trader compounds are indestructible safe zones where you can’t place or destroy blocks, and the trader kicks you out at closing time (about 04:05–21:50). Build just outside instead, so the compound serves as an emergency fallback.
Why did my stored loot vanish after a quest?
You almost certainly based inside a POI. Accepting a trader quest at that POI resets the whole building to its default layout, destroying anything you placed or stored. Always base in a structure you built yourself.
Keep building your survival knowledge
Picking the right spot is only step one. Once you’ve settled, dig into the 7 Days to Die Base Building Guide: Blocks, Upgrades and Integrity to fortify it, then plan your defenses with the 7 Days to Die Horde Base Guide: Designs to Survive Blood Moon. Optimize your character through the 7 Days to Die Skills, Attributes & Perks Guide and learn how recipes unlock in the 7 Days to Die Magazines Guide. To get the most from quest hubs, see the Traders & Quests Guide.
Scouting biomes and clearing distant POIs is far more fun with a crew. If you and your friends want a persistent world that’s online around the clock, you can run a dedicated 7 Days to Die server so progress sticks whether you’re on or not. When you’re ready to spin one up, the 7 Days to Die setup documentation walks through configuration step by step.
Ready to play?
Run your own 7 Days to Die server with XGamingServer
Spin up an always-on 7 Days to Die server your friends can join in minutes — no port-forwarding, no tech headaches.