ARK: Survival Ascended is huge and unforgiving for newcomers — you wake up naked on a beach surrounded by things that want to eat you. But the game follows a clear progression, and once you understand the path, it opens up fast. This guide walks you from your first punch to the endgame loop, with a progression table to keep you on track.
The progression path
| Stage | Goal | Why it matters |
|---|---|---|
| 1. Tools & bed | Stone pick/hatchet, spear, campfire, bed | Survive and secure a respawn |
| 2. Stone base | Upgrade to stone | Immune to most wild creatures |
| 3. First flyer | Pteranodon → Argentavis | Mobility and safety |
| 4. Metal | Anky + Argent loop | Unlocks mid-game gear |
| 5. Breeding | Resource tames + bred dinos | Build a strong dino army |
| 6. Bosses → Tek | Beat bosses for Tekgrams | The endgame |
Your first hour
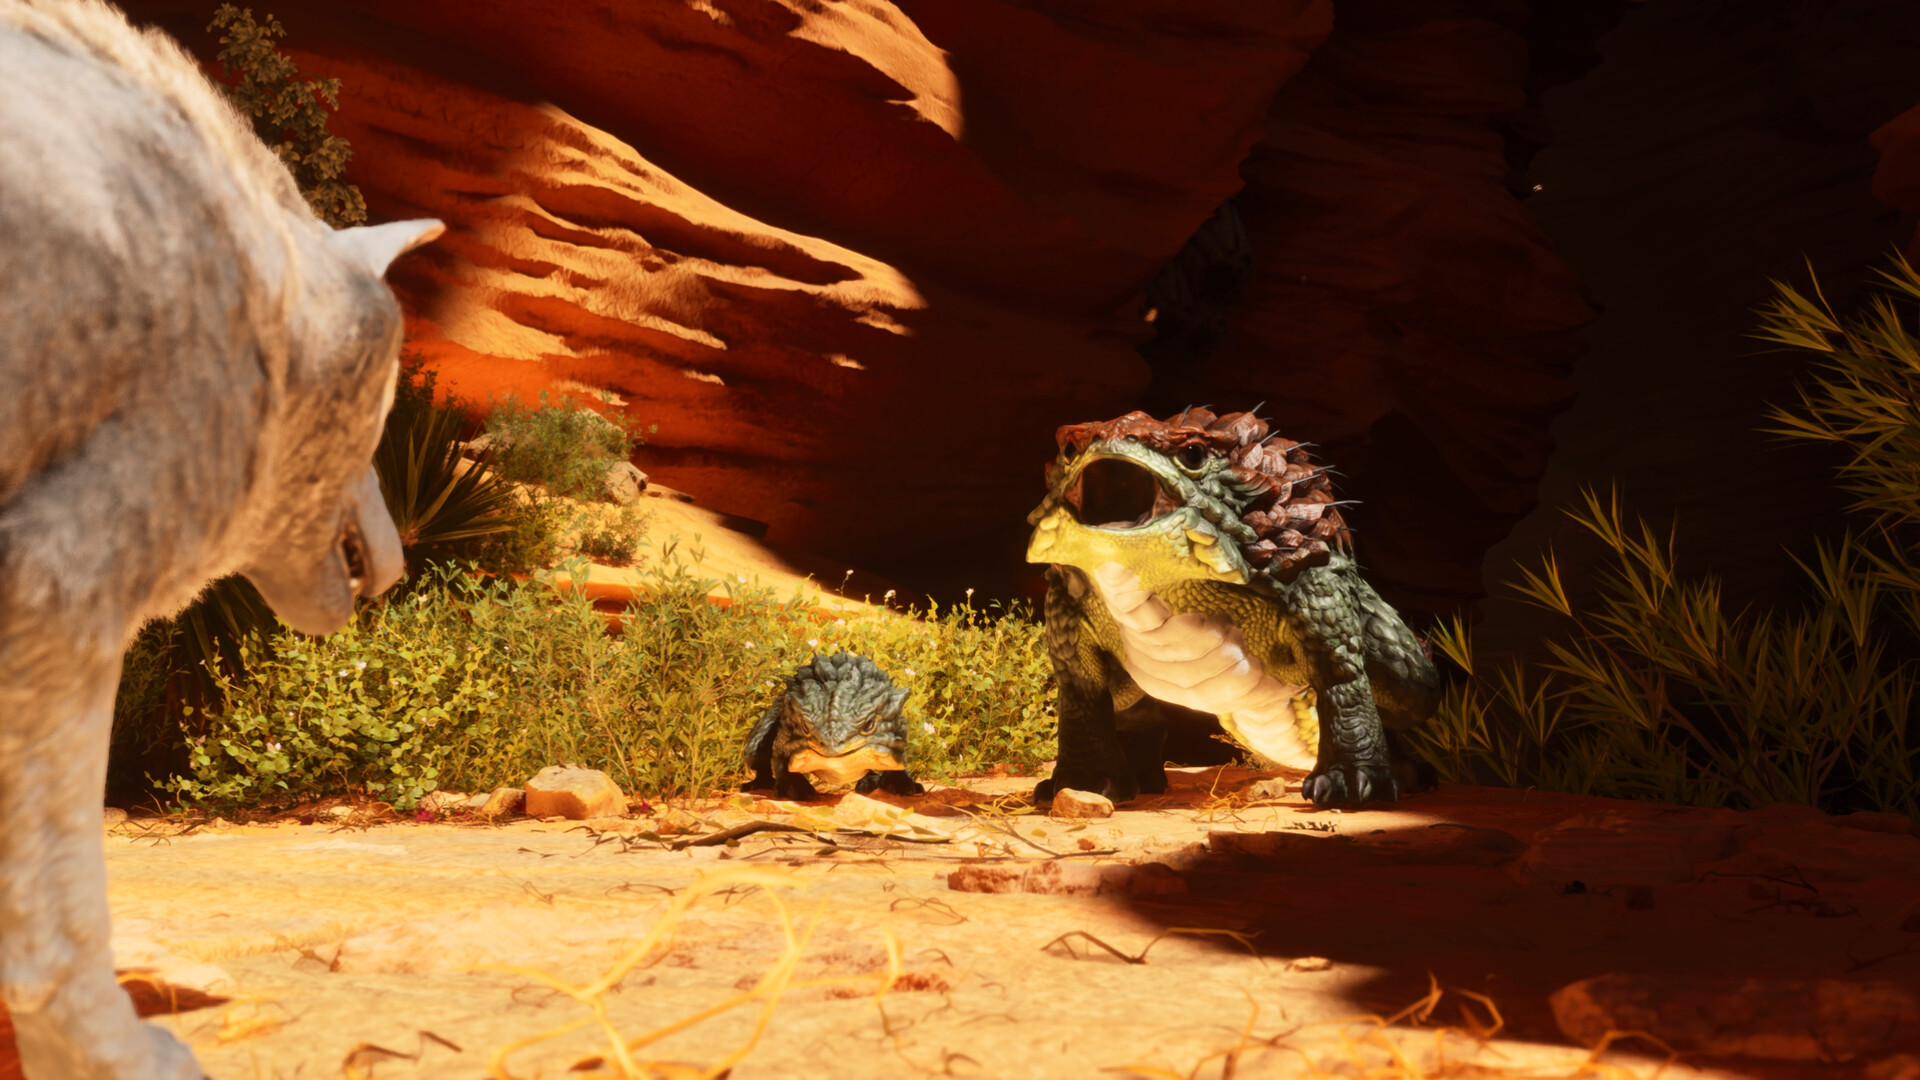
Punch trees and rocks for wood, thatch, fibre and stone. Craft a Stone Pick and Hatchet (each gathers different resources better), then a Spear for defence. Make a Campfire to cook meat, a Waterskin to carry water, and a Bed or Sleeping Bag as your respawn point. Tame an easy early helper like a Dilo, Parasaur or Trike to start gathering and defending for you.
Survival priorities
- Stay fed and hydrated — carry water and cooked meat; watch your stats.
- Mind the temperature — extreme heat and cold drain you; dress for the biome.
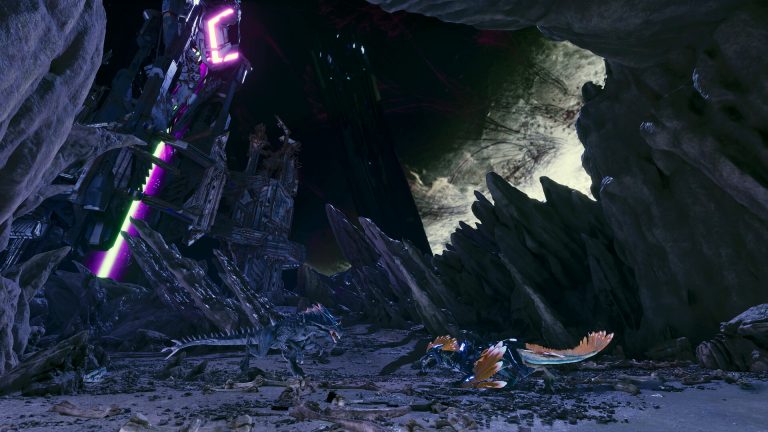
- Don’t over-extend — early predators (Raptors, Carnos) will kill you fast; stay near the coast until you’re geared.
- Spend engrams wisely — points are limited; see the engrams guide.
Which map & how to tame
Start on The Island (see the maps guide), learn taming with our taming guide, and plan every tame with the Taming Calculator. Take it one system at a time — the depth is the point. See the full list of early helpers in our starter dinos guide.
Frequently asked questions
What should I do first in ARK: Survival Ascended?
Gather wood, stone, fibre and thatch, craft a stone pick, hatchet and spear, then a campfire, waterskin and bed. Tame an easy helper (Dilo, Parasaur or Trike), and upgrade your shelter to stone as fast as possible since it’s immune to most wild creatures.
What’s the fastest way to progress in ARK?
Follow the path: tools and a bed, a stone base, a first flyer (Ptera then Argentavis), then metal via an Anky + Argent loop. That metal access unlocks mid-game gear and lets you start breeding a dino army for bosses — the route into the endgame.
Which map should a beginner start on?
The Island — balanced biomes, all the core creatures, safe starter zones and the full boss progression that teaches the endgame. It’s the best-documented map and the natural first character before harder maps like Scorched Earth or Aberration.
ARK is far better with friends. ARK: Survival Ascended hosting from $7/month — 30% off with code XGAMEON.
Free ARK Tools
Speed up your server with our free ARK tools:
Ready to play?
Run your own ARK: Survival Ascended server with XGamingServer
Spin up an always-on ARK: Survival Ascended server your friends can join in minutes — no port-forwarding, no tech headaches.