Installing Arma 3 Mods Manually
1. Login to your Arma 3 game panel.
After you place an order for your game server you’ll be sent login details to your server control panel.
2. Navigate to File Manager
On your game panel, navigate to File Manager tab, here you’ll see the game files.
Go to Arma 3 launcher and click on the mods tab.
Select the mod that you want to install in your server and click copy as a local mod as shown in the screen below
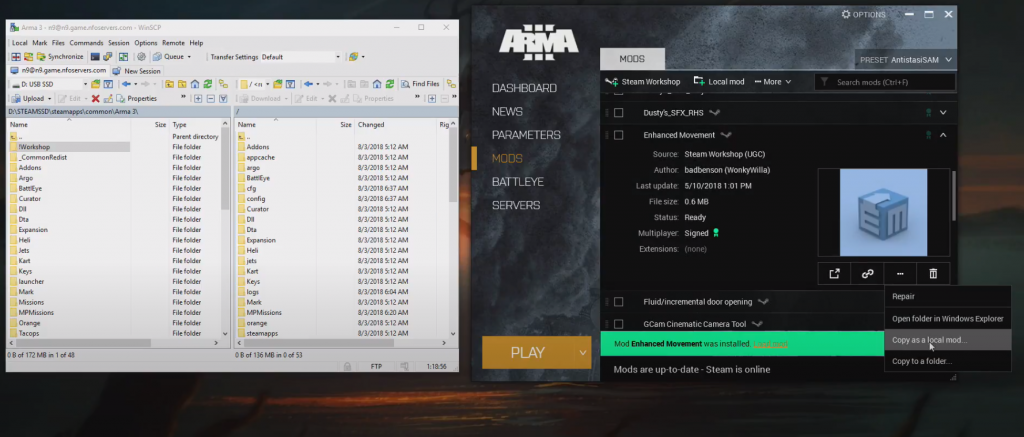
this will allow your
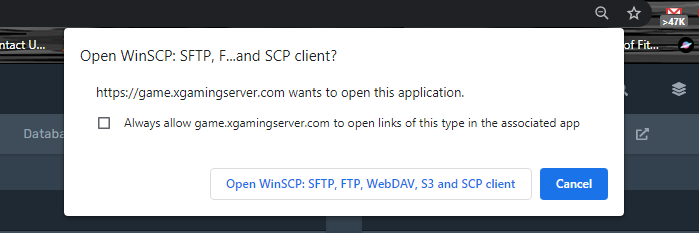
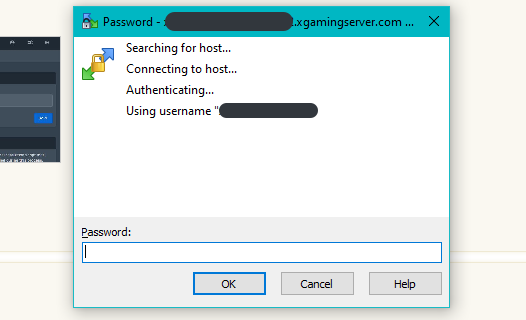
3. Download and install sFTP client and launch it
Install a sFTP client such as WinSCP
Head on to your panel and settings. Launch sftp
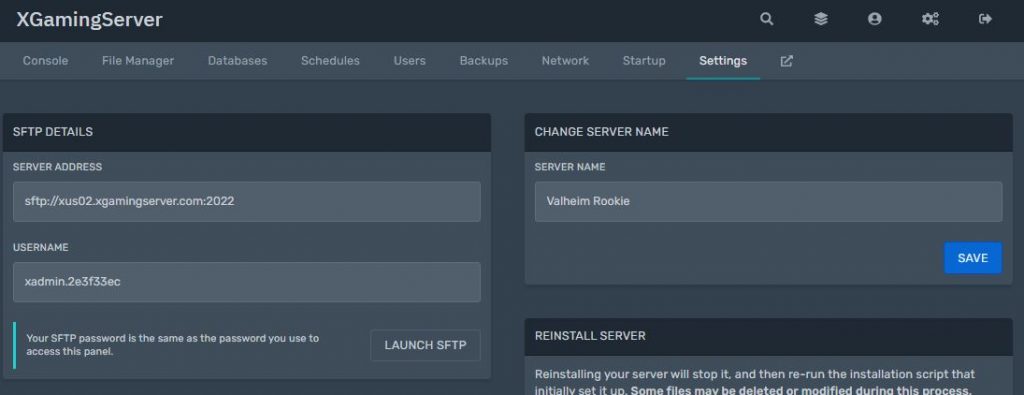
this way you can upload all your data to the Arma 3 server and the password you used on your game panel
4. You can now drag and drop your Arma 3 mods to your server
Installing the mod via steam workshop
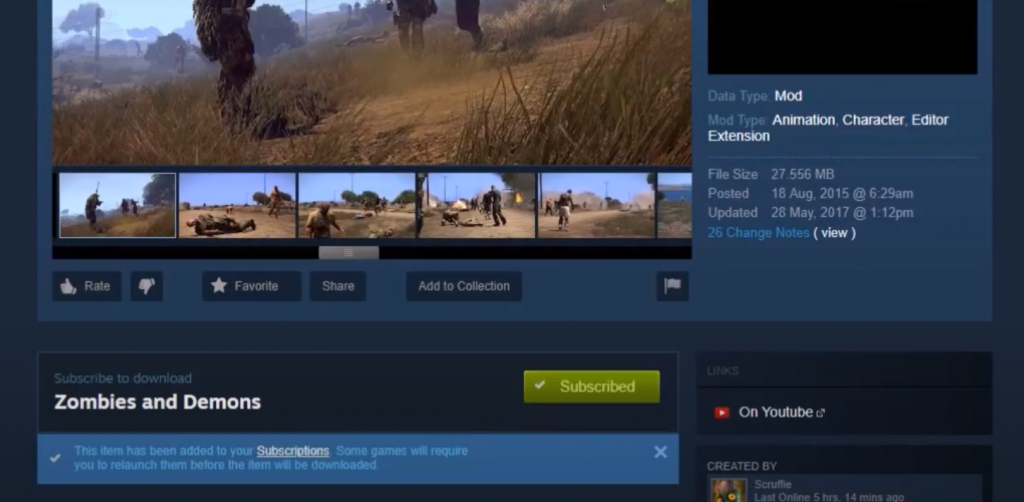
You can also install mods in a dedicated server simply by installing through steam workshop. Click your ARMA 3 scroll down until you see your Steam Workshop do browse Steam Workshop and then went once you’re here you will find a mod that you want. Let say Zombies and Demons. And click subscribe. Thus will download the mid to your desktop and server.
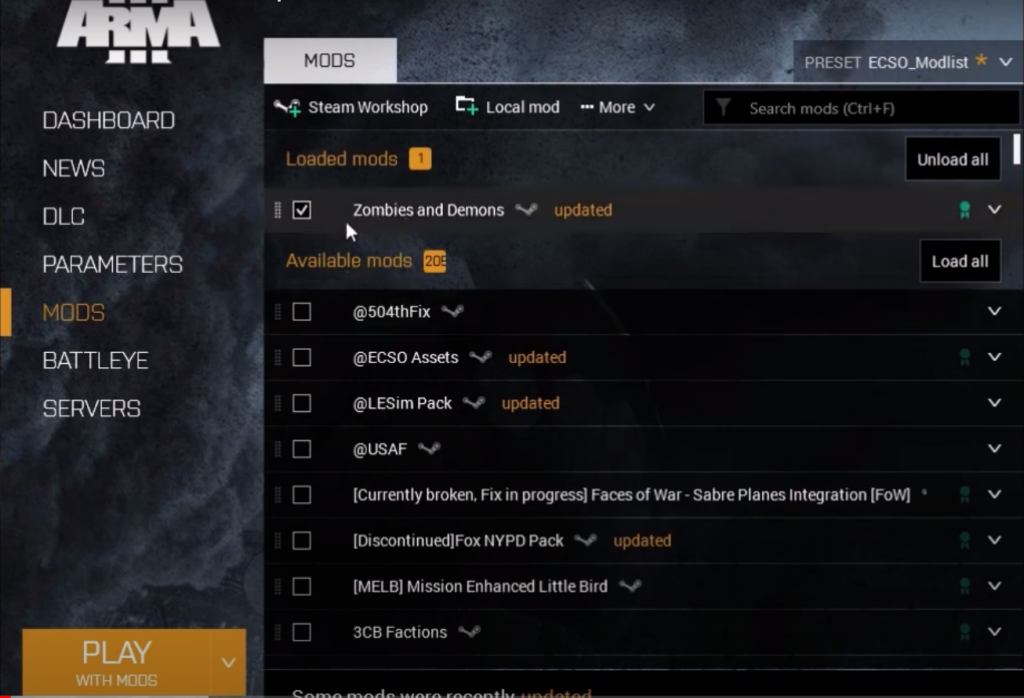
To the see mods you have subscribed and select which one you want. Simply select the mod or drag it to the top of the loaded mods as shown below.
Ready to play?
Run your own game server with XGamingServer
Spin up your own game server in minutes — 130+ games, instant setup, mods and DDoS protection included.


