In this guide, we will show you how to make your 7 Days to Die server PVE.
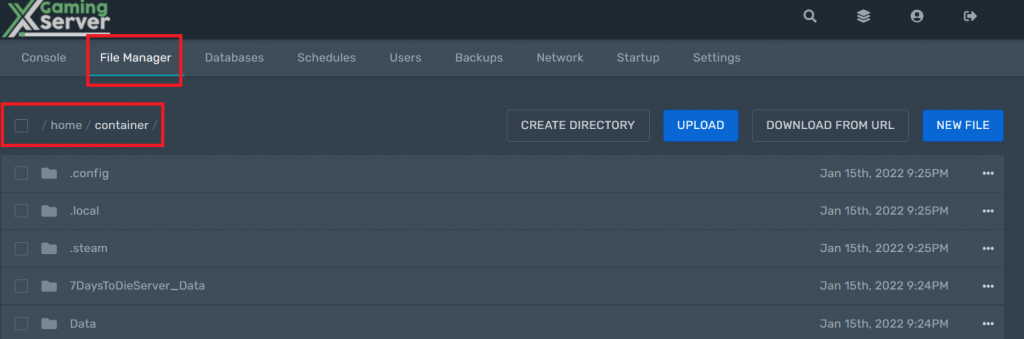
First of all, open your server control panel and navigate to the file manager section.
Then, open the serverconfig.xml file and change these values:
- “GameMode” property value to “GameModeSurvivalMP” ( land protection )
- “PlayerKillingMode” property value to “0” ( no killing )
- “LandClaimDecayMode” property value to “2” ( full land protection until claim expired )
- “LandClaimOfflineDurabilityModifier” property value to “0” ( no damage when offline)
- “LandClaimOnlineDurabilityModifier” property value to “0” ( no damage when online )

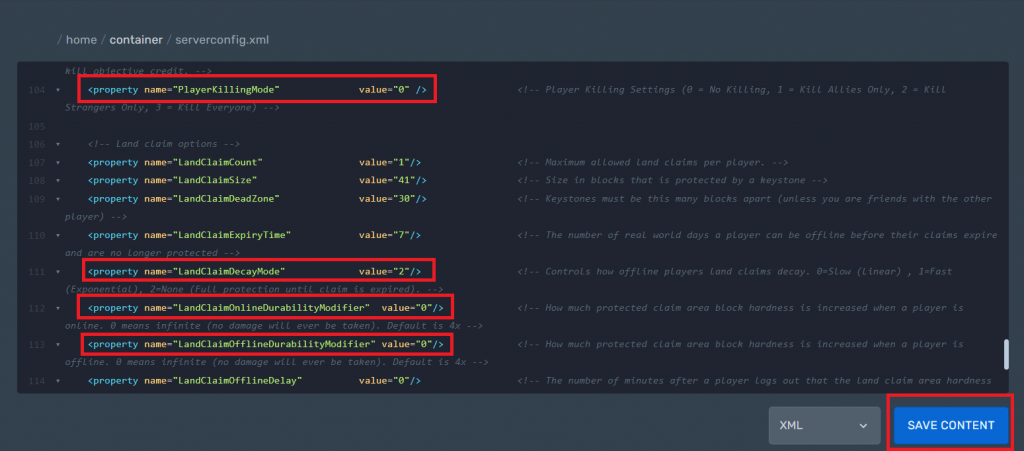
Don’t forget to save your changes, restart your server in the console section and your server should now be PVE.
Ready to play?
Run your own 7 Days to Die server with XGamingServer
Spin up an always-on 7 Days to Die server your friends can join in minutes — no port-forwarding, no tech headaches.
99.9%Uptime SLA
< 5 minInstant setup
24/7Human support
DDoSProtected
Instant setup
Your server is live in minutes with a one-click control panel.
Mods & plugins
Install mods, plugins and workshop content in a few clicks.
DDoS protected
Enterprise DDoS mitigation keeps your server online 24/7.
Low-latency hardware
Premium CPUs & NVMe SSDs for lag-free multiplayer.
Free backups
Automatic backups so your world is never lost.
Real human support
Gamers helping gamers — 24/7, no bots, no scripts.