If you would like a project zomboid private server where people need a valid username and password to join, then this guide will show you just that
Want to restrict unauthorized users from joining your Pz server? Then you need to set a whitelist Having a whitelist can be quite vital if you have plans on creating a private server. A whitelist will only allow players that you have added to connect to your server. Anyone else that tries to connect will be blocked from connecting, this keeps your server private and secure.
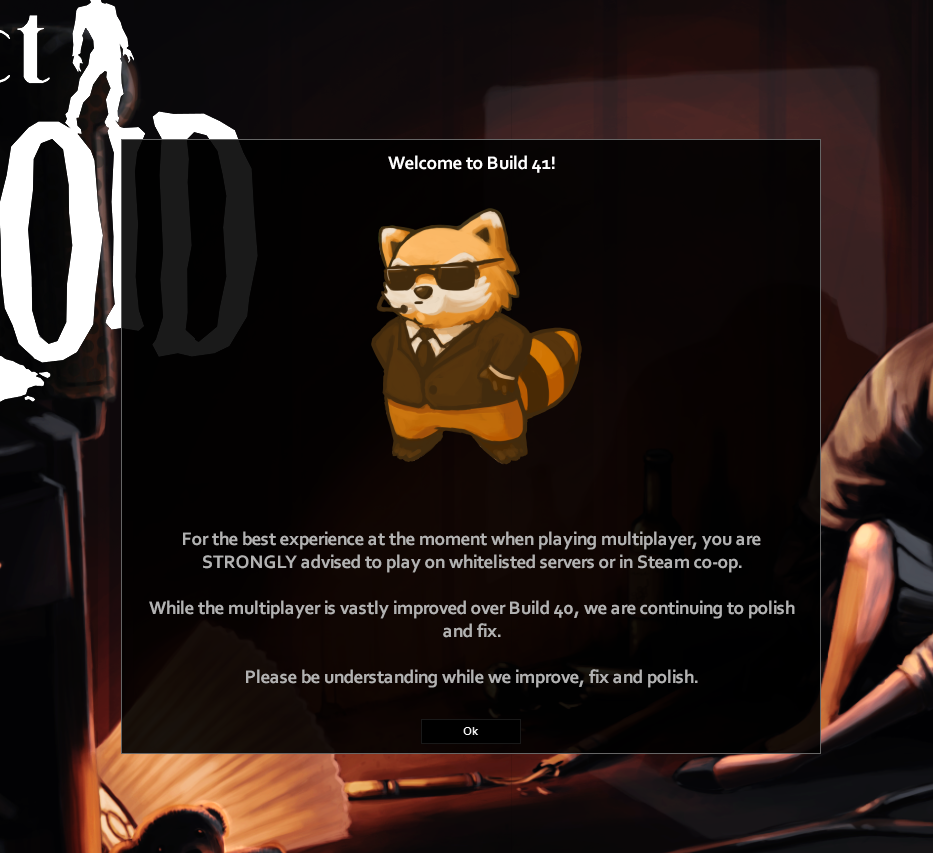
This is also stated on the game when you open it.

Adding server password to project zomboid
To add password
Open the servertest.ini
file and add the line
Password=xyz
to the bottom of the file and save
restart the server
Creating a project zomboid whitelist ;
adding username and password
1. Log in to the game panel and locate the server.
2. Stop the server

2. Go to servertest.ini or the file is named after the server name so make sure you confirm that.
Look for the below lines and edit appropriately
Open=true Whether Whitelisting is enabled or not
AutoCreateUserInWhiteList=false Automatically add users to your whitelist or not
DropOffWhiteListAfterDeath=false Remove a player from the Whitelist if their character dies.
3. Donwload the servertest.db. The server will look in your zomboid data folder (where saves are stored) for a database file with username / passwords to authorize people trying to connect to your server.

4. Open it using DB Broswer

5. Then click to the whitelist and click browse table
You will see the users listed. You can delete add new users by adding username, passwords steam id.

6. After you have done adding and deleting players. Write changes to the dabaase

7. Reupload the db to the server and start your server.
Looking for a Project Zomboid Server to rent? Rent one from us


1 comment