
In this article, we’ll guide you through configuring your Minecraft server using the Spigot.yml file. Whether you’re a seasoned player or a beginner, you’ll learn how to optimize your server for performance and customize your game settings
How to configure the Spigot.yml file:
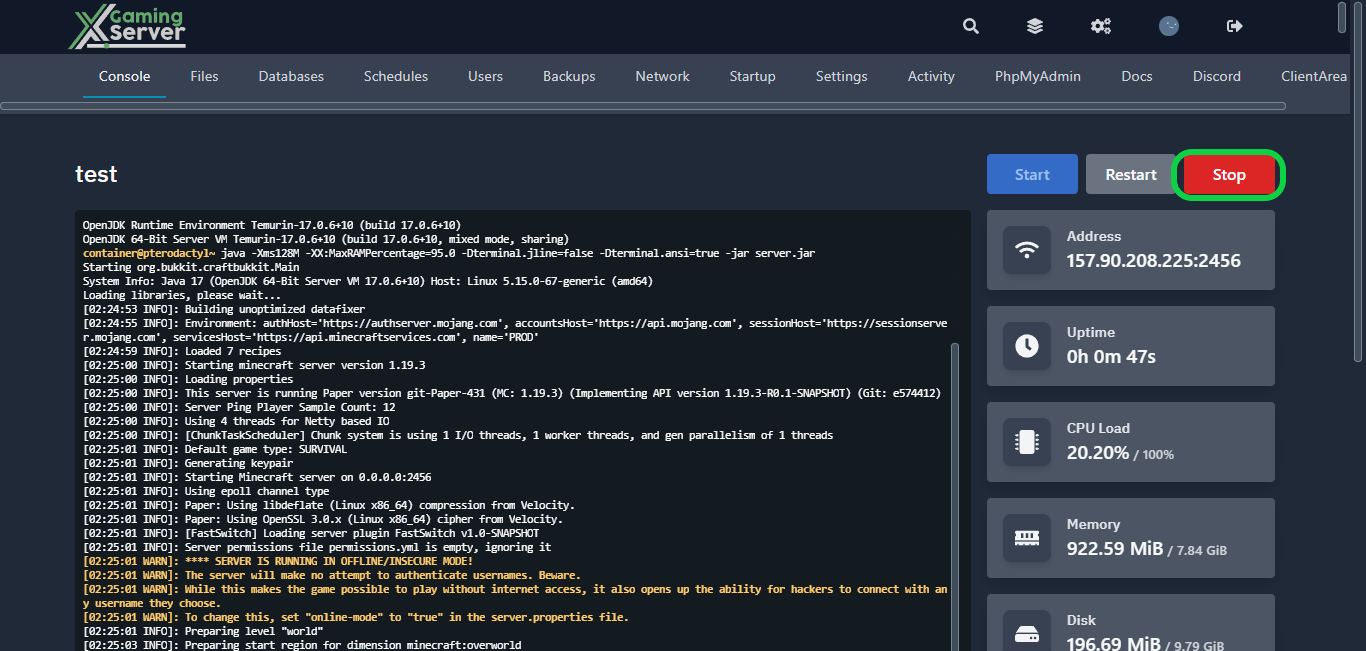
1- Go to your server’s control panel, then hit “Stop” to stop your server
2- Go to the “Files” tab, then open “Spigot.yml“

From here, you’ll have complete control over customizing some aspect of your game. Here’s a list of the things you can customize.
- “debug”: determines whether debug mode is enabled or not.
- “player-shuffle”: controls the order in which players are shuffled.
- “timeout-time”: sets the timeout time in seconds for a player before they are kicked.
- “restart-on-crash”: determines whether the server should automatically restart when it crashes.
- “restart-script”: specifies the script to run when the server is restarted.
- “save-user-cache-on-stop-only”: determines whether the user cache should be saved only when the server is stopped.
- “sample-count”: sets the number of samples to use when calculating ticks per second.
- “bungeecord”: determines whether the server is using BungeeCord or not.
- “user-cache-size”: sets the maximum size of the user cache.
- “moved-wrongly-threshold”: sets the threshold for determining if a player has moved wrongly.
- “moved-too-quickly-multiplier”: sets the multiplier for determining if a player has moved too quickly.
- “netty-threads”: sets the number of Netty threads to use.
- “attribute”: specifies the max value for various attributes.
- “log-villager-deaths”: determines whether villager deaths should be logged or not.
- “log-named-deaths”: determines whether named entity deaths should be logged or not.
The “messages” section contains messages to be displayed to players under certain conditions, such as being kicked for not being whitelisted or using an unknown command.
The “advancements” section controls advancements and whether saving is disabled for them.
The “world-settings” section contains various settings related to the server’s world, such as entity activation and tracking ranges, seed values for generating structures, and hunger mechanics.
3- After configuring your settings, hit “Save Content“, then start your server
If you need any help with your service don’t hesitate to contact us through our support tickets at https://billing.xgamingserver.com/submitticket.php
Free Minecraft Tools
Speed up your server with our free Minecraft tools:
Ready to play?
Run your own Minecraft server with XGamingServer
Spin up an always-on Minecraft server your friends can join in minutes — no port-forwarding, no tech headaches.