Arma Reforger does not use the classic Arma server.cfg file. Instead, the Enfusion engine reads a single JSON configuration file (commonly called config.json or ServerConfig.json) that controls everything from network ports to scenario selection, cross-platform access, mods and gameplay rules. If a single character is out of place, the dedicated server simply refuses to start, so understanding the exact structure matters. This guide breaks down every block of the file as documented on the official Bohemia Interactive Community Wiki, gives you a full annotated skeleton you can copy, and explains the gotchas that trip up most first-time admins. It targets the current 1.6.x stable line (“Operation Omega,” which shipped 30 October 2025); the experimental branch has moved onto the 1.7.x line, but stable hosts should track the 1.6 build.
Before you start editing JSON, it helps to have a working install. If you would rather skip the SteamCMD and firewall steps entirely, our walkthrough on how to set up an Arma Reforger server covers the full deployment, and a managed box from our Arma Reforger hosting plans ships with the config file pre-wired and editable from the panel.
Two rules that govern the whole file
Two hard constraints apply to the entire config and cause the majority of “my server won’t boot” support tickets:
- All keys are case-sensitive.
bindPortworks;BindPortorbindportdo not. The same applies to nested keys likepasswordAdminandmaxPlayers. - IPv6 is not supported. Every address field expects an IPv4 value (or an empty string, which the engine resolves to
0.0.0.0). Do not paste an IPv6 address intobindAddressora2s.address.
The file is organised into top-level blocks: bindAddress, bindPort, publicAddress, publicPort, plus the a2s, rcon, game and operating objects. We will walk through each one.
Top-level network fields
These four fields define how the server binds to your machine’s network interface and how it advertises itself to players. On a typical VPS or home setup you can leave both address fields empty and let the engine auto-detect.
| Field | Type | Default | Notes |
|---|---|---|---|
bindAddress | string | "" (→ 0.0.0.0) | Leave empty on most VPS/home setups |
bindPort | number | 2001 | UDP game socket; range 1–65535 |
publicAddress | string | "" | Auto-detected; set only if auto-detect picks the wrong NIC |
publicPort | number | 2001 | Range 1–65535 |
The bindPort is the UDP socket the game traffic actually flows through. The default of 2001 is what nearly every guide, host panel and firewall rule assumes, so unless you are running multiple instances on one box there is no reason to change it. publicPort should match bindPort in standard NAT setups.
The a2s block (server browser query)
The a2s object controls the Steam query protocol that lets your server appear in the in-game server browser and respond to query tools. It has two fields:
address— string, required (commonly0.0.0.0to listen on all interfaces).port— number, default 17777, range 1–65535.
If port 17777 UDP is not open and reachable, your server will run but will never show up in the browser, which is the single most common “nobody can find my server” cause. Open it alongside the game port.
The rcon block (remote console)
The optional rcon object enables a remote console so you, or an admin tool, can issue commands without being in-game. It is one of the most useful blocks for any serious server.
address— string, required. Use127.0.0.1if your admin tool runs on the same machine.port— number, default 19999.password— string, required, minimum 3 characters and no spaces. The server refuses to start an RCON listener with an invalid password.permission— either"admin"(full command access) or"monitor"(read-only monitoring).maxClients— number, default 16, range 1–16. This is how many RCON connections can attach at once.blacklist/whitelist— arrays of commands to deny or allow.
If you do not need remote administration, you can omit the entire rcon block. If you do include it, never reuse your admin password here, and only expose port 19999 to the IPs that actually need it.
The game block (the heart of the config)
The game object holds almost everything players experience: the server name, passwords, scenario, player cap and platform rules. These are the fields you will edit most often.
name— string, 0–100 characters. The display name shown in the server browser.password— string. The password players must enter to join (leave empty for a public server).passwordAdmin— string with no spaces. The admin login password used in-game to gain admin privileges.admins— array of identity IDs / SteamIDs, max around 20 entries. These accounts are admins automatically.scenarioId— string in the format{GUID}Missions/Name.conf(see the scenario section below).maxPlayers— number, default 64, range 1–128.visible— bool, defaulttrue. Set false to hide from the browser.crossPlatform— bool, defaultfalse(see the cross-platform section).supportedPlatforms— array ofPLATFORM_PC,PLATFORM_XBL,PLATFORM_PSN.modsRequiredByDefault— bool, defaulttrue; forces clients to download listed mods.gameProperties— object holding scenario/world tuning (below).mods— array of mod references (below).
Two quick gotchas worth repeating: passwordAdmin must contain no spaces, and maxPlayers can technically go to 128 but realistic performance depends heavily on your CPU and the scenario, so do not set 128 on a budget box and expect smooth play.
gameProperties — world and validation tuning
Nested inside game, the gameProperties object controls view distances, validation and several gameplay toggles. The most important fields:
serverMaxViewDistance— default 1600, range 500–10000.serverMinGrassDistance— default 0.networkViewDistance— default 1500, range 500–5000.fastValidation— bool, defaulttrue. Keep this true for public servers.battlEye— bool, default true. Anti-cheat; required for console crossplay.disableThirdPerson— bool, force first-person only.VONDisableUIandVONCanTransmitCrossFaction— voice-over-network controls.
It also contains missionHeader and persistence sub-objects for scenario-specific metadata and save behaviour. Leave battlEye and fastValidation at their true defaults unless you have a specific reason not to; disabling them is the fastest way to lock out console players and invite cheaters.
The operating block
The operating object governs server behaviour rather than gameplay: saving, queueing and AI limits. Notable fields:
lobbyPlayerSynchronise— defaulttrue.playerSaveTime— default 120 seconds.aiLimit— default -1 (no limit). Lower this on weaker hardware.slotReservationTimeout— default 60 seconds, range 5–300.joinQueue.maxSize— default 0 (disabled), max 50.disableCrashReporter,disableNavmeshStreaming,disableAI,disableServerShutdown— operational toggles.
For a popular server, enabling joinQueue with a sensible maxSize (say 20–30) lets players wait for a slot instead of being bounced. On a CPU-constrained host, capping aiLimit is one of the most effective performance levers because Conflict scenarios spawn a lot of AI.
A full annotated JSON config skeleton
Here is a complete, valid config matching the structure documented on the BI Wiki. Copy it, then change the passwords, server name and scenario. Remember: JSON has no comment syntax, so do not paste any “//” notes into the live file.
{
  "bindAddress": "",
  "bindPort": 2001,
  "publicAddress": "",
  "publicPort": 2001,
  "a2s": {
    "address": "0.0.0.0",
    "port": 17777
  },
  "rcon": {
    "address": "127.0.0.1",
    "port": 19999,
    "password": "ChangeMe123",
    "permission": "admin",
    "maxClients": 16,
    "blacklist": [],
    "whitelist": []
  },
  "game": {
    "name": "My Reforger Server",
    "password": "",
    "passwordAdmin": "SuperSecretAdminPass",
    "admins": [],
    "scenarioId": "{ECC61978EDCC2B5A}Missions/23_Campaign.conf",
    "maxPlayers": 64,
    "visible": true,
    "crossPlatform": false,
    "supportedPlatforms": ["PLATFORM_PC"],
    "gameProperties": {
      "serverMaxViewDistance": 1600,
      "serverMinGrassDistance": 0,
      "networkViewDistance": 1500,
      "fastValidation": true,
      "battlEye": true,
      "disableThirdPerson": false,
      "VONDisableUI": false,
      "VONCanTransmitCrossFaction": false
    },
    "mods": []
  },
  "operating": {
    "lobbyPlayerSynchronise": true,
    "playerSaveTime": 120,
    "aiLimit": -1,
    "slotReservationTimeout": 60,
    "joinQueue": { "maxSize": 0 }
  }
}
If the server fails to start after editing, the cause is almost always a JSON syntax error (a trailing comma, a missing brace) or a case mismatch in a key name. Run the file through any JSON validator before launching.
Installing and launching the dedicated server
The config file is loaded by the dedicated server binary you install through SteamCMD. You do not need to own the game on the host machine; log in to SteamCMD as anonymous. The relevant Steam app IDs are:
- Dedicated server, stable:
1874900 - Dedicated server, experimental:
1890870 - Game client (not needed to host):
1874880
There are genuine native binaries for both platforms — ArmaReforgerServer.exe on Windows and ./ArmaReforgerServer on Linux. The Linux build is a real native server, so no Proton or Wine is involved; you will typically need libcurl4 and an libssl package (often libssl1.1), plus optionally net-tools.
# Install (Windows)
steamcmd.exe +force_install_dir "C:\ArmaReforger\Server" +login anonymous +app_update 1874900 validate +quit

# Launch (Windows)
ArmaReforgerServer.exe -config ".\Configs\ServerConfig.json" -maxFPS 60 -profile ".\profile"

# Launch (Linux)
./ArmaReforgerServer -config /path/to/config.json -maxFPS 60 -profile /path/to/profile
The most important startup parameters are:
-config— path to your JSON config.-maxFPS— strongly recommended. Cap it at roughly 60–120 or the server will pin a CPU core at thousands of FPS for no benefit.-profile— sets the directory where logs and crash data are written.-logStats— periodically logs server FPS and performance.-listScenarios— prints every loadable scenario ID on startup, including modded ones (invaluable for finding GUIDs).-backendlog,-addonsDir/-addons— backend logging and local mod loading for testing.
Ports to open: 2001 UDP (game) and 17777 UDP (Steam/A2S query), plus 19999 if you enabled RCON. For the complete step-by-step install and the exact panel screens, see our Arma Reforger documentation.
Choosing a scenario with scenarioId
The scenarioId field decides what map and mode load. Its format is {16-HEX-GUID}Missions/FileName.conf — the braced GUID identifies the owning resource (the base game or a specific mod), followed by the path to the scenario’s .conf file. Here are the canonical official scenario IDs from the 1.6 wiki list:
| Scenario | scenarioId |
|---|---|
| Conflict – Everon | {ECC61978EDCC2B5A}Missions/23_Campaign.conf |
| Conflict – Arland | {C41618FD18E9D714}Missions/23_Campaign_Arland.conf |
| Conflict – Northern Everon | {C700DB41F0C546E1}Missions/23_Campaign_NorthCentral.conf |
| Conflict – Southern Everon | {28802845ADA64D52}Missions/23_Campaign_SWCoast.conf |
| Game Master – Everon | {59AD59368755F41A}Missions/21_GM_Eden.conf |
| Game Master – Arland | {2BBBE828037C6F4B}Missions/22_GM_Arland.conf |
| Game Master – Kolguyev | {F45C6C15D31252E6}Missions/27_GM_Cain.conf |
| Combat Ops – Arland | {DAA03C6E6099D50F}Missions/24_CombatOps.conf |
| Combat Ops – Everon | {DFAC5FABD11F2390}Missions/26_CombatOpsEveron.conf |
| Capture & Hold – Briars | {3F2E005F43DBD2F8}Missions/CAH_Briars_Coast.conf |
| Tutorial | {002AF7323E0129AF}Missions/Tutorial.conf |
There are around 31 official scenarios across the current map roster — Everon, Arland and Kolguyev (Kolguyev was added in 1.6). For a modded or custom scenario, add the scenario’s mod to the mods array first, then set scenarioId to that mod’s {GUID}Missions/....conf string. The easiest way to discover the right string is to launch with -listScenarios and read it off the log. If you want to author your own from scratch, our guide on how to create a custom scenario in Arma Reforger walks through the Workbench World Editor and Game Master.
Cross-platform settings (PC, Xbox, PlayStation)
There are two mutually exclusive ways to allow consoles. Either set crossPlatform: true to accept all platforms, or leave it false and explicitly list platforms in supportedPlatforms. Do not do both. The three tokens are PLATFORM_PC, PLATFORM_XBL (Xbox) and PLATFORM_PSN (PlayStation 5, supported since v1.2.1.169). Example:
"supportedPlatforms": ["PLATFORM_PC", "PLATFORM_XBL", "PLATFORM_PSN"]The critical caveat is anti-cheat: BattlEye must be enabled (battlEye: true) for console crossplay. Console players cannot join a server with BattlEye off. It is on by default, so just leave it alone. The bigger trap is mods. Since Update 1.4 (22 May 2025), PS5 can join modded servers, but only mods that ship data/assets — any mod containing script code is blocked on PSN by Sony policy. A heavily scripted modpack will therefore silently exclude your PS5 players even if you list PLATFORM_PSN. Xbox support is similar in spirit and depends on each mod’s declared platform compatibility. Full PC+Xbox+PSN works best on vanilla or data-only-mod servers. We cover the full decision tree in making your Arma Reforger server cross-platform.
Adding mods to the config
Arma Reforger mods come from the in-game Reforger Workshop (also browsable at reforger.armaplatform.com/workshop), not the Steam Workshop. Servers auto-download any mod listed in the config when they start. Each mod is referenced by its modId — a 16-character hexadecimal GUID — plus optional name, version (omit to pull latest) and required flags:
"mods": [
  { "modId": "591AF5BDA9F7CE8B", "name": "Capture & Hold", "version": "1.0.3", "required": true }
]
Find a modId by opening the mod’s Workshop page and copying the 16-char hex GUID from the URL. Load order matters: frameworks and dependencies must load before the content that depends on them (ACE core before ACE extensions, base Overthrow before its packs), and every dependency-of-a-dependency must be present too. The modsRequiredByDefault setting and per-mod required flag control whether clients are forced to download a mod before joining. A focused, well-tested stack — one content pack such as RHS Status Quo, one realism framework such as ACE Anvil, a mission tool and a couple of quality-of-life mods like Where Am I or VPad — performs and behaves far better than a giant unmanaged list, and keeps console compatibility predictable.
Frequently asked questions
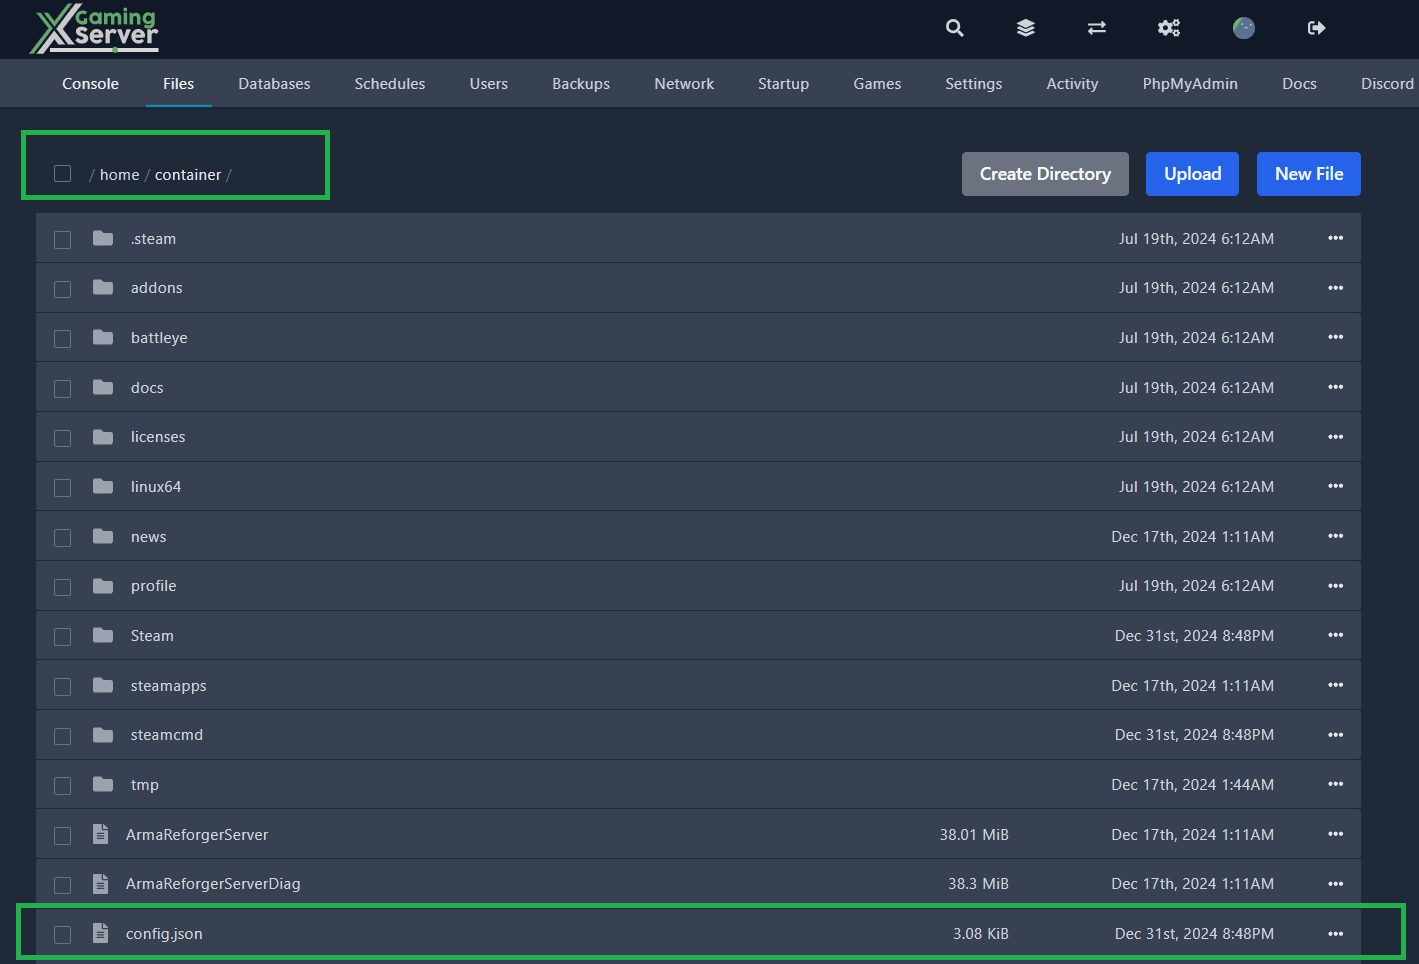
Where is the Arma Reforger server config file located?
It is wherever you point the -config launch parameter. There is no fixed mandatory path — many admins keep it in a Configs folder next to the server binary as ServerConfig.json or config.json. On a managed host the panel exposes it as an editable file. The name does not matter; what matters is that the path you pass to -config resolves to a valid JSON file.
Why won’t my Arma Reforger server start after I edited the config?
The two overwhelming causes are invalid JSON and case-sensitivity mistakes. JSON does not allow trailing commas or comments, so a stray comma after the last item in an array or object breaks the whole file. Keys must also match the documented capitalisation exactly — maxPlayers, not MaxPlayers. Validate the file with any JSON linter, and check that passwordAdmin contains no spaces and your RCON password is at least three characters with no spaces.
What ports does an Arma Reforger server need open?
Open 2001 UDP for game traffic and 17777 UDP for the Steam/A2S query that lists you in the server browser. If you enabled RCON, also open 19999 on the protocol your config uses, but restrict it to trusted IPs. Forgetting 17777 is the classic reason a server runs fine but never appears in the browser.
How many players can an Arma Reforger server hold?
The maxPlayers field defaults to 64 and accepts a range of 1 to 128. The hard limit is 128, but actual smooth performance depends on your CPU, the scenario’s AI count and your mod load. On a budget box, 64 (or lower with capped aiLimit) is far more reliable than pushing 128.
Do I need to own Arma Reforger to host a dedicated server?
No. The dedicated server (Steam app ID 1874900 for the stable branch) installs anonymously through SteamCMD — you log in as anonymous and do not need a license on the host. There are native binaries for both Windows (ArmaReforgerServer.exe) and Linux (./ArmaReforgerServer), and the Linux version runs natively without Wine or Proton.
How do I make my server cross-platform with Xbox and PS5?
Either set crossPlatform: true to accept everyone, or list the tokens in supportedPlatforms (PLATFORM_PC, PLATFORM_XBL, PLATFORM_PSN) — never both. BattlEye must stay enabled for consoles to connect. Be aware that scripted mods are blocked on PS5 by Sony policy, so a script-heavy modpack will quietly lock out PlayStation players even when PSN is listed.
Next steps
Once your config boots cleanly, the rest is gameplay tuning. New to the game itself? Start with our solo-mode getting-started guide to learn Conflict, Combat Ops and Game Master before you open the doors. With a validated config.json, the right ports open and BattlEye left at its default, you have the most complete and current foundation a 1.6 server can run on — adjust scenario, mods and platforms to taste from there.
Ready to play?
Run your own Arma Reforger server with XGamingServer
Spin up an always-on Arma Reforger server your friends can join in minutes — no port-forwarding, no tech headaches.


