
Setting up a game server can be a complex task, but with the right guidance, it becomes a straightforward process. Here’s a comprehensive guide on how to create The Front Dedicated Server
The Front Dedicated Server Requirements
Ensure your system meets the following requirements:
- Operating System: Windows 10+ or Server 2016+ (64-Bit)
- Processor: Quad Core (requires up to 2 full cores)
- Memory: Up to 7GB (currently uses around 11GB minimum)
- Disk Space: 3GB (for the install folder)
- A purchased copy of “The Front” from Steam
Method 1: How to create The Front dedicated server using SteamCMD
a. Setup
- Create a folder on your system drive:
C:\TheFront - Download SteamCMD for Windows from this link.
- Extract the contents of the zip file to the folder you just created.
b. Fetching Server Files
- Create a file named
FetchServerFiles.batand insert the following code:
@echo off
start "" steamcmd.exe +login USER PASS +force_install_dir "C:\TheFrontServer" +app_update 2612550 validate +quit- Run
FetchServerFiles.batto fetch the server files from Steam.
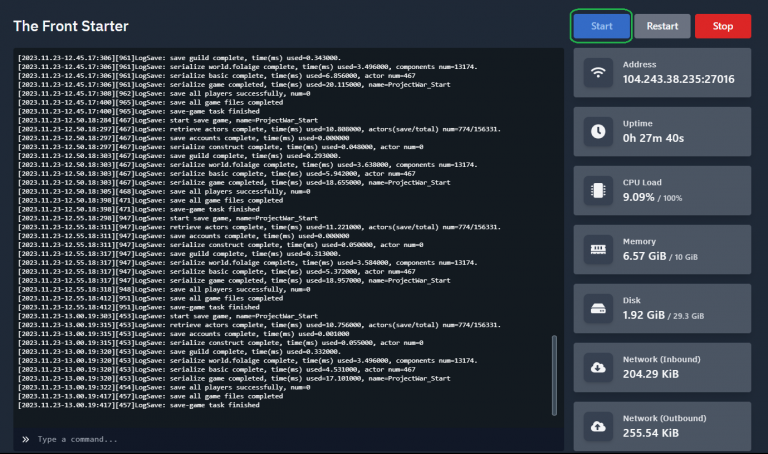
c. Starting the The Front Server
start "" "C:\PATH\TO\YOUR\FILES\ProjectWar\Binaries\Win64\TheFrontServer.exe" ProjectWar ProjectWar_Start ?Listen?MaxPlayers=8 -server -game -QueueThreshold=8 -ServerName="YOUR SERVER NAME" -ServerAdminAccounts=STEAM64ID;STEAM64ID;STEAM64ID -log log=log.log -locallogtimes -EnableParallelCharacterMovementTickFunction -EnableParallelCharacterTickFunction -UseDynamicPhysicsScene -OutIPAddress=YOUR_PUBLIC_IP -ServerID=ANY_IDEA -port=PORT-BeaconPort=PORT+1 -QueryPort=PORT+2 -Game.PhysicsVehicle=false -ansimalloc -Game.MaxFrameRate=35 -ShutDownServicePort=PORT+3- Create a batch file named
StartServer.batand paste the command above - Modify the necessary parameters like
ServerName,ServerPassword,ServerAdminAccounts, etc., to customize your server. - Run
StartServer.bat. The first time you start the server, it might take up to 10 minutes to load.
Method 2: How to create the front Dedicated server using using WindowsGSM
a. WindowsGSM Installation:
- Step 1: Download WindowsGSM from the official website: WindowsGSM.
- Step 2: Choose a location on your computer where you want all servers to be installed and run. Create a folder there.
- Step 3: Drag the
WindowsGSM.Exefile into the folder you just created. - Step 4: Execute the
WindowsGSM.Exefile. this will generate extra folders and files i.ebackups,bin,configs,logs,plugins,servers, MahApps.Metro.dll

b. The Front WindowsGSM Plugin Installation
- Step 1: Download the latest release of the plugin from GitHub.
- Step 2: Extract the downloaded file.
- Step 3: Move the
TheFront.csfolder to thepluginsfolder in your WindowsGSM directory.
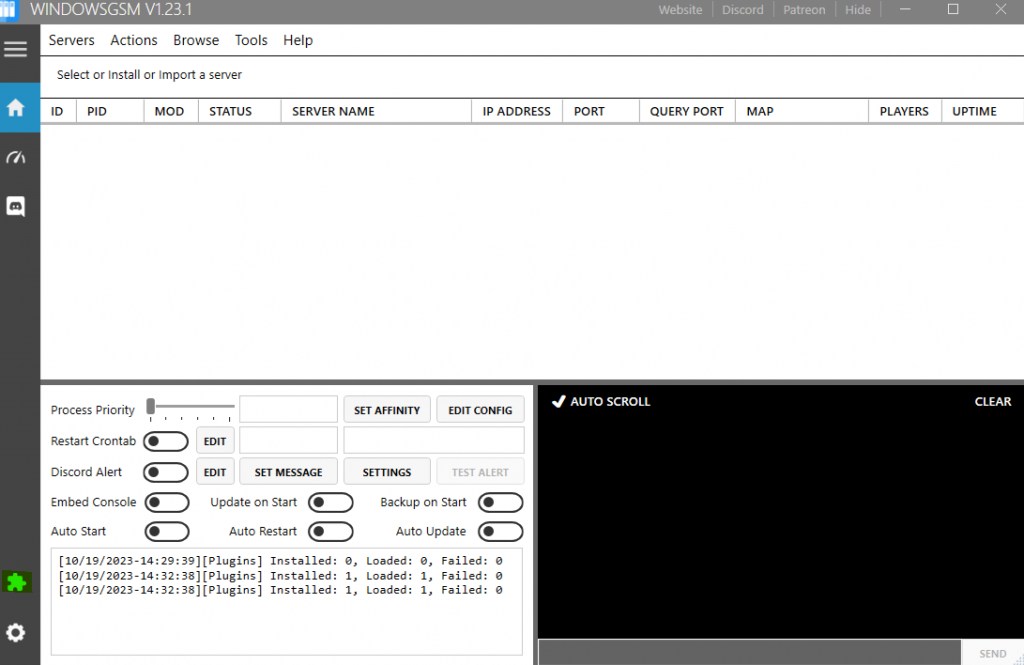
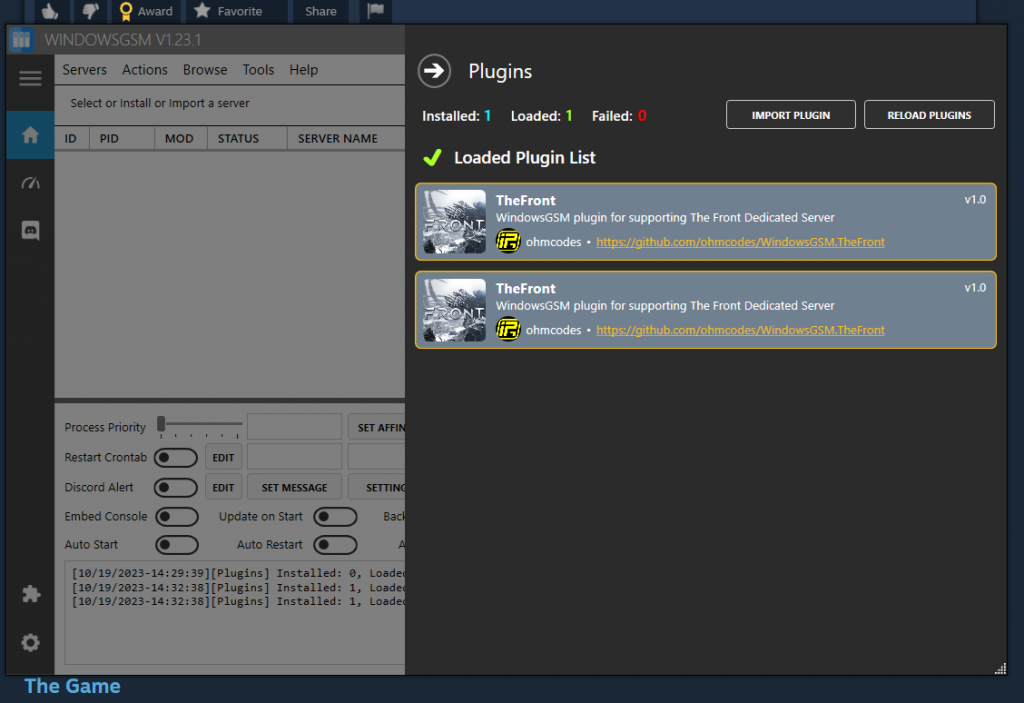
- In the WindowsGSM interface, click on the puzzle icon located at the bottom left side.
- Navigate to the location of the downloaded plugin and select the zip file to install it.
- Step 4: After installing the plugin, either click on the RELOAD PLUGINS button or restart WindowsGSM to ensure the plugin is loaded correctly.
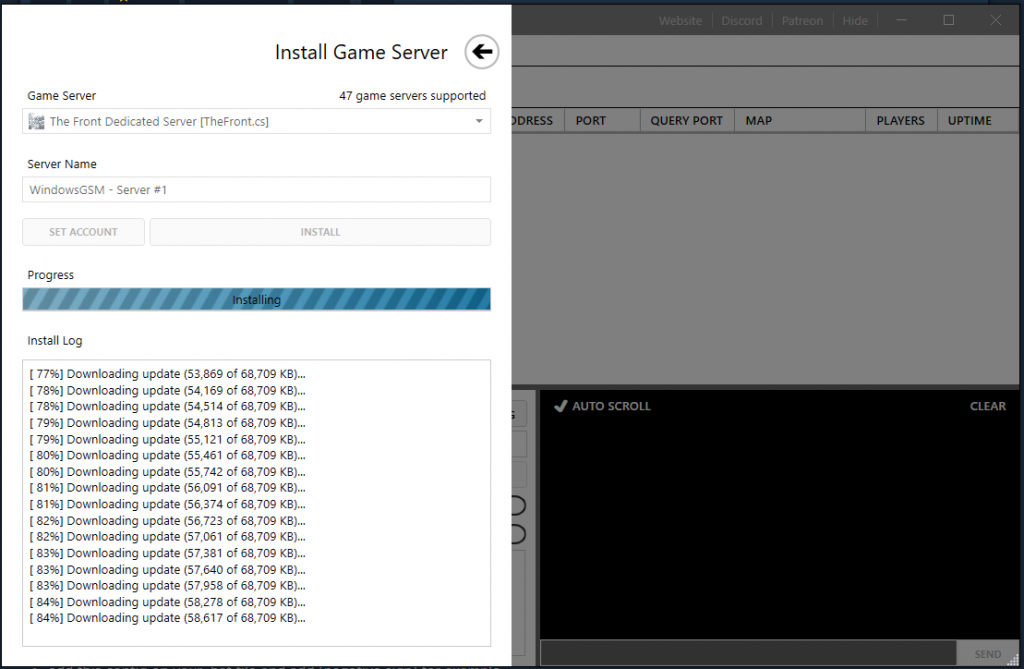
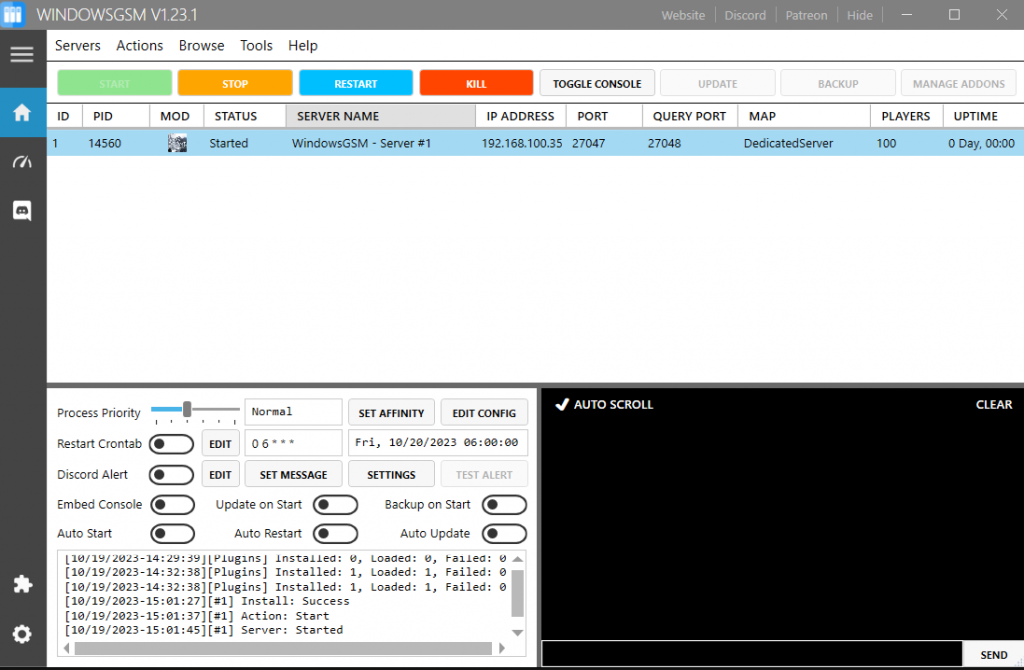
- Step 5: Navigate to the “Servers” section in WindowsGSM. Click on “Install Game Server” and look for “The Front Dedicated Server [TheFront.cs]” to install.
Configuring The Front Dedicated Server
Setting up your game server to your preferences is crucial. Here’s how you can do it:
- Open the
ServerConfig_.inifile to modify game server settings. This file can be found in the/TheFrontManager/directory. The settings in this file will overwrite your launch line settings. Here’s a sample configuration:
[BaseServerConfig]
IsCanMail=1.000000
ServerName="YOUR SERVER NAME"
ServerPassword=
ServerAdminAccounts=STEAM64ID;STEAM64ID;
ServerTitle="A simple description of your server"
PlayerAddExpRate=1
Remember to replace placeholders like YOUR SERVER NAME and STEAM64ID with your actual values.
See an in-depth the front server configuration guide
And that’s it! You’ve successfully set up the front server for ProjectWar. Always ensure your server’s security and regularly back up your data to prevent potential data loss or breaches.
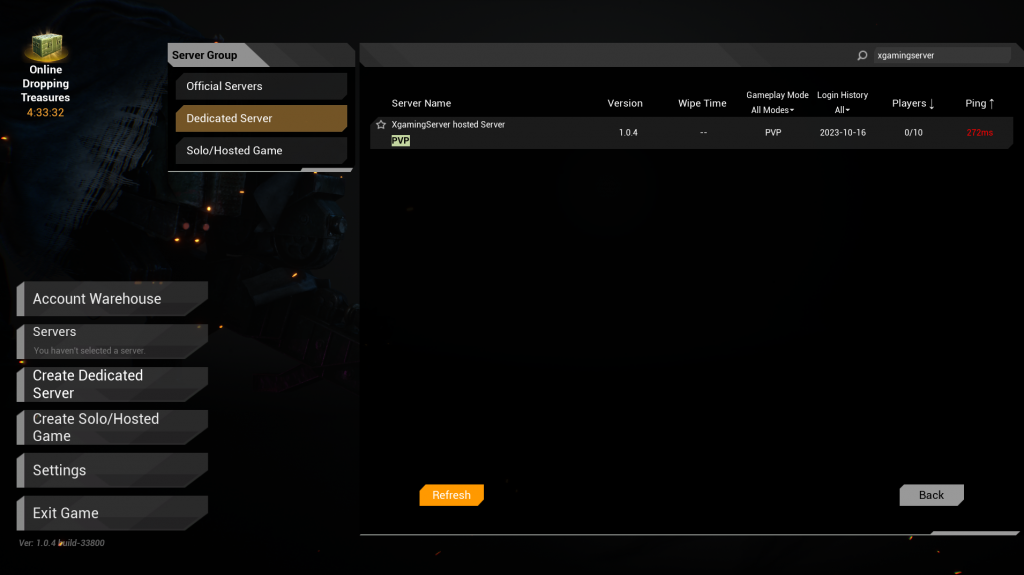
You can now connect to your the Front server
See the official documentation video below
Method 3: The Front dedicated server hosting
If setting up and configuring the server yourself is too much you can host a dedicated The Front server with us. With our hosting service you will get
- Dedicated RAM
- Dedicated CPU cores
- DDoS Protection
- Automated Cloud Backups
- No fixed game slots
- Full Server Control and more
Rent your the front server now!
Ready to play?
Run your own The Front server with XGamingServer
Spin up an always-on The Front server your friends can join in minutes — no port-forwarding, no tech headaches.