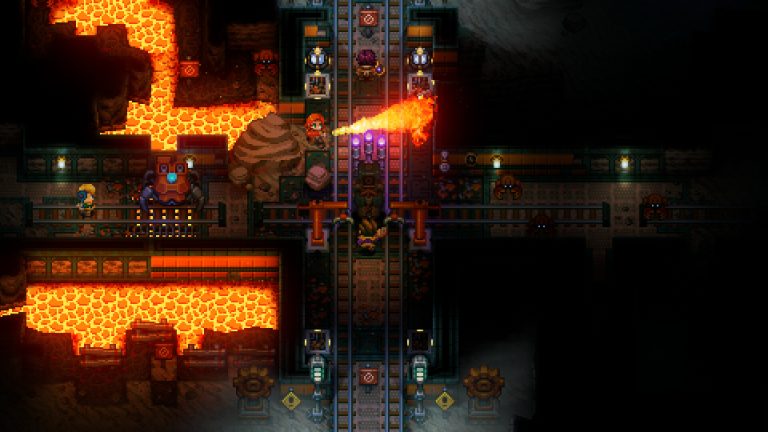
You started a Core Keeper world solo, dug halfway to The Core, and now your friends want in 24/7 without you having to leave the game running. The fix is a dedicated server, and the good news is that moving your existing world onto one is genuinely simple once you understand how Core Keeper stores saves. Each world is a single compressed file, you drop it into one folder, point a config value at it, and restart. This guide walks through the whole process end to end, including the file locations, the exact ServerConfig.json change, and the gotchas that trip people up.
How Core Keeper stores worlds
Unlike games that scatter a world across dozens of region files, Core Keeper packs each world into one file named by its save slot: 0.world.gzip, 1.world.gzip, 2.world.gzip, and so on. The number is the slot, and the .world.gzip extension tells you it is gzip-compressed save data. That single-file design is why uploading a world is so painless — there is exactly one file to move per world.
On a dedicated server, the world integer inside ServerConfig.json decides which slot loads. Set it to 0 and the server loads 0.world.gzip; set it to 3 and it loads 3.world.gzip. If the requested slot does not exist yet, the server generates a fresh world in that slot instead. That is the entire mechanism, and understanding it makes every step below obvious.
Step 1: Find your local single-player save
Your existing solo worlds live in your Windows user profile, under a hidden AppData folder. The full path is:
C:\Users\\AppData\LocalLow\Pugstorm\Core Keeper\Steam\\worlds\ Two things commonly catch people here. First, AppData is hidden by default — in File Explorer, open the View menu and enable Show hidden items (or paste %USERPROFILE%\AppData\LocalLow\Pugstorm\Core Keeper straight into the address bar). Second, the worlds\ directory until you find the right save.
Inside worlds\ you will see files like 0.world.gzip and 1.world.gzip. The slot numbers correspond to the order your worlds appear on the in-game world-select screen (top entry is usually 0). If you are unsure which file is which, sort by Date modified — the world you played most recently will have the newest timestamp. Make a backup copy of the file before you do anything else; a duplicate on your desktop costs nothing and saves heartbreak.
Step 2: Open the server’s worlds folder
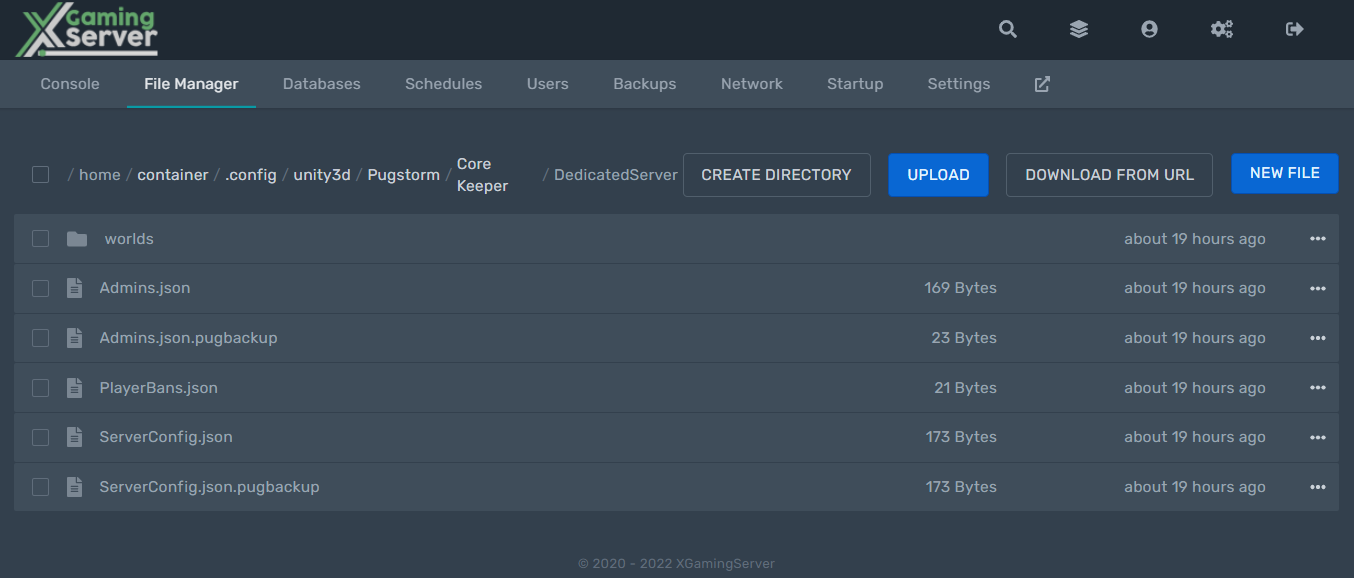
On the dedicated server side, world files live in a dedicated worlds directory under the server’s config path. On a managed host panel this is typically surfaced as:
/core-keeper/DedicatedServer/worlds/On a self-hosted box, the same DedicatedServer/worlds/ folder sits under the platform-specific config root:
- Windows:
%USERPROFILE%\AppData\LocalLow\Pugstorm\Core Keeper\DedicatedServer\worlds\ - Linux:
/home//.config/unity3d/Pugstorm/Core Keeper/DedicatedServer/worlds/
If the worlds folder does not exist yet, start the server once so it generates its default files, then stop it — the directory structure will be there waiting. With our Core Keeper dedicated server hosting, this folder is one click away in the file manager, so you do not have to hunt through hidden directories on the host.
Step 3: Upload the .world.gzip file
Now copy your local world file into the server’s worlds/ folder. Pick the method that suits the file size and your setup:
- Drag-and-drop in a control panel — fastest for typical worlds. Most web file managers handle uploads under roughly 100 MB comfortably.
- SFTP / FTP — use a client like FileZilla or WinSCP for larger worlds or batch transfers. Connect with the SFTP credentials your host provides, navigate to
DedicatedServer/worlds/, and drop the file in.
Upload the file as-is — do not unzip it, do not rename the extension, and do not edit it in a text editor. It must stay a single .world.gzip file. The only thing you might change is the leading number, which brings us to the most important step.
Step 4: Point ServerConfig.json at the right slot
Here is where most failed uploads go wrong. The server only loads the slot named in the world field of ServerConfig.json. If you uploaded 0.world.gzip and world is already 0, you are done. But if your file is 3.world.gzip, the server will keep loading slot 0 (an empty new world) until you tell it otherwise.
The config file lives next to the worlds folder:
- Windows:
%USERPROFILE%\AppData\LocalLow\Pugstorm\Core Keeper\DedicatedServer\ServerConfig.json - Linux / host panel:
/core-keeper/DedicatedServer/ServerConfig.json
The default file looks like this:
{
  "gameId": "",
  "world": 0,
  "worldName": "SERVERNAME",
  "worldSeed": 0,
  "maxNumberPlayers": 100,
  "maxNumberPacketsSentPerFrame": 1
}
Set world to match the number of the file you uploaded. Uploaded 3.world.gzip? Set "world": 3. Here is what each field does:
| Key | What it does | Default |
|---|---|---|
gameId | The Game ID players use to join. Leave empty to auto-generate one | "" |
world | Which save slot to load — matches the N.world.gzip number | 0 |
worldName | Display name of the server/world | "SERVERNAME" |
worldSeed | Generation seed for new worlds; 0 means random (ignored when loading an uploaded save) | 0 |
maxNumberPlayers | Player cap. Ships as 100 but the real co-op cap is 8 — set it to 8 | 100 |
maxNumberPacketsSentPerFrame | Network tuning value | 1 |
Two practical notes. First, the reference file ships maxNumberPlayers at 100, but Core Keeper’s actual online co-op cap is 8 players, so set it to 8 for an honest value. Second, field naming varies between the official file and some host panels — the canonical file uses maxNumberPlayers and worldName, while certain panels relabel these as maxPlayers or serverName. Extra fields you may see in some host configs — worldMode, season/seasonOverride, or password — are host- or version-dependent additions; if your config exposes them, verify their accepted values against your host’s current documentation before changing them.
Save the file as valid JSON — keep every quote, comma, and brace exactly as shown. A stray trailing comma will stop the server from starting.
Step 5: Restart and grab your Game ID
Restart the server. On startup it loads the matching slot and prints a unique Game ID in the console — something like WRzngFnLmIRcMHfWGhegp2. This is the primary way players join. On a self-hosted Linux box the ID is also written to a file you can read with:
cat /home/corekeeper/server/GameID.txtTo verify the upload worked, watch the console logs at boot and then join: launch Core Keeper, choose Join Game, paste the Game ID, enter the password if one is set, and connect. Your uploaded world — caves dug, bosses beaten, base built — should load exactly as you left it. For a fuller walkthrough of the install, SteamCMD, and first-boot configuration, see our Core Keeper server documentation.
How players connect
Core Keeper offers two join paths. The Game ID method is the standard, recommended approach: it uses the same relay mechanism as normal player-hosted co-op, so it works through NAT without port forwarding. Players just paste the ID in the Join Game screen.
The second path is direct IP:port, which is network-dependent. Core Keeper uses UDP ports — the default game port is 27015, and communication spans the 27015–27016 UDP range, so open or forward both. Some host panels expose a “Steam Direct Connect” option via IP:Port, but its availability is host-dependent. If in doubt, hand your friends the Game ID; it is the most reliable option for getting people in fast.
Reference: identity and quick facts
| Detail | Value |
|---|---|
| Dedicated server SteamCMD App ID | 1963720 |
| Game Steam App ID | 1621690 |
| Default game port | UDP 27015 (open 27015–27016 UDP) |
| Co-op player cap | 8 players |
| Current build (mid-2026) | Update 1.2 “Void & Voltage” (Feb 25, 2026), patch 1.2.1 since |
| World file format | N.world.gzip (e.g. 0.world.gzip) |
If you are setting up the server from scratch, the SteamCMD install uses anonymous login — no Steam account required:
steamcmd +force_install_dir +login anonymous +app_update 1963720 +quit Frequently asked questions
Where is my Core Keeper world saved on Windows?
Single-player worlds are at C:\Users\. Because AppData is hidden, enable “Show hidden items” in File Explorer or paste the path into the address bar. Each world is a single N.world.gzip file.
I uploaded my world but the server still loads an empty one. Why?
The world value in ServerConfig.json does not match your uploaded file’s slot number. If you uploaded 3.world.gzip, you must set "world": 3 and restart. The server loads the slot named in the config, not whatever file you most recently added.
Do I need to unzip the .world.gzip file before uploading?
No. Upload it exactly as it is. The .gzip compression is part of the save format — unzipping it or renaming the extension will leave the server unable to read the world.
How do my friends join after I upload the world?
On startup the server prints a unique Game ID in the console (and to GameID.txt on Linux). Players open Core Keeper, choose Join Game, paste the Game ID, and connect — no port forwarding needed for this path. Direct IP:port on UDP 27015 is an alternative where your host supports it.
Can I run more than 8 players on a Core Keeper server?
Core Keeper’s online co-op cap is 8 players. The reference config ships maxNumberPlayers at 100, but that does not raise the in-game limit — set it to 8 to reflect the real cap.
Will my progress and base transfer exactly?
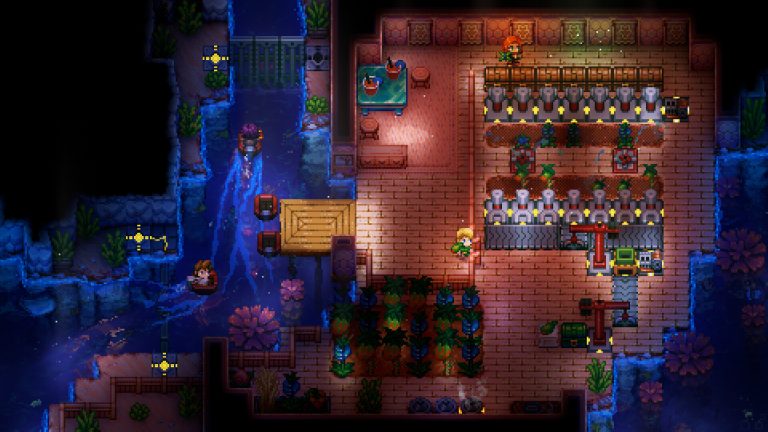
Yes. The .world.gzip file contains the entire world state — terrain you have mined, structures, defeated bosses, and stored items in chests. Once the server loads the slot, everything appears as it did in single-player. New to the game’s progression? Our Core Keeper progression guide covers what to tackle next now that your world is online 24/7.
Ready to play?
Run your own Core Keeper server with XGamingServer
Spin up an always-on Core Keeper server your friends can join in minutes — no port-forwarding, no tech headaches.