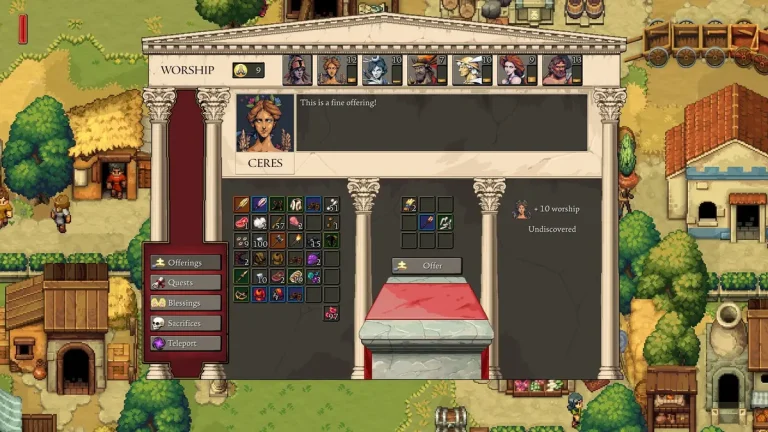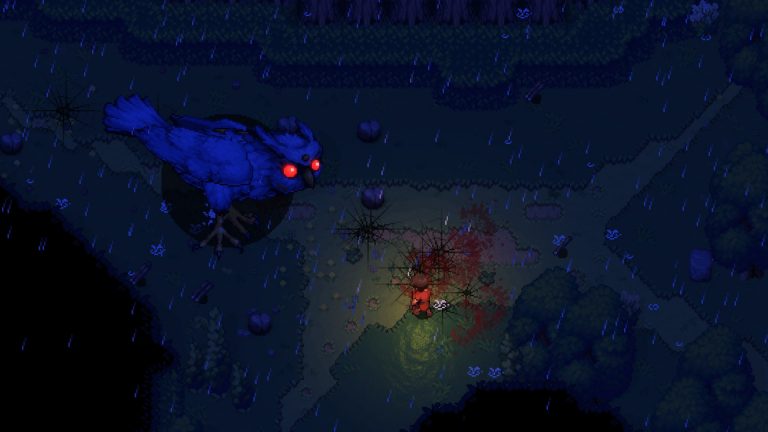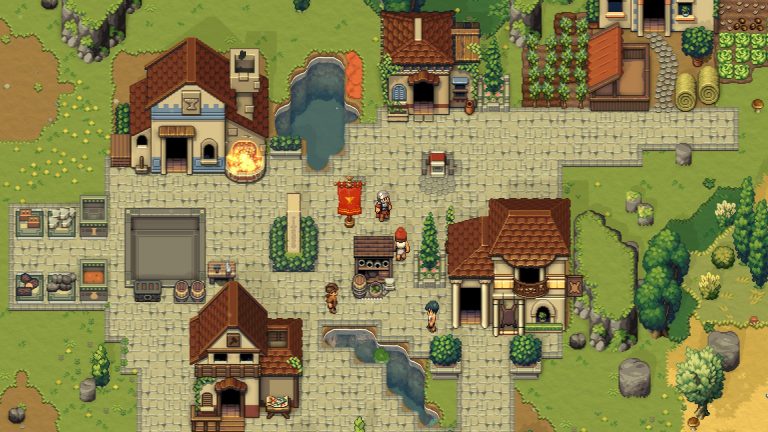
Romestead ships with an official cross-platform dedicated server, and the good news for Linux admins is that there is no Wine or compatibility layer involved. The server runs natively as a .NET application, so a Romestead world can sit on a Linux box, stay online around the clock, and let your friends drop in whenever they want. This guide walks through a clean install on Linux using SteamCMD, the dependencies you actually need, the config.json options the official wiki documents, and the server-console commands you can rely on. Everything below is drawn from the official Steam store page and the official Romestead Wiki server guide; where something is not officially documented, this guide says so plainly instead of guessing.
What you are installing (and what you are not)
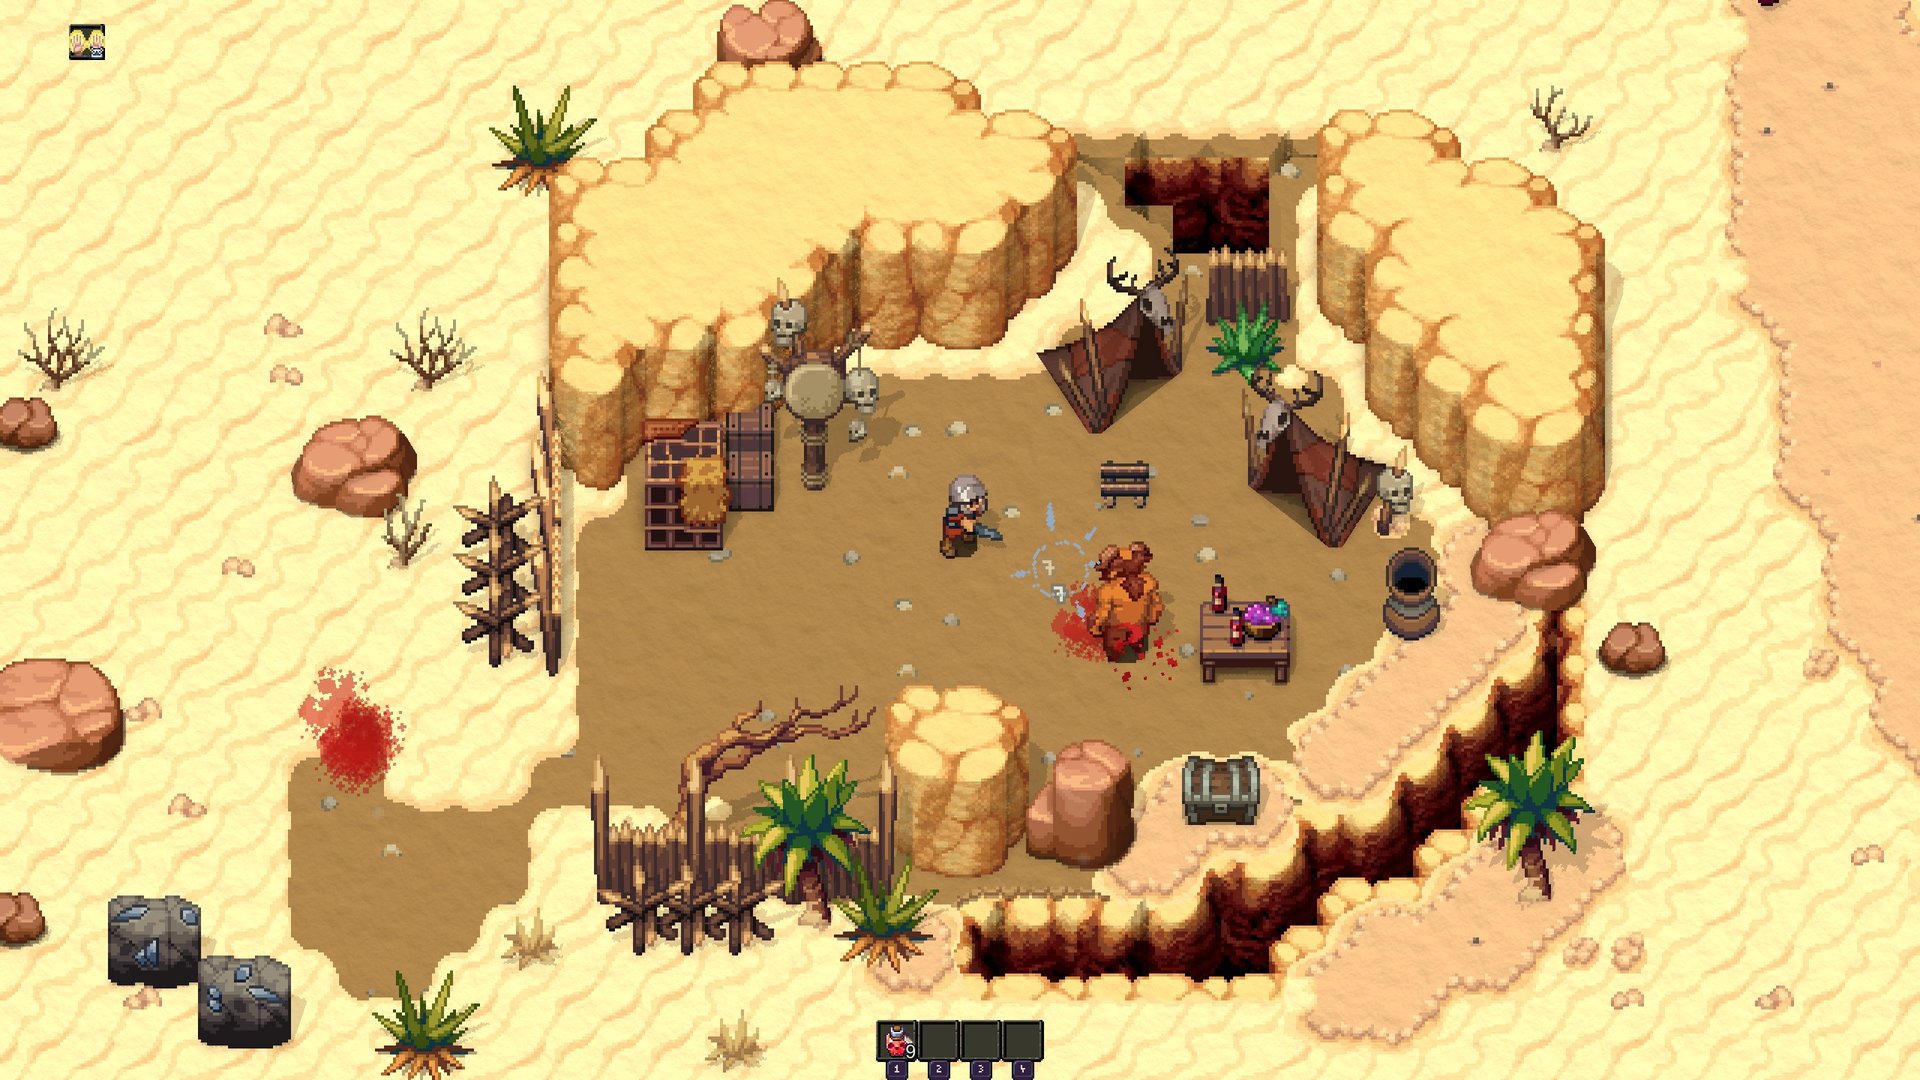
Romestead is a top-down 2D pixel-art survival town-builder set after the fall of a Roman empire, developed by Beartwigs and published by Three Friends. It launched into Early Access on May 25, 2026, and the developers expect roughly one to two years in Early Access. It supports solo play and online co-op for 1 to 8 players. There are two ways to play together, and it is important not to confuse them:
- Listen server (peer-to-peer): one player hosts a world directly from the game and others join by Steam invite or by IP. This needs zero install, but the world only exists while the host is online.
- Dedicated server: standalone server software that runs a persistent world with no host player required. Players join by IP (and a password if you set one). This is what this guide installs.
The two pieces of software also have different Steam App IDs, and this trips people up constantly. The game client is App ID 1805320. The dedicated server is a separate download under App ID 4763510. You install the server through SteamCMD using the server App ID, not the game ID. If you would rather skip the manual work entirely, you can spin up a managed Romestead server hosting plan and have a persistent world running in minutes, but the steps below cover the full self-hosted route.
Prerequisites
Before downloading anything, get the Linux host ready. The Romestead dedicated server is a .NET 8 application, so you need the runtime plus two helper packages that SteamCMD and the install flow rely on:
- .NET 8 Runtime — the standard runtime is sufficient; you do not need the ASP.NET Core runtime.
- curl — required on Linux.
- expect — required on Linux.
- SteamCMD — Valve’s command-line Steam client, used to download the server files anonymously.
On a Debian or Ubuntu host, install the helpers with your package manager. SteamCMD itself is available through Valve’s repository or as a standalone tarball; install it however you normally would on your distribution. Once SteamCMD launches and updates itself, you are ready to pull the server.
Step 1 — Download the server with SteamCMD
The Romestead dedicated server is published as anonymous content, so you do not need to log in with a real Steam account. Run SteamCMD with an anonymous login and update App ID 4763510:
steamcmd +login anonymous +app_update 4763510 validate +quitThe validate flag checks file integrity, which is worth keeping for first installs and after updates. When this finishes, you will have both platform builds in the install directory: a Windows Server.exe and a Linux Server.dll. On Linux you use the latter.
Step 2 — Configure the server with config.json
Romestead’s server settings live in a config.json file. The official wiki documents the following options. These are the only keys this guide treats as verified — if you see other settings circulating online, confirm them against the in-game settings or the official wiki before relying on them.
| Option | What it does |
|---|---|
AutoStartWorldName | The world to load on startup. |
AutoCreateAndLoadWorld | Auto-create and load a world without navigating menus. |
AutoCreateWorldSize | World size: 0 = Small, 1 = Standard, 2 = Large. |
Password | Password required to access the server. |
Port | Listening port (default 8050). |
MaxPlayers | Concurrent player limit (the game supports up to 8). |
EnableCheats | Listed by the wiki as “reserved for future use.” |
A minimal config that auto-creates a standard-size world and protects it with a password might look like this. Adjust the values to taste:
{
  "AutoStartWorldName": "MyRomesteadWorld",
  "AutoCreateAndLoadWorld": true,
  "AutoCreateWorldSize": 1,
  "Password": "changeme",
  "Port": 8050,
  "MaxPlayers": 8,
  "EnableCheats": false
}
Note on EnableCheats: the wiki marks this as reserved for future use, so do not expect it to unlock a working cheat or spawn system yet. There is also no officially documented in-game spawn/cheat command table tied to it at this stage.
Step 3 — Open the firewall and forward the port
Romestead’s dedicated server uses UDP port 8050 by default. Allow that port through the host firewall, and if the server sits behind a router or NAT, forward UDP 8050 to the server’s local IP. If you change Port in the config, open the matching port instead. Players who join by IP will connect on this port.
Step 4 — Launch the server
On Linux you launch the server by running the .NET assembly directly — no Wine, no Server.exe:
dotnet Server.dllIf AutoCreateAndLoadWorld is enabled in your config, the server will generate and load the world on its own. For production use, run this under a process manager such as systemd, tmux, or screen so the server survives your SSH session disconnecting. On Windows, the equivalent launch step is to run Server.exe instead.
Server console commands
Once the server is running, you manage it from the server’s own console (the attached terminal, or the Console tab if you use a control panel). The official wiki documents these commands:
stop/quickstop— shut down with / without saving.save/quicksave— manual save.list— show connected players.say— broadcast a message to players.kick/ban/unban— player management.
Worth being clear about: these are server-side commands. Romestead does not currently have an officially documented player-facing developer console in Early Access — there is no verified in-game console key or single-player cheat/spawn command list on the official wiki. If you want to track more of the admin syntax, our Romestead console commands breakdown collects what is confirmed, and you can check the in-game settings or the official Romestead Discord for anything newer.
No dedicated server? Use a listen server instead
If you do not want to run a standalone server, Romestead lets any player host a world directly from the game. The host picks “host a world,” and friends join via Steam invite or by IP. This needs zero installation, but the world is only reachable while the host is online — which is exactly why a dedicated server is the better choice for a persistent group. For the full rundown of both models, see our guide to Romestead multiplayer and co-op.
A note on mods
Romestead does not support the Steam Workshop. There is an active community modding scene on Nexus Mods, including a BepInEx-style ModLoader and various mods, but these are client-side tools intended for single-player or listen-server play — there is no official server-side mod framework. If you want to explore that side, our overview of Romestead mods covers the community tooling and how it is installed. For the dedicated server itself, keep your setup vanilla.
Quick reference
| Item | Value |
|---|---|
| Game Steam App ID | 1805320 |
| Dedicated server App ID | 4763510 (anonymous) |
| Linux launch binary | Server.dll via dotnet (no Wine) |
| Windows launch binary | Server.exe |
| Dependencies (Linux) | .NET 8 Runtime, curl, expect |
| Default port | UDP 8050 |
| Max players | 8 |
| Config file | config.json |
If you want a deeper, panel-oriented walkthrough with screenshots, our Romestead server documentation covers the managed-hosting workflow alongside these manual steps.
Frequently asked questions
Do I need Wine to run a Romestead server on Linux?
No. The Romestead dedicated server ships with native Linux files. You run dotnet Server.dll using the .NET 8 Runtime — no Wine or compatibility layer is required. Windows users run Server.exe instead.
Why is the server App ID different from the game App ID?
Romestead distributes its dedicated server as a separate Steam application. The game client is App ID 1805320, while the dedicated server is App ID 4763510, downloaded anonymously through SteamCMD. Always use 4763510 in your app_update command.
What port does the Romestead server use?
By default it listens on UDP port 8050. Open that port on your firewall and forward it on your router. You can change it with the Port option in config.json, in which case open the new port instead.
Can I enable cheats or spawn commands on the server?
There is an EnableCheats option in config.json, but the official wiki lists it as “reserved for future use.” There is no officially documented in-game cheat or spawn command table yet. For admin tasks, use the confirmed server console commands like save, list, kick, and ban.
Is Romestead worth setting up a server for?
Romestead launched to a Very Positive recent-review rating on Steam and supports up to 8-player co-op, so a persistent server suits groups who want to keep building together between sessions. It is still in Early Access with three biomes at launch and more content planned, so expect changes. Our take on whether Romestead is worth playing goes into more detail.
That is everything currently confirmed for running a Romestead dedicated server on Linux. Because the game is in early access, settings and commands may expand over time — when in doubt, check the in-game settings, the official Romestead Wiki, or the official Discord rather than trusting unverified third-party command lists.
Ready to play?
Run your own Romestead Dedicated server with XGamingServer
Spin up an always-on Romestead Dedicated server your friends can join in minutes — no port-forwarding, no tech headaches.