
If you are running a Minecraft server and want to keep track of your world in realtime? Dynmap is the perfect tool for you with this plugin you can create a map of your Minecraft world and easily monitor different areas of your server and in this article we will guide you through the steps to install Dynmap on your Minecraft server!
In this article we will be using “Dynmap” plugin, if you don’t know how to use plugins, then please take a look at this article “How to install Plugins on your Minecraft server“
How to setup Dynmap on your server
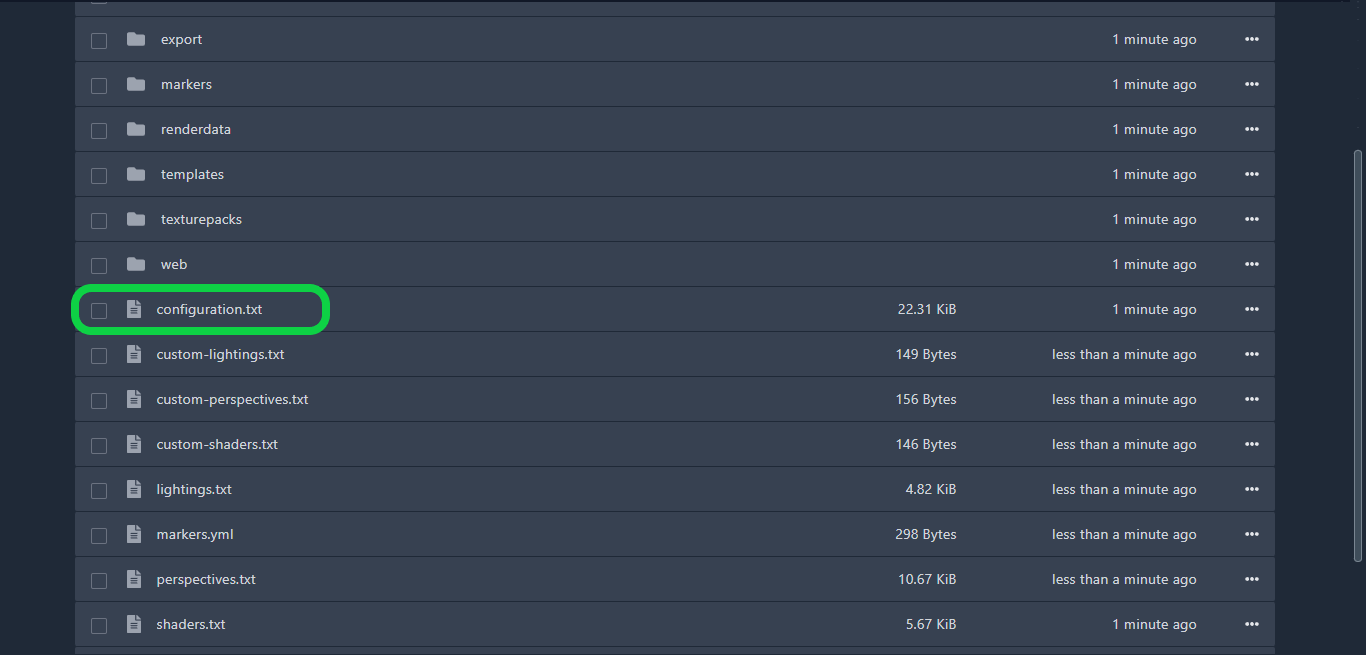
1- After uploading the plugin to your server, start your server, then go the the “Files” tab, and go to this directory “home > container > plugins > dynmap” then open the file “configuration.txt“
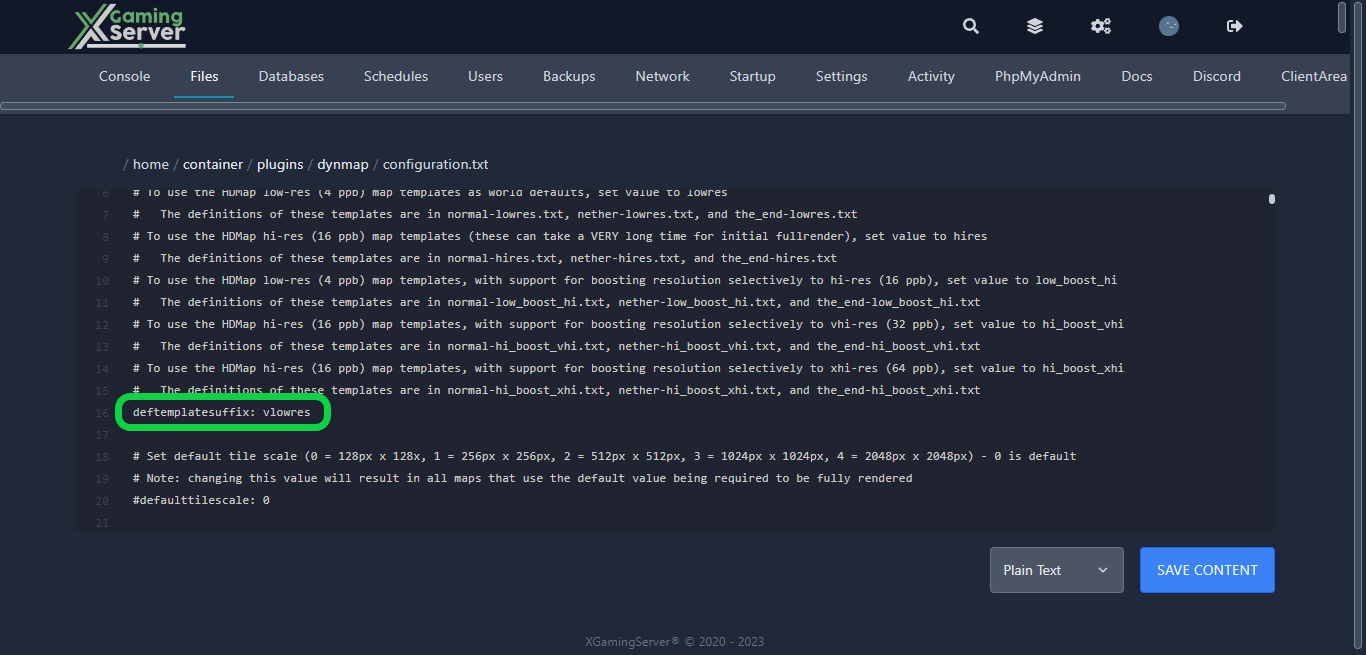
2- Find the line that reads “deftemplatesuffix” and adjust it to “vlowres“
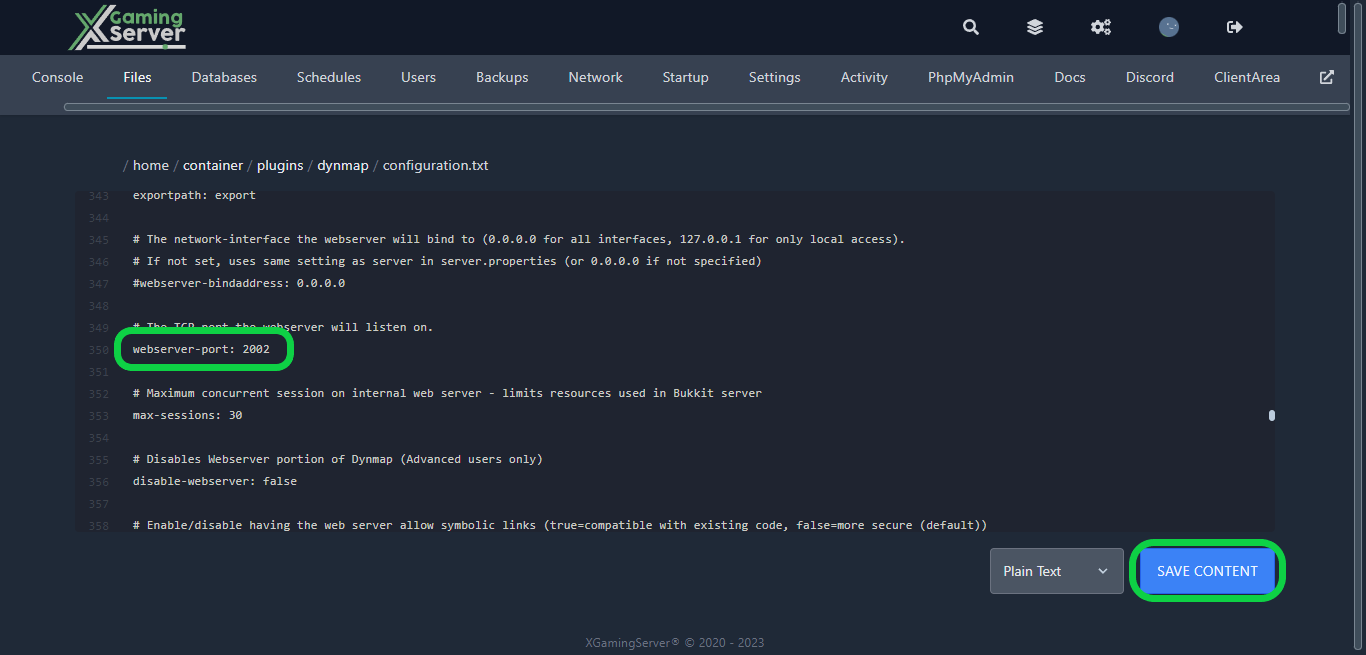
3- Next, locate the “webserver-port” and input a port that is not currently in use (to get a new unused port please open a ticket via our site) then hit “Save Content“
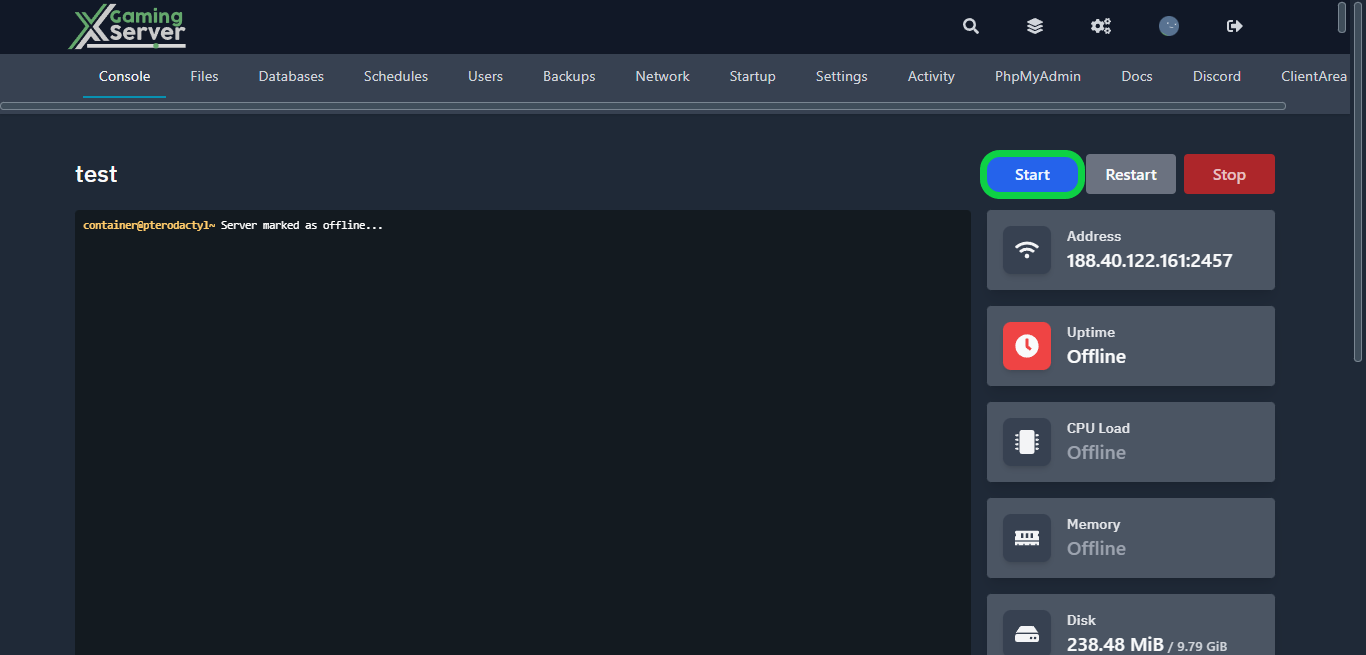
4- Go to the “Console” tab, then hit “Start” to start your server
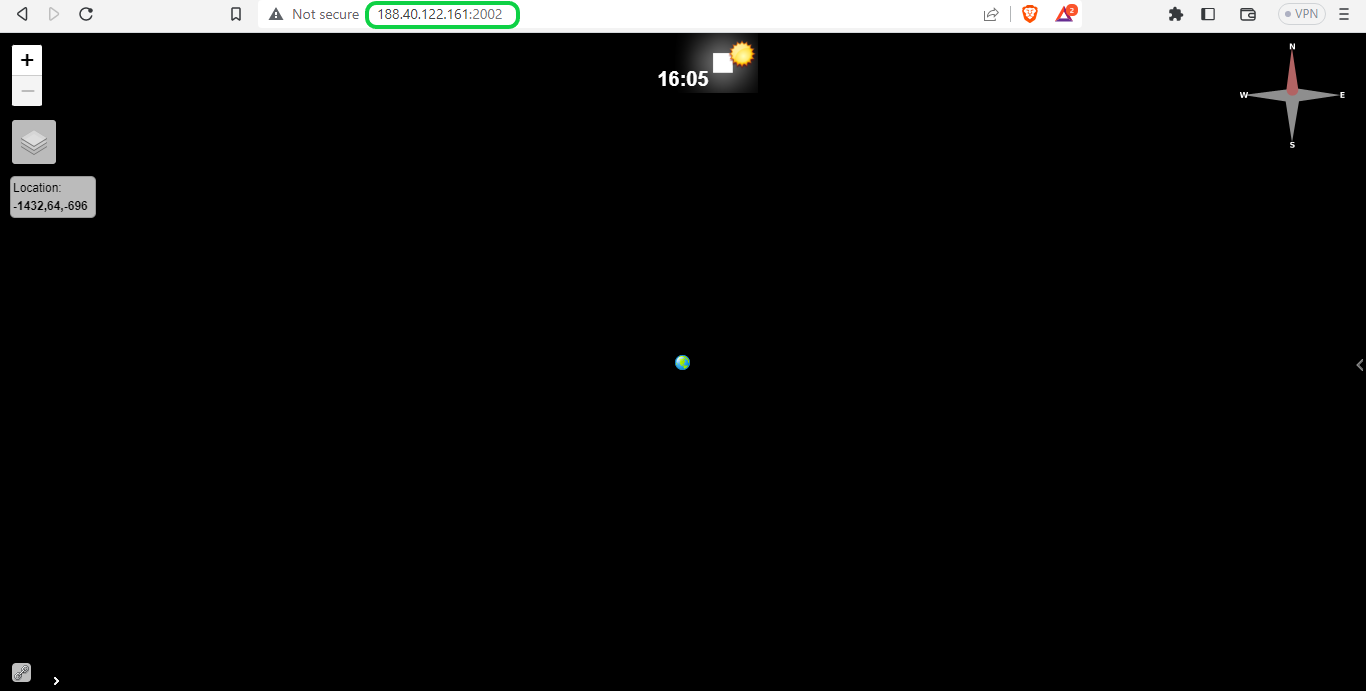
5- After your server has finished loading, verify your Dynmap map by accessing http://IP:PORT in your web browser. Remember to substitute “IP” with your Server IP and “PORT” with the Dynmap Webserver Port, in my case it would be “http://188.40.122.161:2002“
Please keep in mind that in order to completely create your dynamic map, you will need to execute the command “/dynmap fullrender” either in your console or in-game
If you need any help with your service don’t hesitate to contact us through our support tickets at https://billing.xgamingserver.com/submitticket.php
Free Minecraft Tools
Speed up your server with our free Minecraft tools:
Ready to play?
Run your own Minecraft server with XGamingServer
Spin up an always-on Minecraft server your friends can join in minutes — no port-forwarding, no tech headaches.