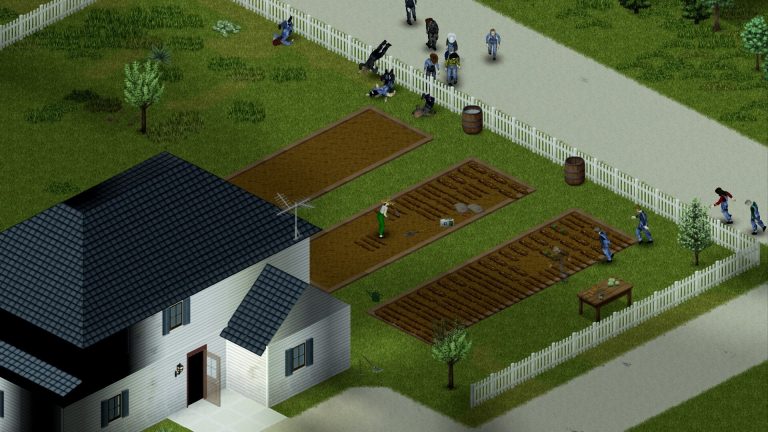
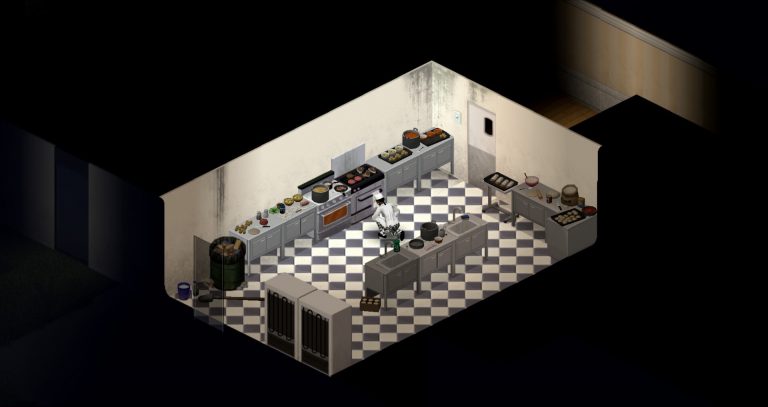
Dive into the post-apocalyptic world of Project Zomboid, a game that tests your survival instincts against a backdrop of a zombie-infested landscape. This comprehensive guide will walk you through setting up your Project Zomboid server, enabling you and your friends to enjoy a personalized and uninterrupted gaming experience. Hosting your server grants the freedom to modify game settings, apply mods, and more, enriching your gameplay. Let’s begin the journey to establish a server that will serve as your refuge in the zombie apocalypse.
Choosing the Right Server for Project Zomboid
The first step is deciding on the appropriate server type for your Project Zomboid gameplay needs.
Virtual Private Servers (VPS)
A VPS is a balanced choice, offering dedicated resources at a cost-effective rate. It allows for complete control over the server environment, making it suitable for custom mods and settings.
Dedicated Servers
Dedicated servers provide the highest performance, with exclusive access to all resources. This option is ideal for a seamless experience, especially with large player numbers or extensive mods.
Cloud Servers
Cloud servers offer scalability, perfect for adjusting to player count fluctuations. They allow for resource scaling, ensuring you only pay for what you use.
Simplifying Your Setup with XgamingServer
For players looking to dive into Project Zomboid without the hassle of manual server setup, XgamingServer offers a streamlined solution. This platform allows you to host your PZ server effortlessly, handling the technicalities of server management, so you can focus solely on your gameplay. With XgamingServer, the setup process is simplified, providing a user-friendly approach to embarking on your medieval adventure.
Setting Up Your Project Zomboid Server: A Step-by-Step Guide
Here’s a detailed walkthrough for setting up your server, from server selection to game launch.
Step 1: Selecting Your Server Provider
- Choose a provider that offers the type of server you’ve decided on (VPS, dedicated, or cloud).
- Ensure the server meets Project Zomboid’s requirements.
Step 2: Installing Project Zomboid Server
Connect to your server. For Linux, use SSH, and for Windows, use Remote Desktop. Then, install Project Zomboid using SteamCMD with the following commands:
login anonymous
force_install_dir ./pzserver
app_update 380870 validate
exit
Step 3: Configuring Your PZ Server
Navigate to the server files and edit the servertest.ini file to customize your settings, including:
- Server name
- Password protection
- Player slots
- Game mods
Step 4: Launching Your Project Zomboid Server
Start your Project Zomboid server with the command:
start-server.bat -servername YourServerNameFor Linux servers, the command might slightly differ, focusing on launching the server through a script or command line interface.
Step 5: Inviting Players to join your PZ server
With your server operational, it’s time to invite your friends to join. Ensure your server is publicly accessible or share the direct IP and port if it’s a private server.
Optimizing Your Server
To streamline the connection process for players, consider registering a memorable domain name for your server. This not only makes it easier for players to remember how to join but also adds a unique touch to your server’s identity.
Conclusion
Creating your Project Zomboid server provides a tailored survival experience, allowing for a unique journey through the zombie apocalypse with friends. Whether opting for a VPS, dedicated, or cloud server, each step in this guide is designed to facilitate a smooth setup, leading to endless hours of gameplay in your customized world. Now, with your server set up and running, the only question is, how will you survive the apocalypse?
Ready to play?
Run your own Project Zomboid server with XGamingServer
Spin up an always-on Project Zomboid server your friends can join in minutes — no port-forwarding, no tech headaches.